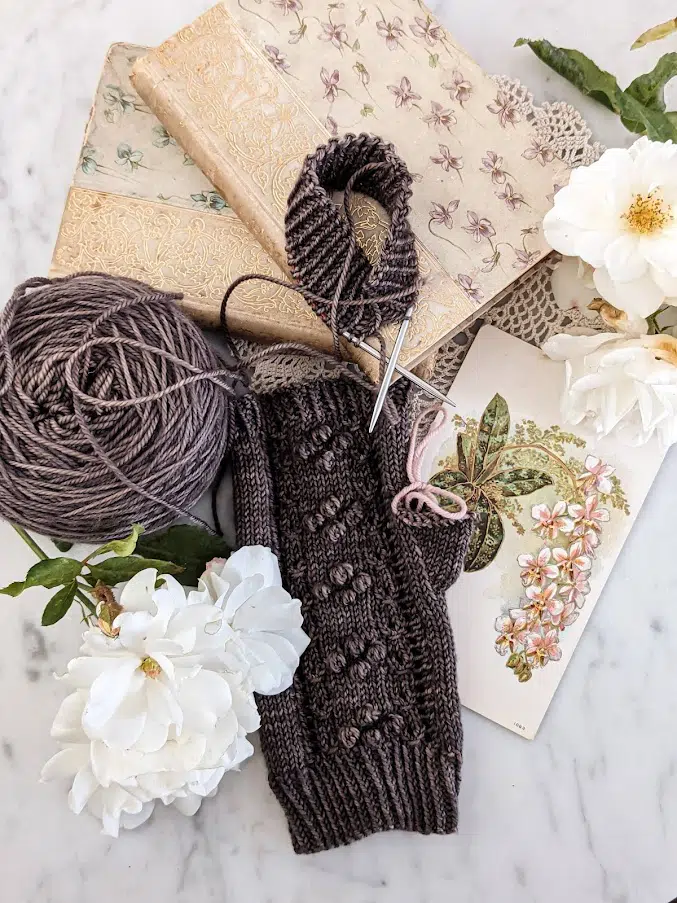
Most of the time, when you’re ready to finish a knitting project, a standard bind-off is just fine. You know the one. You knit two stitches, pass the right stitch over the left stitch, knit another stitch, pass the right stitch over the left stitch, and so on.

But sometimes, you want a slightly different look because you are binding off a piece of knitting that’s textured. So what do you do?
One option is to bind off in pattern. You’ll often see this instruction at the bottom of a top-down sweater, sleeve cuffs, a sweater neckline, cuffs on toe-up socks, and the brim on top-down hats.
This blog post is going to cover how to bind off in pattern, why you might want to use this bind-off method, and some tips and tricks for effectively using this simple technique.
What is binding off in pattern?
Binding off in pattern means matching the knit and purl stitches in the row below your bind-off row with the stitches in your actual bind-off. That means your bind-off itself is going to have both knit and purl stitches.
Let’s say, for example, you are binding off a 2 x 2 rib. That means you have two knit stitches, two purl stitches, two knit stitches, two purl stitches, and so on. Now normally, when we work the knitted bind-off, we are just using knit stitches. When you bind off in pattern, you’re still going to pass the right stitch over the left stitch to bind off. The main difference is that some of the stitches are going to be purl stitches instead of knit stitches.

So here’s an example for a bind-off pattern for a K2 P2 rib.
Step One: knit two stitches. Insert left knitting needle tip into right stitch on the right needle. Pass right stitch over left stitch.
Step Two: purl one stitch. Insert left knitting needle tip into right stitch on the right needle. Pass right stitch over left stitch.
Step Three: purl one stitch. Insert left knitting needle tip into right stitch on the right needle. Pass right stitch over left stitch.
Step Four: knit one stitch. Insert left knitting needle tip into right stitch on the right needle. Pass right stitch over left stitch.
Step Five: knit one stitch. Insert left knitting needle tip into right stitch on the right needle. Pass right stitch over left stitch.
Repeat Step Two through Step Five until you get to the end of the round. When you’ve bound off the final stitch, I like pick up one stitch under the first bound-off stitch and then bind it off together with the final stitch. That eliminates the gap at the end, though you can also use a tapestry needle to thread the tails of yarn under the stitches and pull it tight.
When you understand how binding off in pattern works, you can adapt this to any textured pattern. It works for seed stitch, for irregular ribbing, and so much more.
When to bind off in pattern
Binding off in pattern is helpful where you would like a slightly more stretchy bind-off. You can also use it where you want the bind-off edge to be a little less stark.

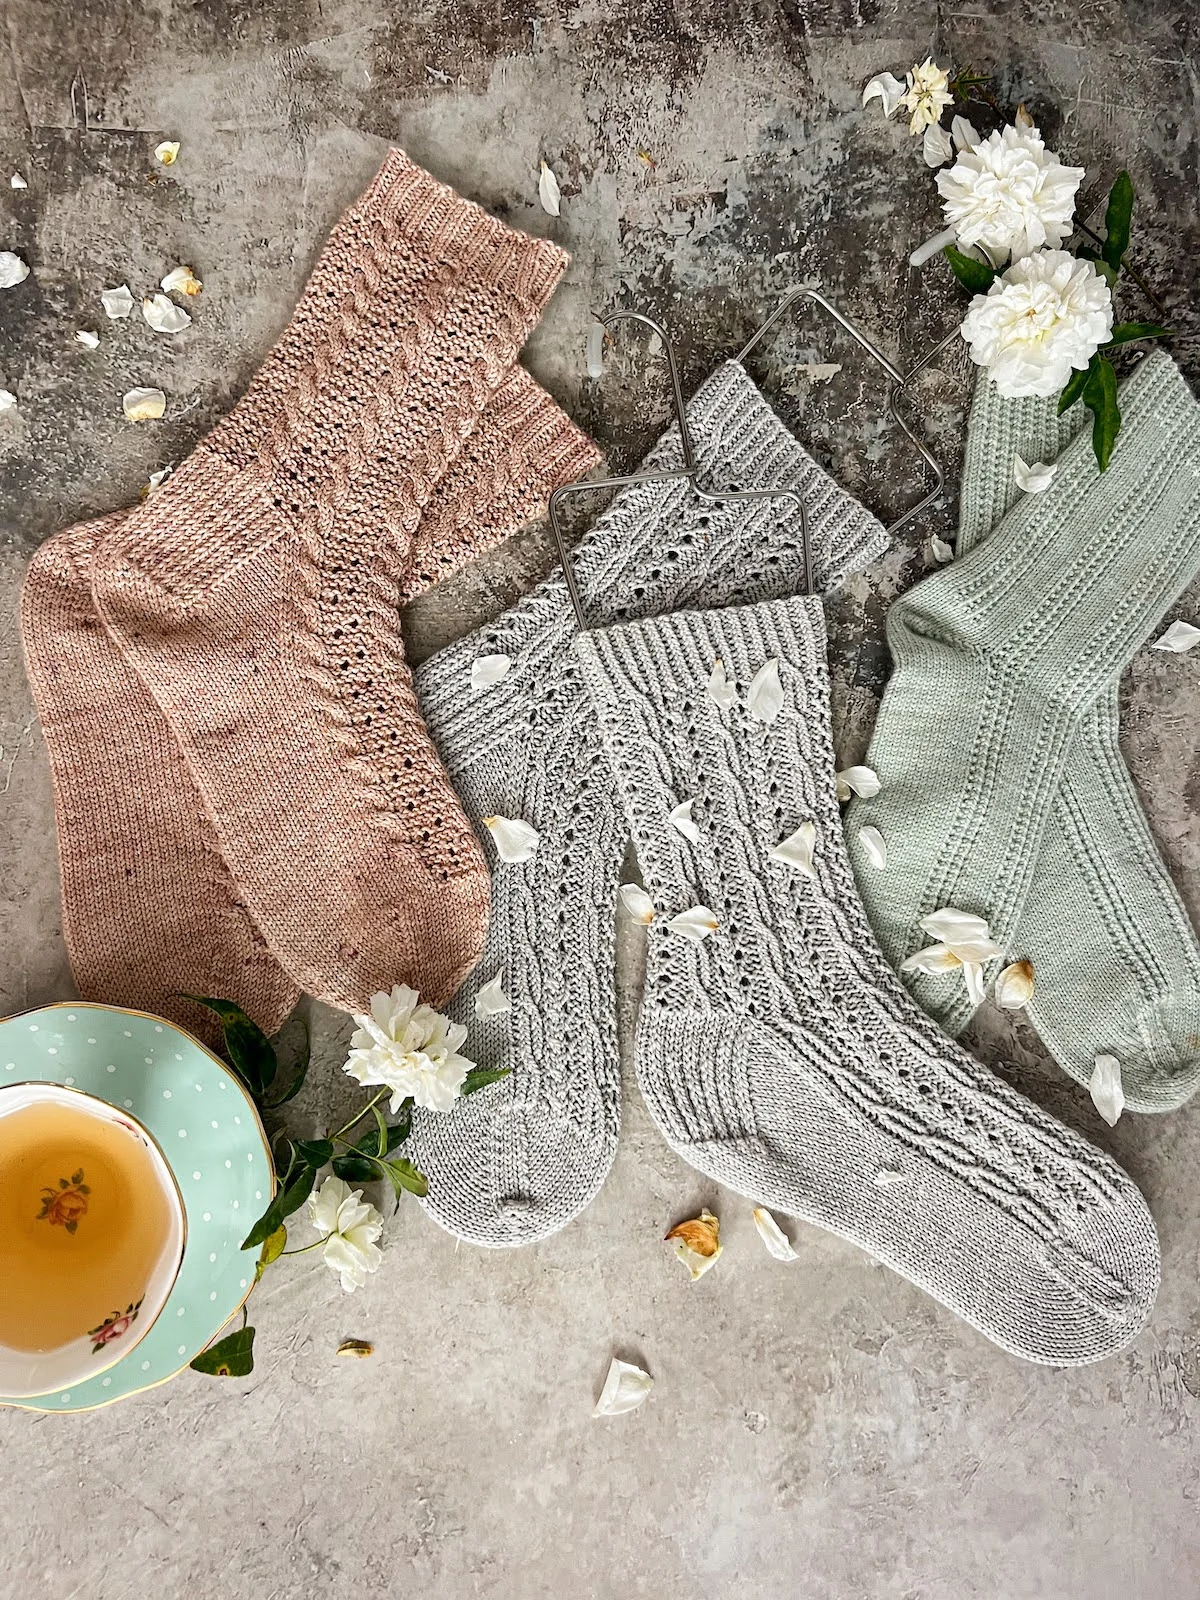
As you can see in the swatches here, using the regular bind off on a 2 x 2 rib stitch gives you a very straight edge. It can feel kind of abrupt at the end of that ribbing. When you bind off in pattern, you have a texture that flows a little better into the existing ribbing texture.
The purl stitches in the bind-off help make the bind-off a little bit stretcher, too, because purl stitches require slightly more yarn than knit stitches. This means that they have a little stretch and a little more movement.
Some tips to help you bind off in pattern successfully
One really helpful skill when binding off in pattern is to be able to read your knitting. Reading your knitting means you can look at your stitches and know whether the stitch you are looking at is a knit stitch, a purl stitch, or something else. The more comfortable you are reading your knitting, the easier it is to bind off in pattern, because if you get interrupted, you can easily pick up where you left off by spotting where you are in the stitch pattern.
Remember that, as with the knitted bind-off, binding off in pattern can get tight if you tug your stitches too hard as you are slipping them over each other. Try to keep your stitches at a slightly looser tension than you would normally use for knitting. That will help keep you from ending up with a tight bind-off that is uncomfortable to wear.
If you’re still struggling with a tight bind-off, try using a larger needle just for the bind-off row. That’ll keep your stitches a little larger. Larger bind-off stitches will reduce the likelihood that the bind-off is too tight compared to the stitches in the rows below.

And finally, remember that, as with many knitting techniques, the decision to bind off in pattern is ultimately a matter of personal preference. If you don’t like how it looks or if you prefer the look of a knitted bind-off or some other bind-off, use the method you prefer. You can do that even if the designer says to bind off in pattern. In fact, you can do it even if every other version of that knit thing you’ve ever seen has been bound off in pattern. You are the master of your own knitting destiny.
Do you think you’ll try this technique on your next project? I’d love to hear about it!
Let’s stay connected!
Join my newsletter for 30% off all new releases, regular updates with helpful tips and tricks, first crack at registration for upcoming workshops, exclusive discounts, and more.
I’m on YouTube now and would love to have you join me there for regular project updates, technique tips, chats about goings-on in the knitting world, and more.
Prefer to read without ads? Join my Patreon, which starts at just $1 a month!
Join the A Bee In The Bonnet Facebook Group to participate in knitalongs and other fun community events
Come hang out with me on the A Bee In The Bonnet TikTok
Follow along on the A Bee In The Bonnet Instagram
Get inspired via the A Bee In The Bonnet Pinterest