
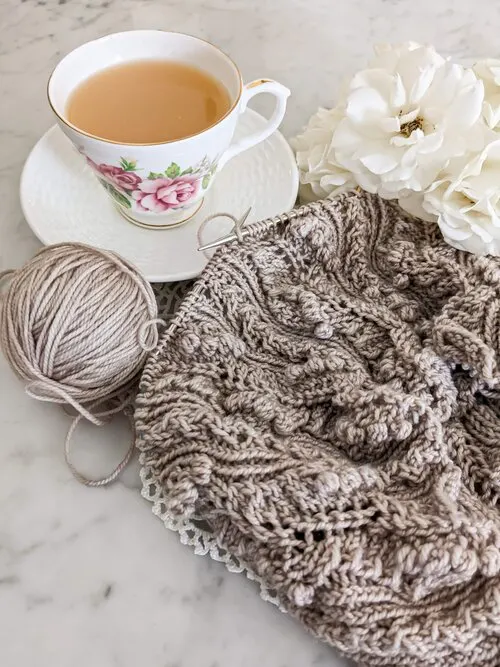
My toe-up sock journey has been driven in large part by wanting to knit stripy socks with my leftovers, but there was just one problem. See, I do not like weaving in ends on my knitting. At all.
I don’t mind other finishing techniques, but I’ve left projects sitting in a pile for months rather than weave in the ends. Sometimes I just wear my sweaters with loose ends dangling inside.
So when I saw all the cute scrappy socks people were knitting, I knew there had to be some sort of trick. There’s no way people like weaving in ends THAT much, right?
And it turns out there is!
It starts with a special join and requires just a little bit of fiddling. In this post, I’ll cover how to do the clasped weft join, which helps avoid weaving in ends when knitting. I’ll also talk about how to fix a couple issues I’ve had with it.
How To Do the Clasped Weft Join
First things first, right? If I’m going to be singing the praises of this join for a whole blog post, you might want to learn how to do it. Here’s the YouTube video I learned from. It’s clear, concise, and to the point.
The Clasped Weft Join Helps Avoid Weaving In Ends When Knitting
So why is the clasped weft join so great? Because it weaves in the ends as you’re working. Because of how you hold your two yarn ends and knit them into the few stitches before and after the join, you are already securing the ends of the yarn.
If you’re a tight knitter like I am, well, you’re REALLY securing them snugly.
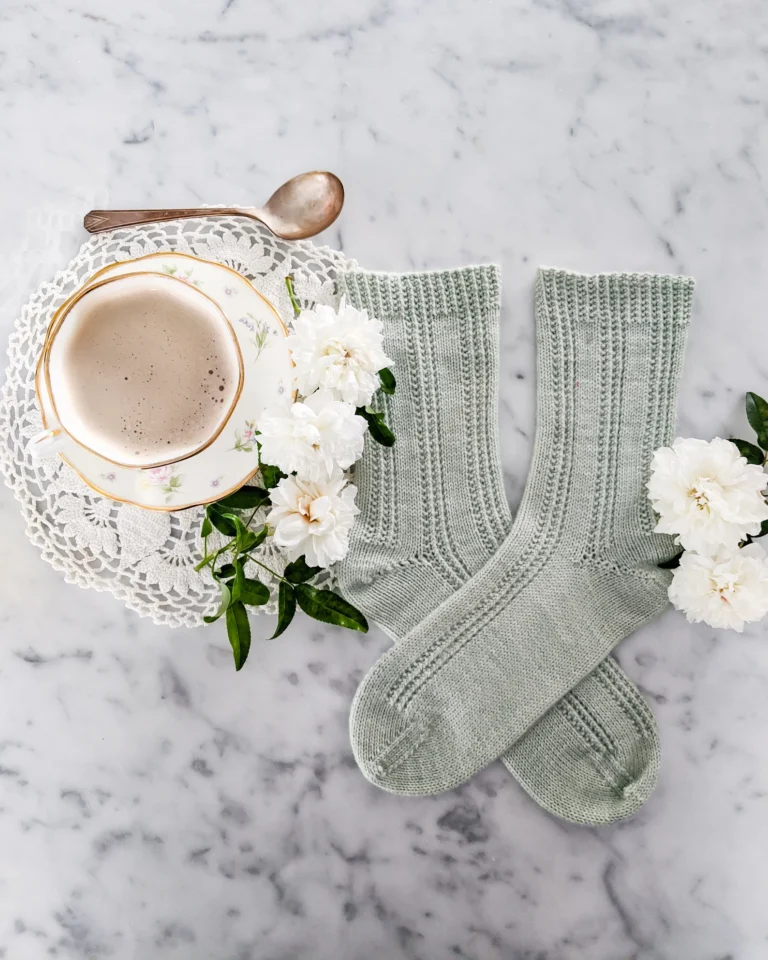
And this means that when you’re all done and have a sock that looks like the one I’ve posted above, you don’t need to go back and individually weave in every one of those ends. The weaving is already done. You just go along with your scissors and trim the ends off. Easy peasy.
Getting Things to Line Up Right
The biggest challenge I faced was figuring out how much space to give myself so that the yarn join matched where the stripes end and begin on my sock. Because my socks are knit in sport-weight yarn, the color change spot is more obvious than it would be in a finer gauge.
This meant a lot of adjusting the length of the yarn on either end of the join. It didn’t matter so much for the new yarn color, because I’d just knit my 4-5 stitches and then drop the tail no matter how long it was. This was a challenge for the last few stitches of the old yarn color, though.
And I hate to say it, but the only solution to this one is practice. You need to give yourself several opportunities to see how much yarn each stitch uses up. That’ll help you eyeball how much you need, overall, to make the 4-5 stitches before the join and the color change.
Controlling Tension With The Clasped Weft Join
I also dealt with differences in tension between the actual working yarn and the tail. In my first version of the socks, the tail was significantly looser. That resulted in the 4-5 stitches before and after the join looking very puffy.
I tried solving that problem by pulling the tails tight. That created a weirdly puckered look, though. While it mostly came out with blocking, it still made me nervous.
On the second sock, I made sure to wrap both tails around my pinky fingers as I was working. It made everything a little cumbersome, but it gave me much better tension. The second sock looks much smoother, and I didn’t have to tug the ends into place.
Dealing With Color Jogs When Joining Yarn
Because of several factors specific to this project, the color jogs aren’t terribly visible on these socks (so long as I line up the joins correctly). However, if I were working in fingering-weight yarn and had lots more color changes or narrower stripes, I’d be more concerned about a ridge developing where the color join happens.
I found a great blog post with a simple solution to that problem, though. Katie over at Yarn Love uses a spiraling technique to offset the color jogs. This means that, instead of stacking the color changes on top of each other, each color change is staggered by a couple stitches. That makes it less obvious where the color change happens on each row.
There are also some techniques that involve lifting a stitch from the row below. I’ll be honest: I tried them, and I wasn’t super thrilled with how they worked with this join. Maybe I just need more practice. Truly, I’ll do just about anything to avoid weaving in ends on my knitting projects, so practice would probably be worth it!
One last note: if you’re curious about which sock yarns would be a good choice, be sure to check out my top 5 sock yarn recommendations.
Let’s stay connected!
Join my newsletter for 30% off all new releases, regular updates with helpful tips and tricks, first crack at registration for upcoming workshops, exclusive discounts, and more.
I’m on YouTube now and would love to have you join me there for regular project updates, technique tips, chats about goings-on in the knitting world, and more.
Prefer to read without ads? Join my Patreon, which starts at just $1 a month!
Join the A Bee In The Bonnet Facebook Group to participate in knitalongs and other fun community events
Come hang out with me on the A Bee In The Bonnet TikTok
Follow along on the A Bee In The Bonnet Instagram
Get inspired via the A Bee In The Bonnet Pinterest


Omg, this genius. I’ve avoided scrap knitting for this very reason. No more, so happy you passed this on!
I’m so glad you found it helpful! Looking forward to seeing what you make now.
Mind Blown! Why didn’t I hear of this sooner?
I feel the same way! But better late than never, hey?
I knitted a queen size domino knit mitered square sock yarn blanket with scraps. I wove my ends in as I went so I didn’t have several thousand ends to weave in when I finished. I’m going to have to try this with my next mitered square project.
You are a brave soul! I started a scrappy sock yarn project two years ago and still only have maybe 70 squares (I need almost 400 to make the size I want). It’s, uh, going to take a while.
With a thicker yarn like you are using,a Russian joined might be better it is more fussy but leaves no ends to weave at all.
Thanks for the tip! I’ll check that out, too.