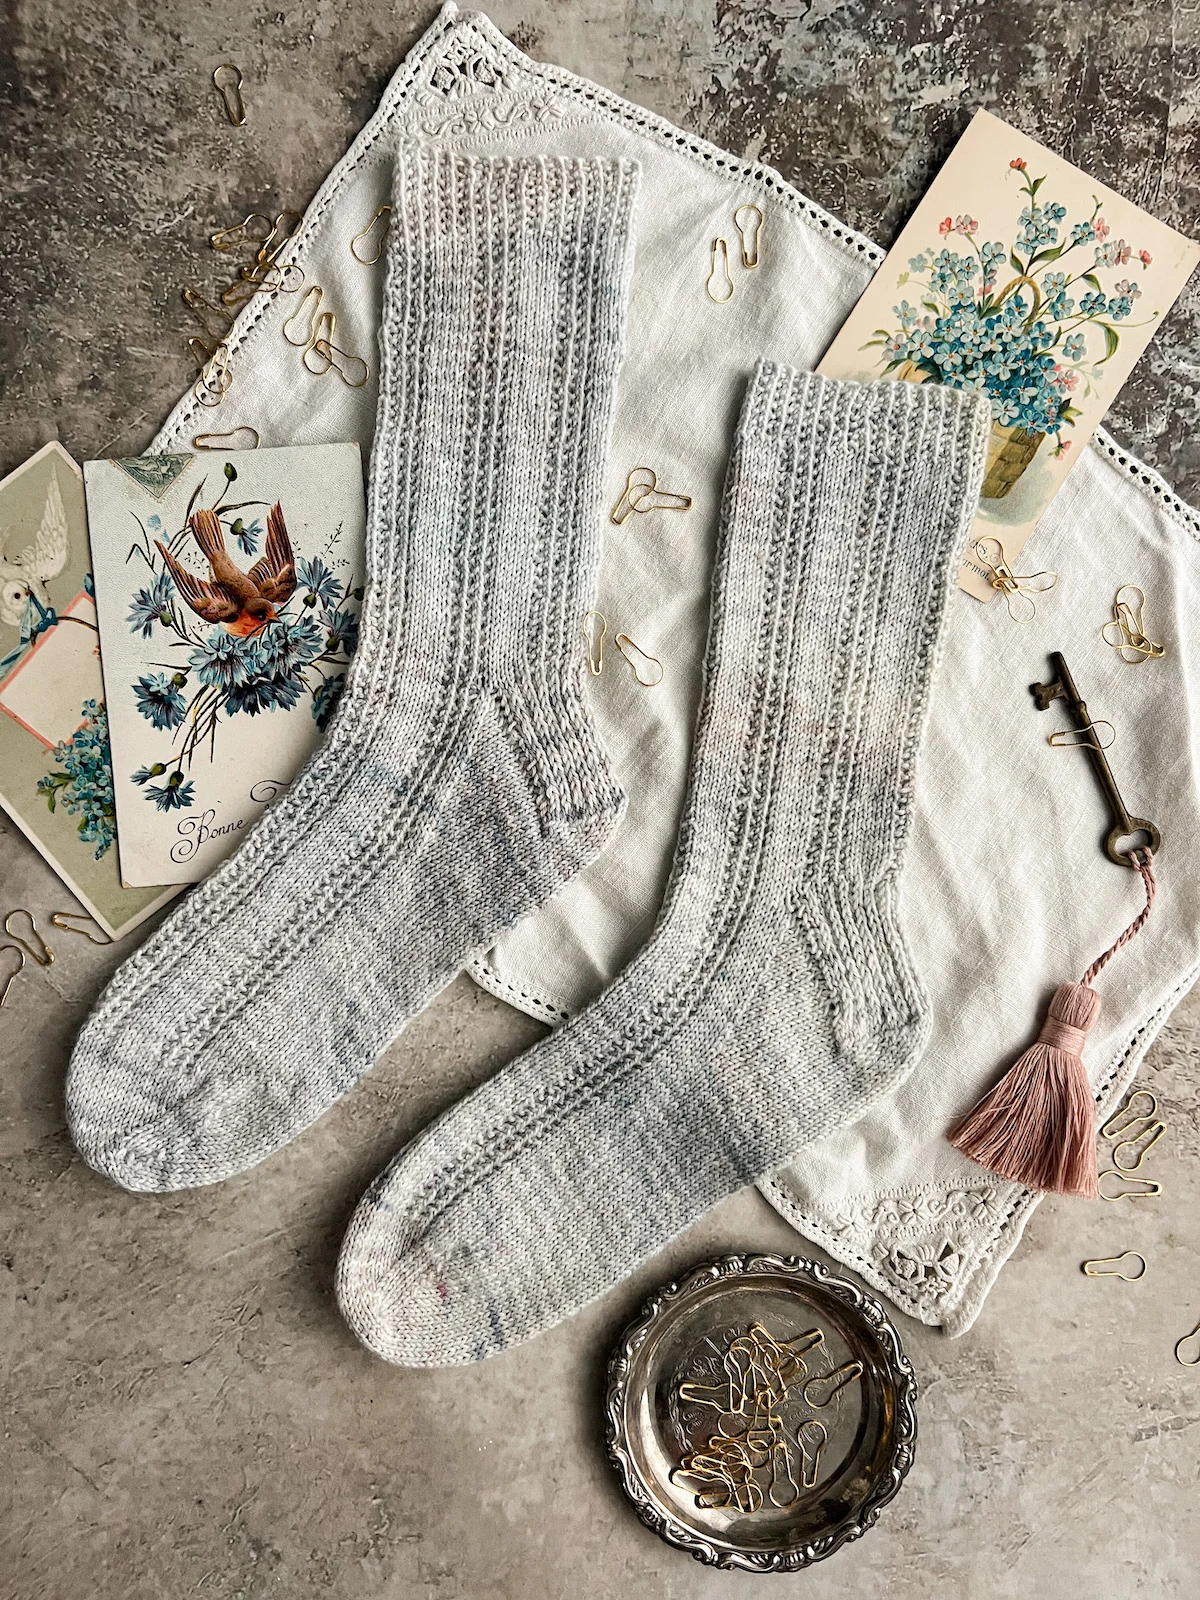
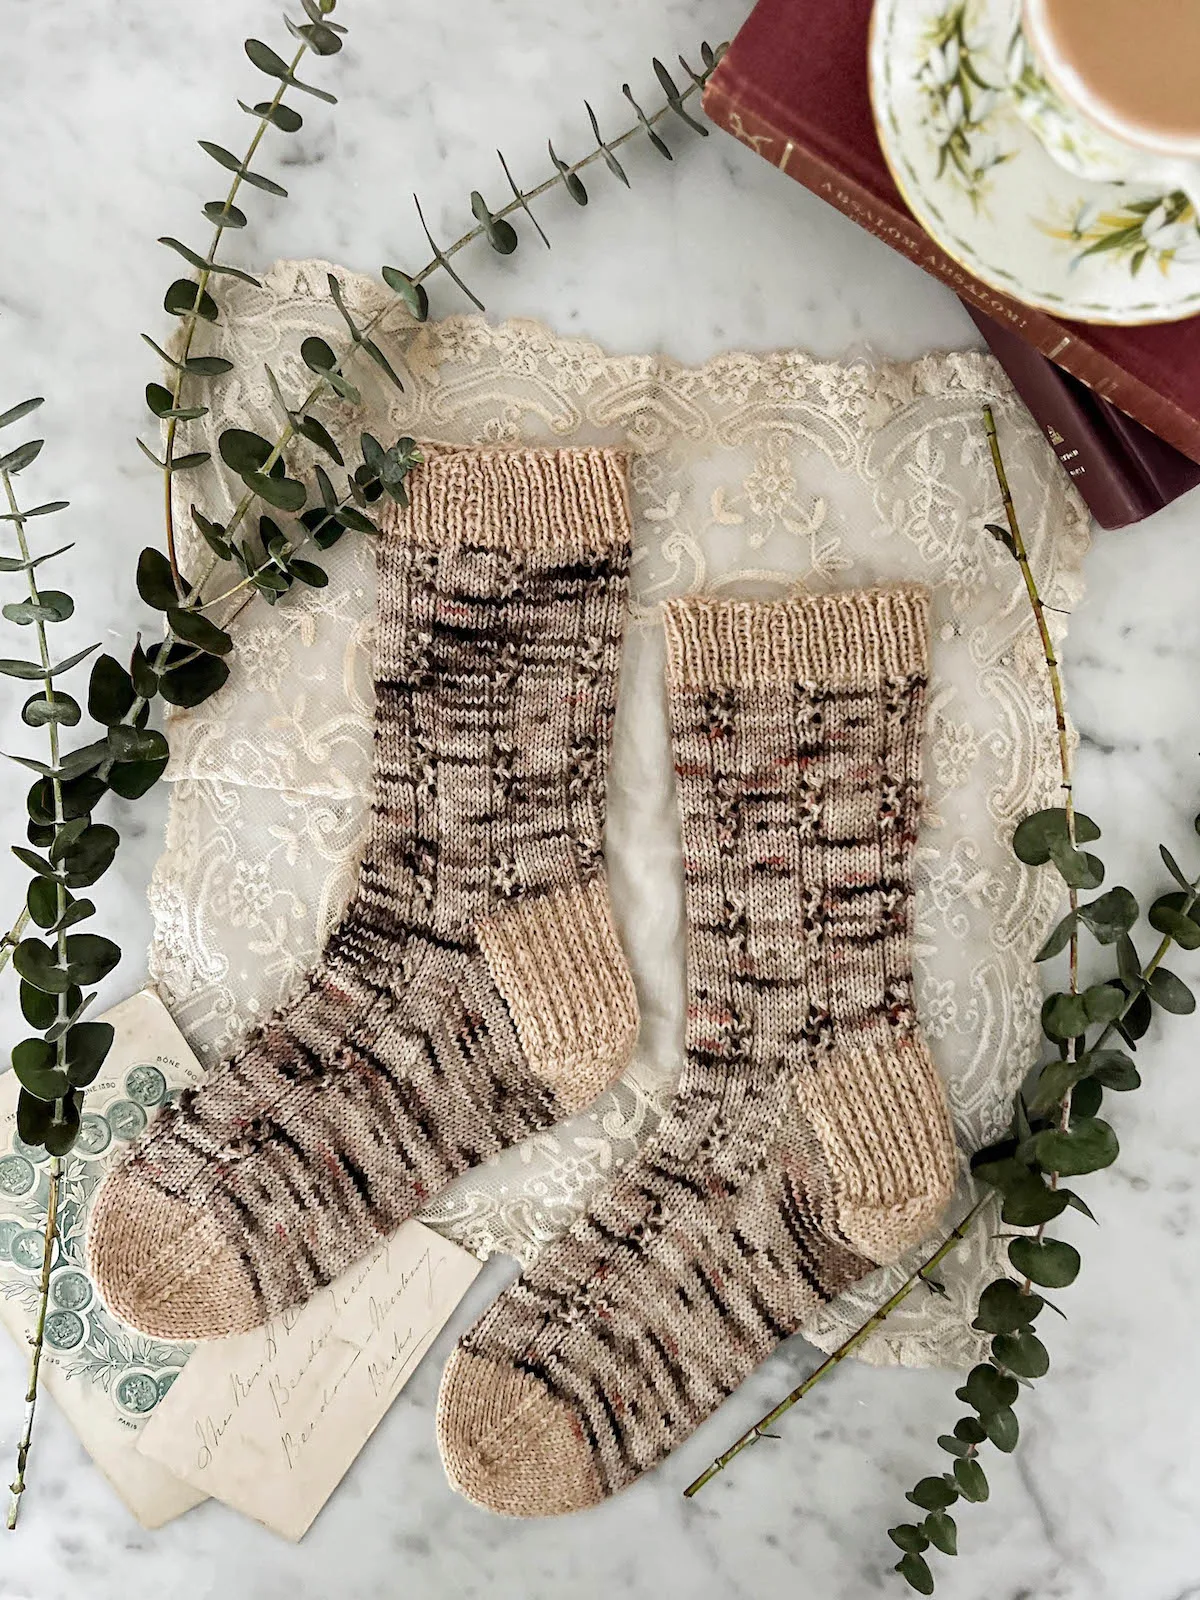
I block all of my hand knit socks. It doesn’t matter whether they’re a gift, whether I’m keeping them for myself, whether they’re a design, or whether I’m just trying something out. When I’m done with them, I block them. Even if they’re kind of ugly. Even if I don’t think anybody will see them.
But that doesn’t necessarily mean I use a pair of sock blockers to do it. As I’ve written elsewhere around here, you don’t necessarily need a sock blocker to successfully block your socks. In today’s blog post, I’m going to cover how you can block your pairs of socks without using a blocking form of any sort.
Why should you block knit socks?
Remember, blocking doesn’t have to be about stretching your knitting projects and forcing them into a specific shape. Blocking is about introducing your knits to moisture.
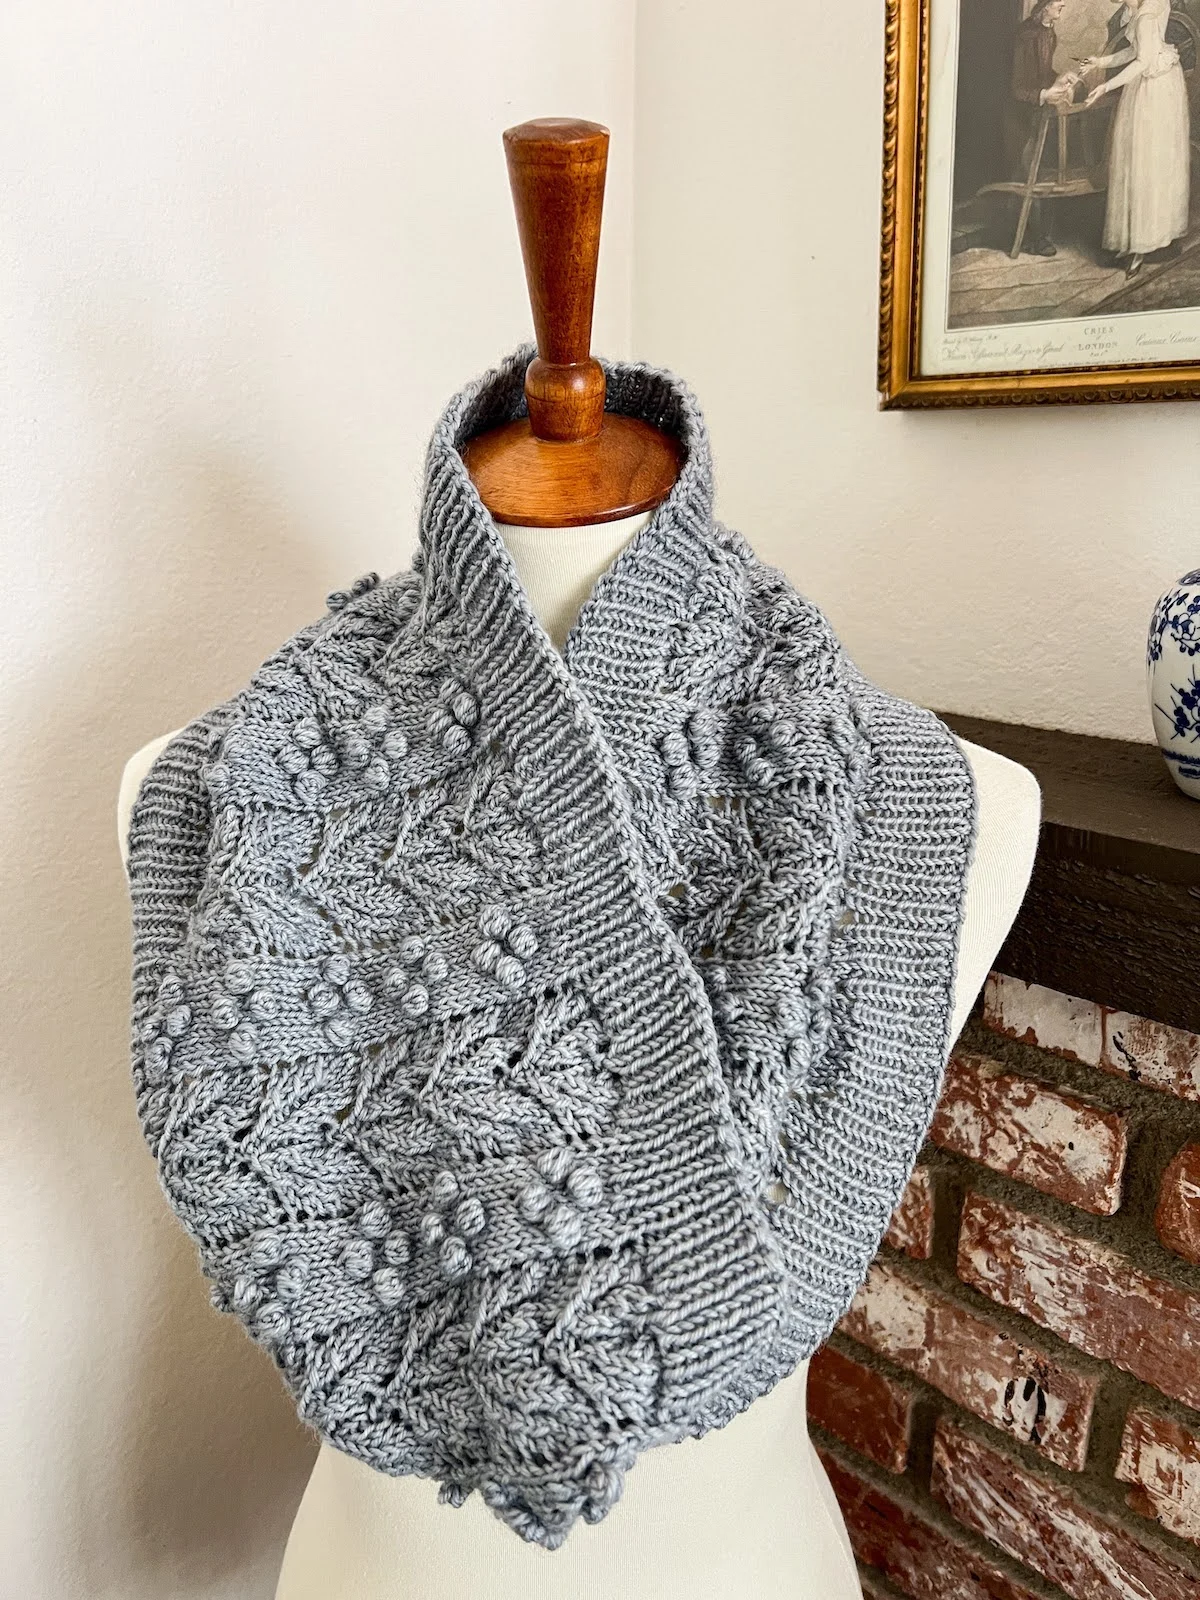
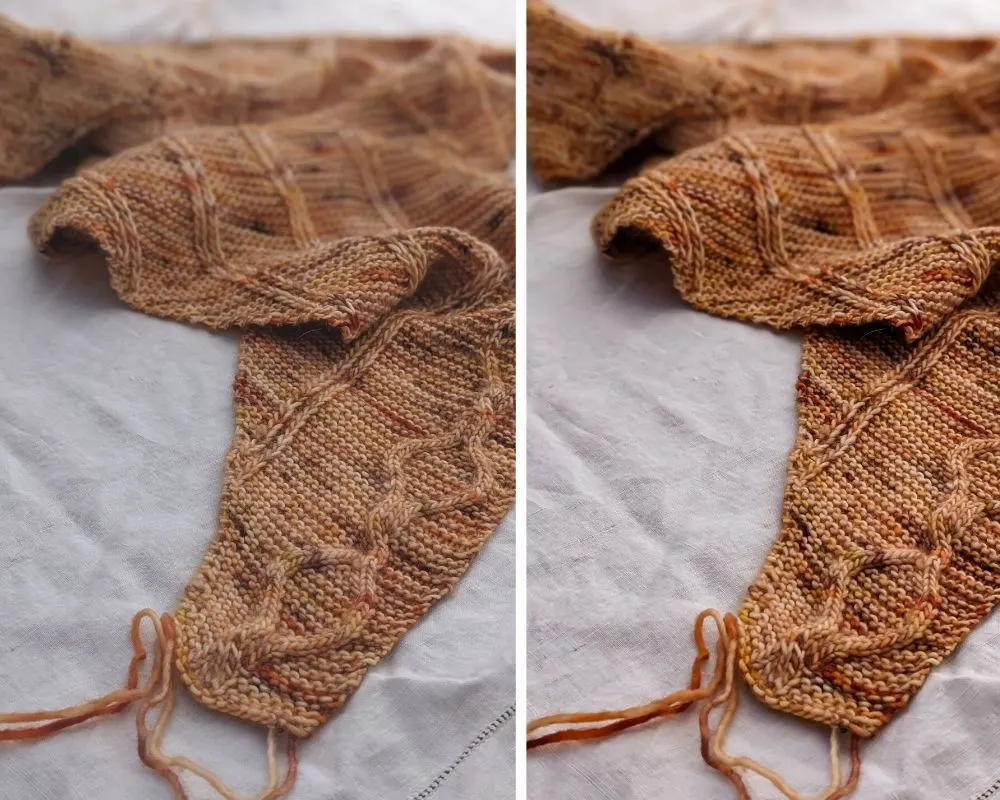
That’s because the water helps the yarn bloom and settle into place. If you are knitting plain stockinette socks, this will be less important than if you are knitting socks with cables or lace patterns. Complex stitch patterns of any sort will always benefit from some blocking.
Of course, this doesn’t mean stockinette socks wouldn’t also benefit from blocking. If you have any unevenness in your stitch tension, even in stockinette socks, a good blocking will help smooth that out.
Sock knitting is unique in that, for most of us, these small knits bear the entire weight of our bodies on them. This means that any unevenness, lumps, or other spots that might go unnoticed in other knits will be more noticeable when worn on our feet and amplified by the pressure of standing on them. Blocking your knit socks helps prevent those irritating spots.
This process will work best with natural fibers, of course, and most yarn marketed as sock yarn will consist primarily of some sort of wool (often superwash wool). Synthetic fibers don’t respond to water in the same way that animal fibers (and, to a lesser degree, plant fibers) do.
Curious about which yarns work best? Check out my top 5 sock yarn recommendations.
Step one: get your socks wet
The first step to blocking knitwear is to get it wet. This doesn’t always mean you have to submerge your knitting in water, because sometimes a spray or some steam will be enough for really delicate yarn, but most socks enjoy a good soaking. This is also known as wet blocking.

Water temperature matters here. You want to use either lukewarm water or cool water to soak your socks. If you use hot water, you run the risk of damaging the fibers or even felting them.
Some knitters like to use wool wash at this stage, but I generally skip that. The yarns I use for socks are usually pretty processed already, so there’s no need for a wool wash at this stage. If you’re working with a very rustic yarn, you might decide you want to use a wool wash while blocking.
When I soak my socks, I like to put them in a bowl next to the kitchen sink and set a timer. This way, I don’t forget about the socks for too long, but they are in a separate container so they don’t get in the way of putting away dishes or washing hands.
There have been times where I’ve left socks blocking in a bowl for several days when I forgot to set a timer, and then the sock was too badly faded and I wound up having to knit a third sock to finish the pair. Don’t be me. Set a timer if you are at all likely to forget the socks.
Of course, if none of this is an issue for you, you can always just soak your handknit socks directly in a clean sink, too. The choice is yours!

Step two: gently squeeze your socks out
Once your pair of socks has soaked for a little while and the yarn has bloomed, you’ll want to squeeze them out. Do not wring your socks like a dishrag.
Instead, pick them up in your hands, and gently squeeze your hands together without any turning or twisting motion. Repeat this a couple times until you have squished out the excess water.
If you’re really serious about getting excess water out of the socks because you need them to dry quickly or you live somewhere humid, you can roll up each damp sock in a dry towel. Once they’re all rolled up, step on that clean towel. A lot.
If you do it with your bare feet, it feels really nice under your arches. It’s basically a free foot massage while you’re squishing out your yarn.
You can also put them in your washing machine on the spin cycle. I wouldn’t recommend this, though, if you tend to be forgetful and leave laundry in the machine for several days (it’s okay, fellow ND kids, we can squeeze out the extra water by hand).

Step three: set your socks out to dry
After you’re done squishing out the excess moisture, lay your socks flat in a place where they won’t be in your way. If possible, try to choose a spot with good air flow, too. This will help ensure that your knit project dries quickly.
As you’re laying them out flat, you’ll want to gently arrange them into your desired shape. For best results, try to pat them into shape so that they match each other.
I like my socks blocked on their sides so that the heel is folded in half and so is the toe. Other people like their socks blocked with the front panel facing downward and heel upward. That’s really up to you.

The point here is really to smooth out your sock into a shape that you find even and appealing. As much as possible, you’ll want to make the foot symmetrical so that you don’t have a sock that dries in kind of a lopsided shape. A lopsided sock can feel weird on the foot when you’re wearing it or can even twist and turn as you’re wearing it.
Once you’ve smoothed your sock into shape, leave it. Let it dry flat. That’s really all you need to do.
Of course, you may notice a very slight difference between your two socks, but that’s a risk you run with using sock blockers, too. That’s just part of something being handmade.
Optional: pin your socks into place
There are some people who strongly believe that things that are being blocked should be pinned into place. I think this is more important when you are blocking sweater pieces to particular dimensions and will need to sew them together later. It’s less important when you are blocking socks.
On the other hand, if you do wish to block your socks with pins in them, you certainly can. If that’s the case, you’ll need a squishy surface. You can use either foam mats, like I have in the pictures here, or you can use a folded up towel.

Really, you just need a surface that is soft enough to stick the pins in but firm enough to stay flat and provide some tension to hold the sock in its place.
The point of the pins is to make sure that the blocked item doesn’t shrink as it’s drying. For most of us, again, that’s not a huge issue. With socks, you even want them to be a little snug when you put them on. That way, they don’t stretch out too much as you’re wearing them.
There are a few different kinds of pins knitters use to block their knits. The most common are t-pins and u-shaped pins (with two points). You can also use pin combs, though I didn’t have any on hand to include in these photos. Whatever pins you use, they should be rust-proof pins so you don’t end up staining your finished item at the very end of the project. Blocking wires are nice for getting a very straight edge, but I find them kind of cumbersome for socks.
If you really need your socks to be a specific dimension, pins might be helpful. They certainly are not a necessity most of the time.

Step four: enjoy your socks
Eventually, those socks you laid out flat to dry will, in fact, be dry. Surprise! And when that happens, the last step in this process is to enjoy your socks. Be sure to take out the pins if you used them before you try to put the sock on. Things can be a little uncomfortable otherwise.
If you like to block your socks without a sock blocker and have some helpful tips I’ve missed here, please share them below! It’s always nice to hear new ideas.
Easy shopping list
If you’d like to try some of the blocking tools I’ve used in this post, here are some links for you. Some of these are affiliate links, which means if you choose to buy something through those links, I’ll receive a small commission at no extra cost to you. I will always identify affiliate links for you by putting “(affiliate link)” next to them. Thanks for supporting my work!
Blocking mats from Knit PIcks (affiliate link)
Blocking T pins (affiliate link)
U-shaped double pins (affiliate link)
Eucalan wool wash (affiliate link)
Let’s stay connected!
Join my newsletter for 30% off all new releases, regular updates with helpful tips and tricks, first crack at registration for upcoming workshops, exclusive discounts, and more.
Join the A Bee In The Bonnet Facebook Group to participate in knitalongs and other fun community events
Come hang out with me on the A Bee In The Bonnet TikTok
Follow along on the A Bee In The Bonnet Instagram
Get inspired via the A Bee In The Bonnet Pinterest


How long should I set the timer for when placing socks in bowl of cool water?
However long works for you! I usually do about 15-30 minutes.
Thank you very much for your easy to follow, fun instructions! I’m a ”proficient” knitter, but have never blocked my socks :O 😀 Will try this out <3
Oh, I’m excited for you to give this a try! I think you’ll enjoy how much more crisp your socks look.