Earlier this fall, Woolly Wormhead reached out via a mutual friend to see if I had any interest in trying Woolly’s new book, Cuboidal. It features eight hat patterns made from mitered squares. I’ve been a fan of Woolly’s work for years, so of course I jumped at the chance.
There was just one challenge: I’d never made mitered squares before.

Even so, I figured this would be an excellent opportunity to learn a new stitching technique. You all know I love when I get to do that.
I have a digital version of the book, which is perfect, because I love it when new knitting patterns make their way into my hot little hands as quickly as possible. This one is, quite frankly, a masterpiece of both design skills and technical writing. Let’s dive in and I’ll explain what I mean.
Easy Shopping List
If you’d like to make your own version of this charming mitered square hat or one of the other hats in Cuboidal, here are some handy dandy links for you. Some of these are affiliate links, which means if you choose to buy something through those links, I’ll receive a small commission at no extra cost to you. I will always identify affiliate links for you. Thanks for supporting my work!
Cuboidal, the book this pattern is from (I knit the hat called Basalt)
The DPNs I used to knit the mitered squares (affiliate link)
The circular needle I used to knit the brim (affiliate link)
Sewrella Yarn Nylon Sock (affiliate link)
Woolly’s Unique Pattern-Writing Style is a Revelation
Let’s talk, first, about what sets Woolly’s pattern-writing apart from so many others. Honestly, these patterns are so effectively written that I’m reconsidering some of my own strategies.
How Most Patterns are Written
Now, most of us designers write patterns in a fairly traditional way.
If we are grading for more than one size, we will put the number for the smallest size first. Then we put the larger sizes in parentheses next to it, going upward on the size scale. If there are more than three or four sizes, we will sometimes group them into clusters of multiple parentheses.

You know the drill. It’ll look something like this: “Cast on 32 (36, 40, 44)(48, 52, 56) (60, 64, 68) stitches.”
That’s kind of the convention for everything from hats and socks all the way up to garments. Woolly does things differently sometimes, though, and this book is a great example of their creative writing.
How the Patterns in this Book are Written
The hats in this book are written so you can make several different sizes using several different weights of yarn. What that means, though, is that you absolutely must have a gauge swatch. You can cheat a little bit by using the same yarn and needles from a previous project and measuring the gauge of that project, but you are still going to need to know your gauge.
Then, you take your rows per inch and stitches per inch, and you plug them into a chart for each hat size. Using that information, you can identify how many stitches to cast on for each of the mitered squares in your knit hat.
A specific symbol corresponds to each of the numbers you will need. That way, instead of having a string of 47 or so numbers in a row at multiple points in the pattern, we just have one little symbol to keep track of. That’s it. Just one.
I wrote down which numbers corresponded to which symbols on a separate piece of paper at the when I started work. It didn’t take long, though, until I had them memorized.
Ultimately, what this results in is an elegant, easy-to-follow pattern that eliminates a lot of visual and mental clutter. I don’t have to worry that I might accidentally use the wrong number because I forget where in the string of other numbers my size is. Likewise, I don’t have to print out the whole pattern and highlight the right number for my size.
In fact, I just see the symbol and know which of my three numbers corresponds to which of those three symbols. It requires a little bit more work at the front-end on my part, but I think the trade-off is worth it.

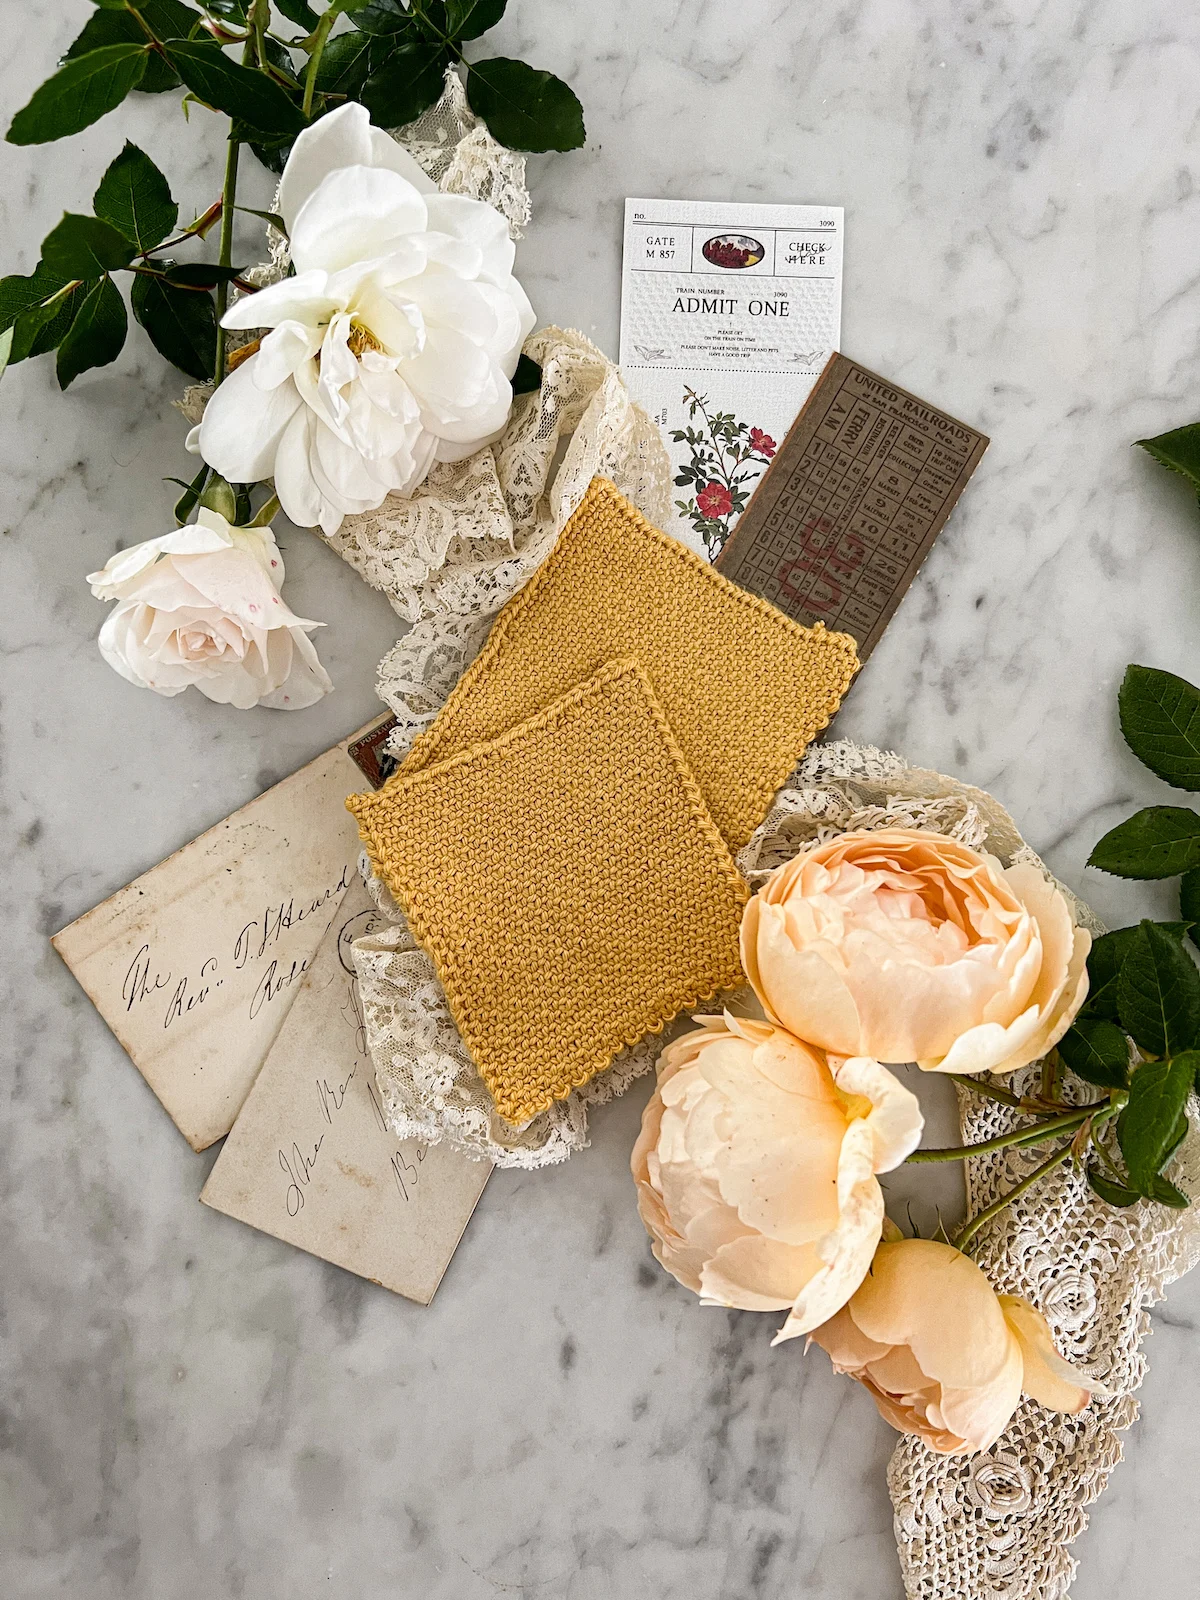
The Mitered Square Tutorials in This Book are Hyper-Detailed
Here’s another thing I loved about this book. As I mentioned above, this is my first time making mitered squares. There are a lot of little tips and tricks to make the best possible mitered square, and I wouldn’t necessarily know them without doing a bunch of outside research.
Woolly has given us a ton of shortcuts in this book. There are step-by-step instructions for everything. Not just explanations, but photo tutorials. I learned how to do the crochet cast on, how to keep the corners of my mitered square nice and tidy, how to add more mitered squares for working in the round on a hat, and more. Photos accompany each step.
And don’t worry! If you are the sort who likes to print things out (and I do recommend doing that with this book if you are also new to mitered squares), all of the photos are in black-and-white.
Tips for Using Cuboidal Effectively
Those photo tutorials are an incredible resource, but they are located at the beginning of the book. If you are new to knitting mitered squares, you may want to print out the book. That way, you can more effectively flip back and forth between your chosen pattern and the tutorials.
I also recommend using a screen larger than just your phone if you’re working from a digital copy. That’s because the photo tutorials are pretty detailed and can have several photos per page. It’s harder to see them clearly on a small phone screen. I wound up using my laptop a lot while working on my hat.
About My Version of Basalt
After flipping through the booklet, I decided to make Basalt, which instantly caught my eye because it looked like a fun twist on a 1920s cloche. In fact, I can picture Amelia Earhart or Bessie Coleman wearing it for an early morning flight (and wearing it makes me feel a bit mysterious and adventurous).

I did make a couple changes to my version of Basalt, which I figured I should highlight for you before you start making one of your own.
First, my version has an extra square in the brim. That’s because I wanted a wider brim that would cover the tops of my ears on chilly mornings. If you follow the pattern as written, your version will have a brim that is a little less wide than mine.
I also took the edging all the way around the hat. In the original version, one edge of the brim is left raw, which is a really cool design detail but ultimately wouldn’t work for my symmetry-obsessed self.
If you end up making one of the hats from this book, I’d love to see how your version turns out. You can tag me on Instagram (I’m @abeeinthebonnet over there) or Twitter (where I’m @beesinthebonnet).
Many thanks to Woolly for sharing this book with me and teaching me so many new skills!
Let’s stay connected!
Join my newsletter for 30% off all new releases, regular updates with helpful tips and tricks, first crack at registration for upcoming workshops, exclusive discounts, and more.
Join the A Bee In The Bonnet Facebook Group to participate in knitalongs and other fun community events
Come hang out with me on the A Bee In The Bonnet TikTok
Follow along on the A Bee In The Bonnet Instagram
Get inspired via the A Bee In The Bonnet Pinterest