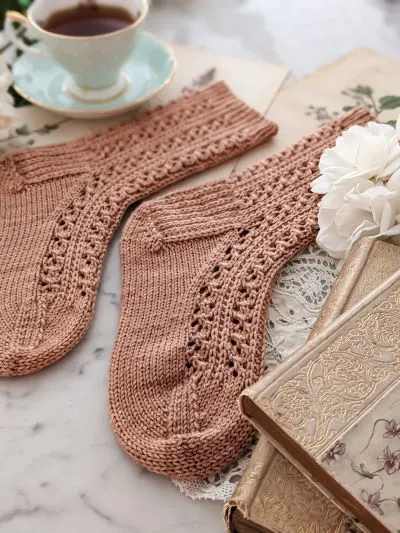
This sock knitting pattern is designed to help newer sock knitters become more comfortable with basic sock construction before tackling socks knit with fine yarn on small needles.
A worsted-weight sock will make it easier to see each component of the sock, and fixing mistakes is easier with larger stitches. The simple lace and cables will help you get comfortable with adding detail to your socks, so it makes a great follow-up to my basic worsted sock pattern.
If you’d rather have a PDF version of this pattern, you can find a paid version of this pattern on Ravelry.

Pattern Specs
Sizes: 1, 2, 3, 4, 5. Finished sock dimensions: 7” (18 cm), 8.25” (21 cm), 9.5” (24 cm), 10.75” (27.5 cm), 12.25” (31 cm) circumference (Note: most people like their socks snug, so choose a finished sock size that is slightly smaller than your actual foot).
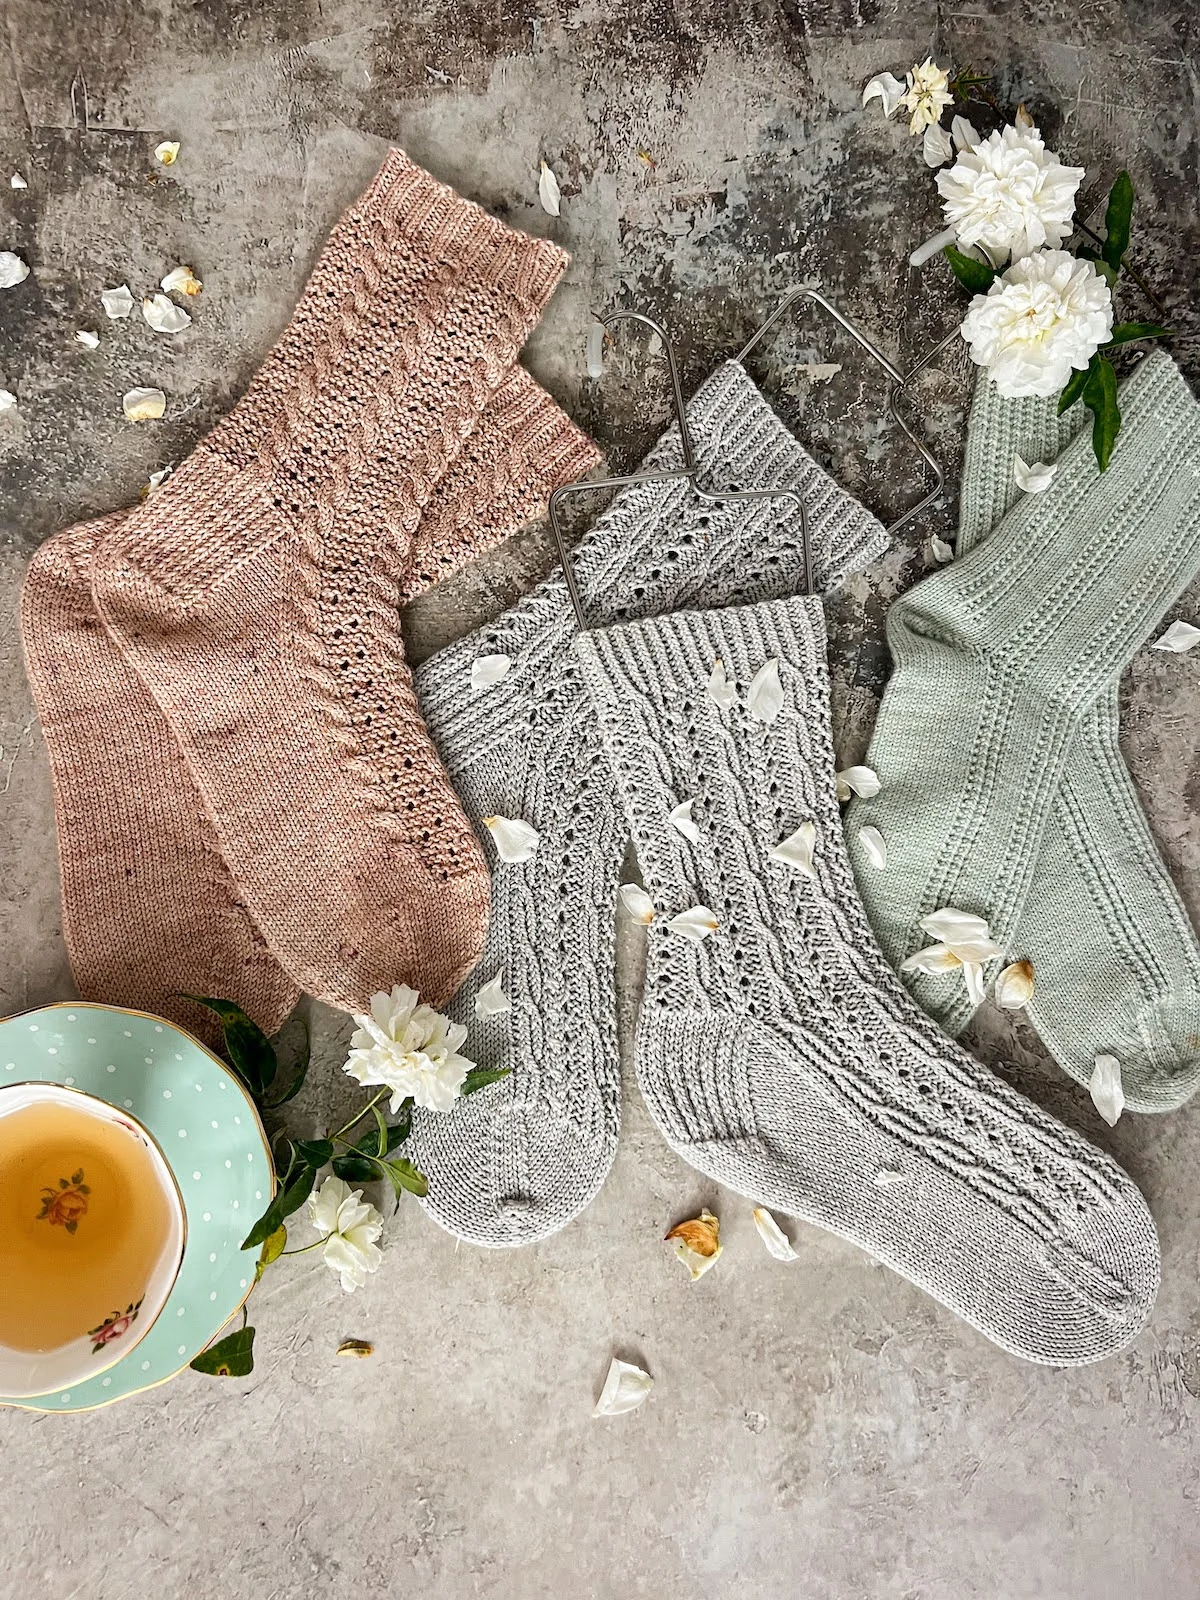
Materials: Worsted weight yarn, 220 yds (201 m), 256 yds (234 m), 292 yds (267 m), 328 yds (300 m), 364 yds (333 m). Note: Yardage estimates assume foot length of 9.5” (24 cm) from heel to toe. Sample shown knit in Knit Picks Wool of the Andes, 100% Peruvian Highland Wool, 110 yds (101 m) per 1.25 oz (50 g).
Gauge: 4” (10 cm) square = 25 stitches x 35 rows in stockinette stitch in the round after blocking
Needles: One set of needles for your preferred style of small-circumference knitting in a size to match gauge listed above. Suggested needle size: US 4 (3.5 mm).
Tools: One stitch marker for beginning of round. Tapestry needle for weaving in ends.
Skill Level: Advanced beginner. Techniques include decreases, knitting in the round, stockinette grafting.
Abbreviations
- 2/2 LC = four-stitch cable crossing to the left. Slip two stitches purlwise onto a cable needle and hold stitches to front. Knit two stitches. Move stitches from cable needle back to left needle. Knit two stitches.
- 2/2 RC = four-stitch cable crossing to the right. Slip two stitches purlwise onto a cable needle and hold stitches to back. Knit two stitches. Move stitches from cable needle back to left needle. Knit two stitches.
- k = knit
- k2tog = knit two stitches together
- p = purl
- p2tog = purl two stitches together
- RS = right side
- sl = slip stitch with yarn held in back
- ssk = slip two stitches individually knitwise and knit together through the back loop
- WS = wrong side
- yo = yarn over
Pattern Instructions
Using your preferred cast-on method, cast on 48 (56, 64, 72, 80) stitches. Join for knitting in the round and take care not to twist. Place a marker at the join to mark the end of the round.
Work 10 rounds of k2, p2 ribbing.
Knit the following 4-round repeat or see Chart A at the end of this pattern:
Round 1: K3 (5, 7, 9), p1, 2/2 RC, p1, yo, ssk, k2, k2tog, yo, p1, 2/2 LC, p1, knit to end of round.
Round 2: K3 (5, 7, 9), p1, k4, p1, k6, p1, k4, p1, knit to end of round.
Round 3: K3 (5, 7, 9), p1, k4, p1, k1, yo, ssk, k2tog, yo, k1, p1, k4, p1, knit to end of round.
Round 4: K3 (5, 7, 9), p1, k4, p1, k6, p1, k4, p1, knit to end of round.
Work this repeat until the leg of your sock measures 6” (15 cm) from the cast-
on edge, ending on Round 4. You can make this part of your sock longer or shorter, if you’d like, but know that changes to the length of the leg will affect how much yarn you use.
After your sock leg has reached the desired length, continue to the Heel section.
Heel:
This sock uses a heel flap and gusset for a snug, highly customizable fit. You’ll work your heel flap using the last 24 (28, 32, 36, 40) stitches of your sock. Work in pattern across the first 24 (28, 32, 36, 40) stitches.
Now begin working your heel flap as follows:
Row 1 (RS): *Slip 1 purlwise with yarn in back, k1, repeat from * to end of row.
Row 2 (WS): Slip 1 purlwise, purl to end of row.
Work these two rows until you have 24 (28, 32, 36, 40) rows total, ending after working a WS row.
Now it’s time to turn the heel. For each slip stitch in the following instructions, slip your stitch purlwise with yarn held in back (RS rows) or front (WS rows).
Follow these steps:
- K14 (16, 18, 20, 22), ssk, k1, turn.
- Sl 1, p5, p2tog, p1, turn.
- Sl 1, knit to within first stitch from gap, ssk, k1, turn.
- Sl 1, purl to within first stitch from gap, p2tog, p1, turn.
- Repeat steps 3 and 4 until you have used up all the stitches in your heel flap, ending on a WS row.
Gusset: Knit half the stitches across heel flap and place marker. Rounds will now start in the middle of the heel flap. Knit the remaining stitches in the heel flap. Pick up and knit one stitch in each of the slipped edge stitches along the heel flap. (12 [14, 16, 18, 20] stitches picked up along edge of heel flap). Pick up and knit one additional stitch where heel flap and instep join. Knit across the instep stitches. Pick up and knit one stitch where instep and heel flap join, and then pick up and knit one stitch in each slipped stitch along the edge of the other side of the heel flap. (12 [14, 16, 18, 20] stitches picked up along edge of heel flap). Work remaining stitches from heel.
Work one round, knitting the sole stitches and working the instep stitches in pattern.
Work the gusset decreases as follows:
Round 1: Knit to three stitches before instep, k2tog, k1, work instep stitches in pattern, k1, ssk, knit to end of round.
Round 2: Work one round, knitting the sole stitches and working the instep stitches in pattern.
Repeat Rounds 1 and 2 until there are 48 (56, 64, 72, 80) stitches total on your needles.
Remove end of round marker, knit across remaining sole stitches to beginning of instep, and replace end of round marker. This will now be your beginning and end of round for the rest of the sock.
Foot:
Continue working instep in pattern and knitting sole stitches until foot measures approximately 2” (5 cm) shorter than your desired length. To determine the length of your sock’s foot, measure from the outside of your heel to the tip of your toes. Compare that to the length of your sock from the deepest part of the heel to the working edge.
Toe:
When you’ve finished knitting the body of your sock, you’ll need to close the toe. Work the following instructions:
- Instep stitches (first 24 [28, 32, 36, 40] stitches of the round): k1, ssk, k18 (22, 26, 30, 34), k2tog, k1. Repeat for sole stitches (second 24 [28, 32, 36, 40] stitches of the round).
- Knit all stitches in the round.
- Repeat steps 1 and 2 until you have 16 (20, 20, 24, 24) stitches total. Note that for each repeat, you will have two fewer stitches between your ssk and your k2tog than you did on the previous repeat.
- Move your stitches onto two needles, 8 (10, 10, 12, 12) per needle, with the sole stitches on one needle and the instep stitches on the other.
- Graft your toe together using stockinette grafting.
Break yarn, weave in ends securely, and block.
Chart A
Note: For each size, add 0 (1, 2, 3, 4) knit stitches on each side of the chart shown below. Work this chart across the first half of each round, then knit all remaining stitches in the round.

Credits
Tech editing: Bonnie Davis of Blue Crab Knits
Photography: Lauren Rad
Thank you for choosing one of my patterns! I try my very best to make sure that all my patterns are error-free and easy to follow. If you have any trouble with this pattern, please let me know. Please send help requests to help@abeeinthebonnet.com.
Want an exclusive 30% discount on all new pattern releases, sneak peeks, occasional freebies, and more? Subscribe to my newsletter at abeeinthebonnet.com/newsletter. I promise not to spam you–friends don’t do that.