There are few things cozier than a handknit blanket, and with cooler weather approaching here in the northern hemisphere, it’s a great time for many of us to cast on a new blanket project.
If you’re a new knitter, though, this might be your first large project. Maybe you’ve only ever knit with straight needles. If that’s the case, you’ll want to read this post for more information about how to knit a blanket with circular needles. It’s a much more comfortable approach that will save you wrist and arm pain down the line.
Before We Start: Why Knit Blankets with Circular Needles?
Blankets are so wonderfully cozy for two reasons: (1) they’re big, and (2) they use a lot of yarn. Those two factors together mean that they are also heavy, especially as you’re working on them.
When all that weight is held on a straight needle, the weight of the entire blanket will be hanging out to your sides as you work, meaning you have to move a lot of weight each time you knit a stitch. Over time, this can cause your arms to get tired and even lead to repetitive stress injuries.
If you knit your blanket with circular knitting needles instead, you’ll find that the weight of the blanket is distributed along the cord between the two needle tips. Instead of hanging off to the side, your blanket will sit in your lap. All of this will distribute the weight of your work more comfortably, helping to prevent fatigue and injury.
This is just one of the many reasons why I prefer knitting with circular needles.

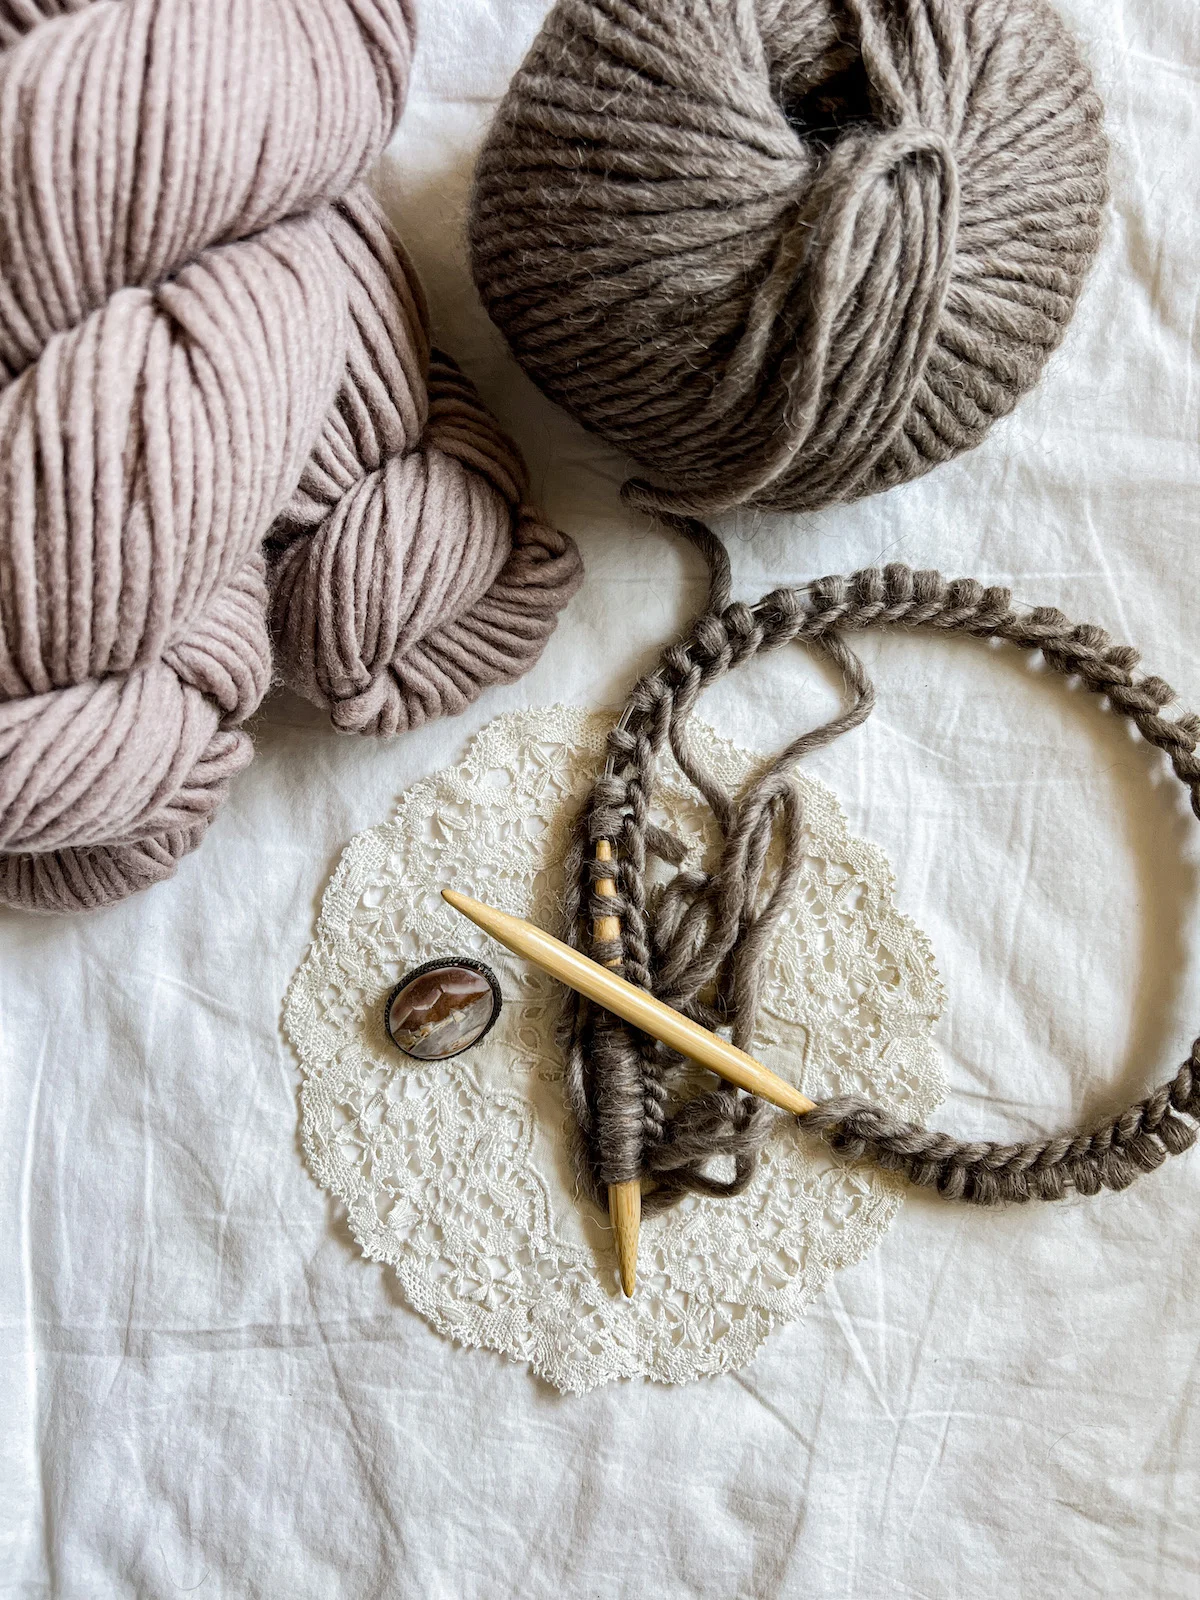
Step One: Choose Your Pattern and Your Yarn
If you’d like to knit a blanket, the first step is to choose your pattern. If this is your very first blanket ever, you can’t go wrong with making a simple garter stitch blanket or a seed stitch blanket. You could also start with a baby blanket before working your way up to a large blanket.
Of course, you might just want to follow somebody else’s pattern, and that’s fine, too. There are lots of good options on Ravelry and other sites. My own blanket pattern, the Catalina Eddy Blanket, comes in five sizes, from baby to king size. If you’d like to make your own blanket pattern, I’ve got a free tutorial that will help you do just that.
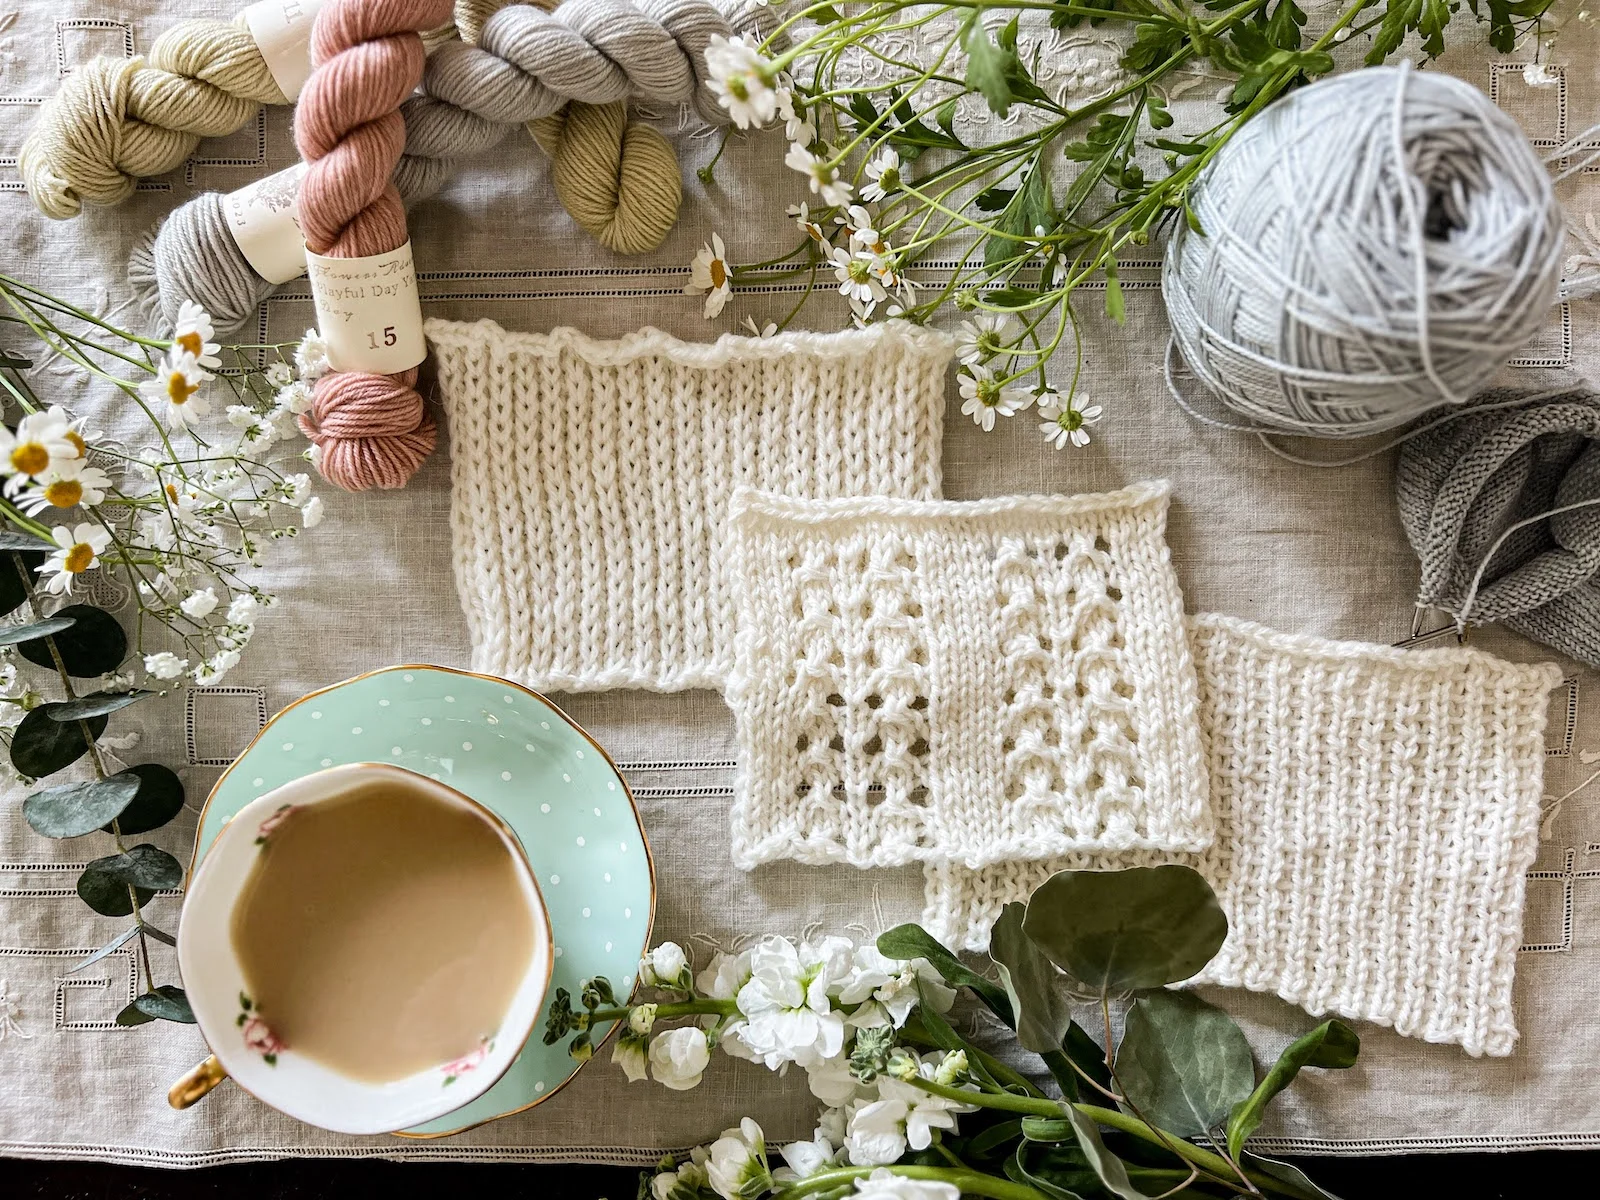
After you’ve chosen your pattern, decide which yarn you want to use. Although knitting patterns almost always include a recommended yarn, you should feel free to make substitutions. Acrylic yarns are popular for blankets because they’re easy to care for. Other knitters prefer using wool. There are benefits and drawbacks to each fiber.
Almost all knitters will agree, though, that thicker yarn is easier to use for blankets. While you don’t have to use bulky weight yarn, you probably don’t want to use yarn lighter than worsted weight yarn, especially for your first blanket. When in doubt, check the label on the ball of yarn to see which yarn weight it is. For my Catalina Eddy Blanket, I used Knit Picks Wool of the Andes held double.

Step Two: Choose Your Blanket Size
Just like blankets in stores, hand knit blankets come in different sizes. If you’re working from a pattern, that pattern will usually tell you which sizes are included in the instructions. Don’t go off of just the label of the size, though. You’ll want to know the dimensions of the blanket, because that will help you choose what size needles to use when you cast on.
In your knitting pattern, there will be a section where all the sizes of the blanket are identified, along with their width and length. If your pattern doesn’t give you these measurements, that’s a red flag and you should proceed with caution. That might mean there are other key pieces of information missing or that it hasn’t been through the technical editing process.
If you’re not working from a pattern, then you should choose the size you want to knit, make a gauge swatch, and use that to determine the correct number of stitches to cast on for knitting the right size blanket.
Larger blankets will take longer than smaller blankets, and finer blankets will take longer than thicker blankets. If you’re looking for quick knits, a chunky blanket or a throw blanket will fit the bill better than a king-sized blanket in fingering-weight yarn.

Step Three: Choose Your Needles
Now comes the part where you need to match things up a bit. When you know the size of the blanket you plan to knit, you’ll also be able to figure out what size knitting needles to use.
In this case, I don’t mean the circumference of the needle tips, though that’s important information, too. No, for this step I’m actually referring to the total length of your circular needles. You’ll want to choose circular needles that are about as long as your blanket is wide. In other words, if you’re knitting a blanket that’s 48″ wide, you’ll probably choose a set of 40″ circular needles.
This isn’t an exact science, and some of it comes down to personal preference. I don’t like having extra, unused cord between my needle tips, because I tend to knit while watching tv on my laptop. Cord that doesn’t have knitting covering it will scrape and scratch, and that’s an annoying sound.
If you have some circular needles and aren’t quite sure how long they are, I’ve got a helpful guide for how to measure your circular knitting needles.
Step Four: Cast On and Go
Once you have the right needles, the right yarn, and a pattern to go with them, you’re ready to roll. Just cast on the required number of stitches you need for your blanket. I like the long tail cast-on for large blankets because it moves pretty quickly.
Once you’ve cast on, use your circular needles exactly the same way you’d use your straight needles. Move the stitches from the left needle to the right, and when you’re done, move the right-handed needle to your left hand and begin again. You may find that as your blanket grows, this process gets a little cumbersome. Try resting as much of the blanket’s weight in your lap as possible.
Here are a few tips to help you keep moving forward with a minimum of stress.

First, if you’re casting on a lot of stitches, it helps to use stitch markers periodically. I like to place a marker every 2-3 repeats or every 50 stitches, whichever is greater. You might find you like a larger or smaller gap between markers.
Second, find a larger container to corral all your skeins of yarn. There’s nothing worse than thinking you have all the yarn you need, only to discover one or two skeins have gone missing as you work. I like to keep my blanket projects in a laundry basket.
Third, try not to put down your work in the middle of the row. If you can, wait until the end of the row before stopping. This will help minimize tension variations in the most visible spots of your blanket.
Intermediate Move: Knit a Round Blanket
If you’ve moved beyond knitting squares and rectangles to knitting tubes using circular needles, you can also knit a round blanket. These are blankets knit from the center out. They use strategically-placed increases at specific intervals to expand the blanket without making it lumpy and while still allowing it to lay flat.
To make a round blanket, you’ll need a couple key tools. The first is several lengths of circular needles. That’s because, as your blanket grows, you’ll need longer and longer cords between the needle tips. This is the type of situation where interchangeable circular needle sets really come in handy, because you can use just one pair of needles and swap out the cords.
The second tool you’ll need is a special cast on. Because round blankets are knit from the center out, you’ll need to cast on using something like the circular cast-on. This technique allows you to start with a very small number of stitches arranged across a few double-pointed needles, and then increase rapidly until you can put your stitches onto a circular needle.
Circular blankets are a fun twist on the classic knit blanket, but beware: knitting your blanket in a circular shape means that, eventually, you’ll have to bind off all those stitches.

Advanced Move: Knitting Your Blanket in the Round and Steeking
All of the previous advice was geared toward flat knitting, but you can also take your blanket knitting up a level. Here’s where things get really fun and creative.
For example, if you are a highly proficient knitter who has decided to do a colorwork blanket, you may also have decided (reasonably!) that knitting blankets flat while also doing colorwork is for the birds. If that’s the case, you can knit your colorwork blanket in the round and then steek it.
Steeking is a technique that involves cutting open a tube of knitting so that it can lay flat. I know, I know. It sounds terrifying. There are lots of helpful guides for how to do it without ruining your work, though. I like this one from the team at Tin Can Knits.
As it turns out, for most patterns, knitting a blanket on circular needles isn’t that different from knitting it on straight needles. Your biggest difference will be your comfort level.
Let’s stay connected!
Join my newsletter for 30% off all new releases, regular updates with helpful tips and tricks, first crack at registration for upcoming workshops, exclusive discounts, and more.
Join the A Bee In The Bonnet Facebook Group to participate in knitalongs and other fun community events
Come hang out with me on the A Bee In The Bonnet TikTok
Follow along on the A Bee In The Bonnet Instagram
Get inspired via the A Bee In The Bonnet Pinterest