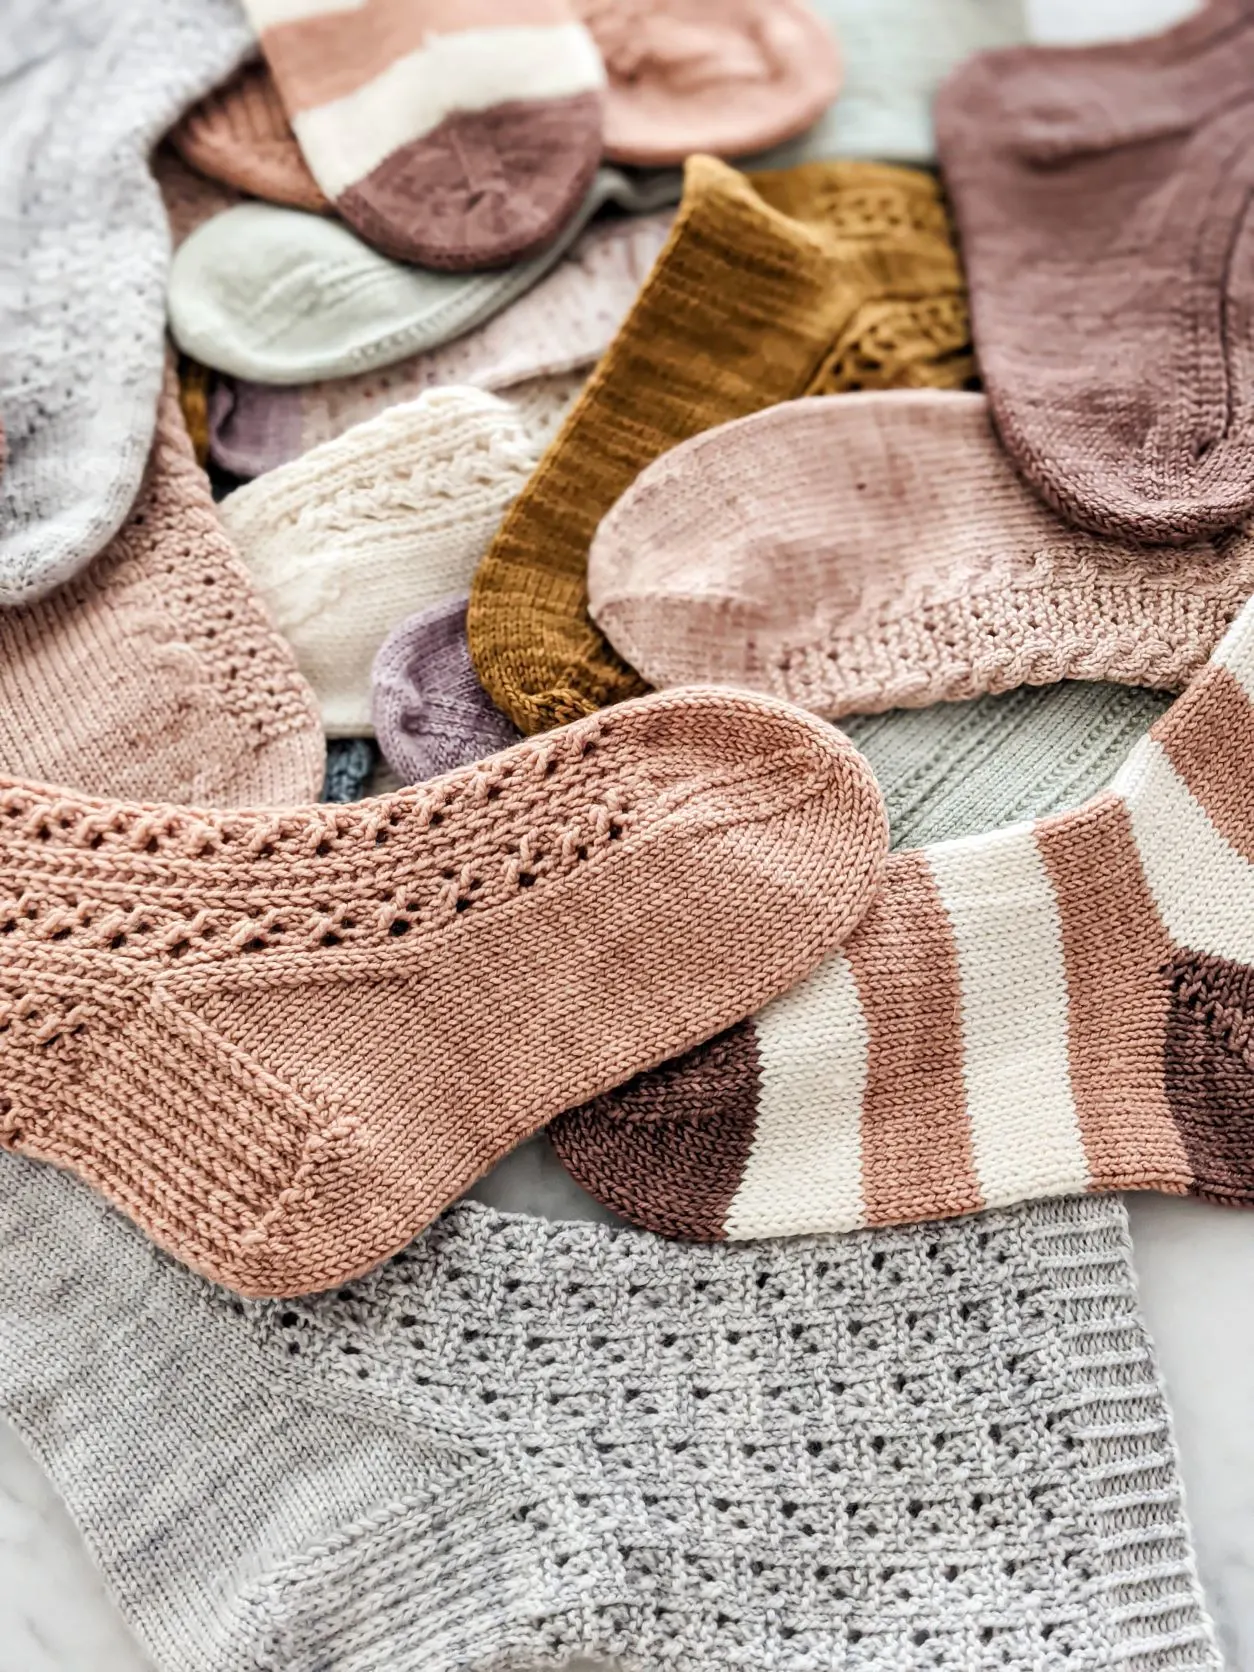
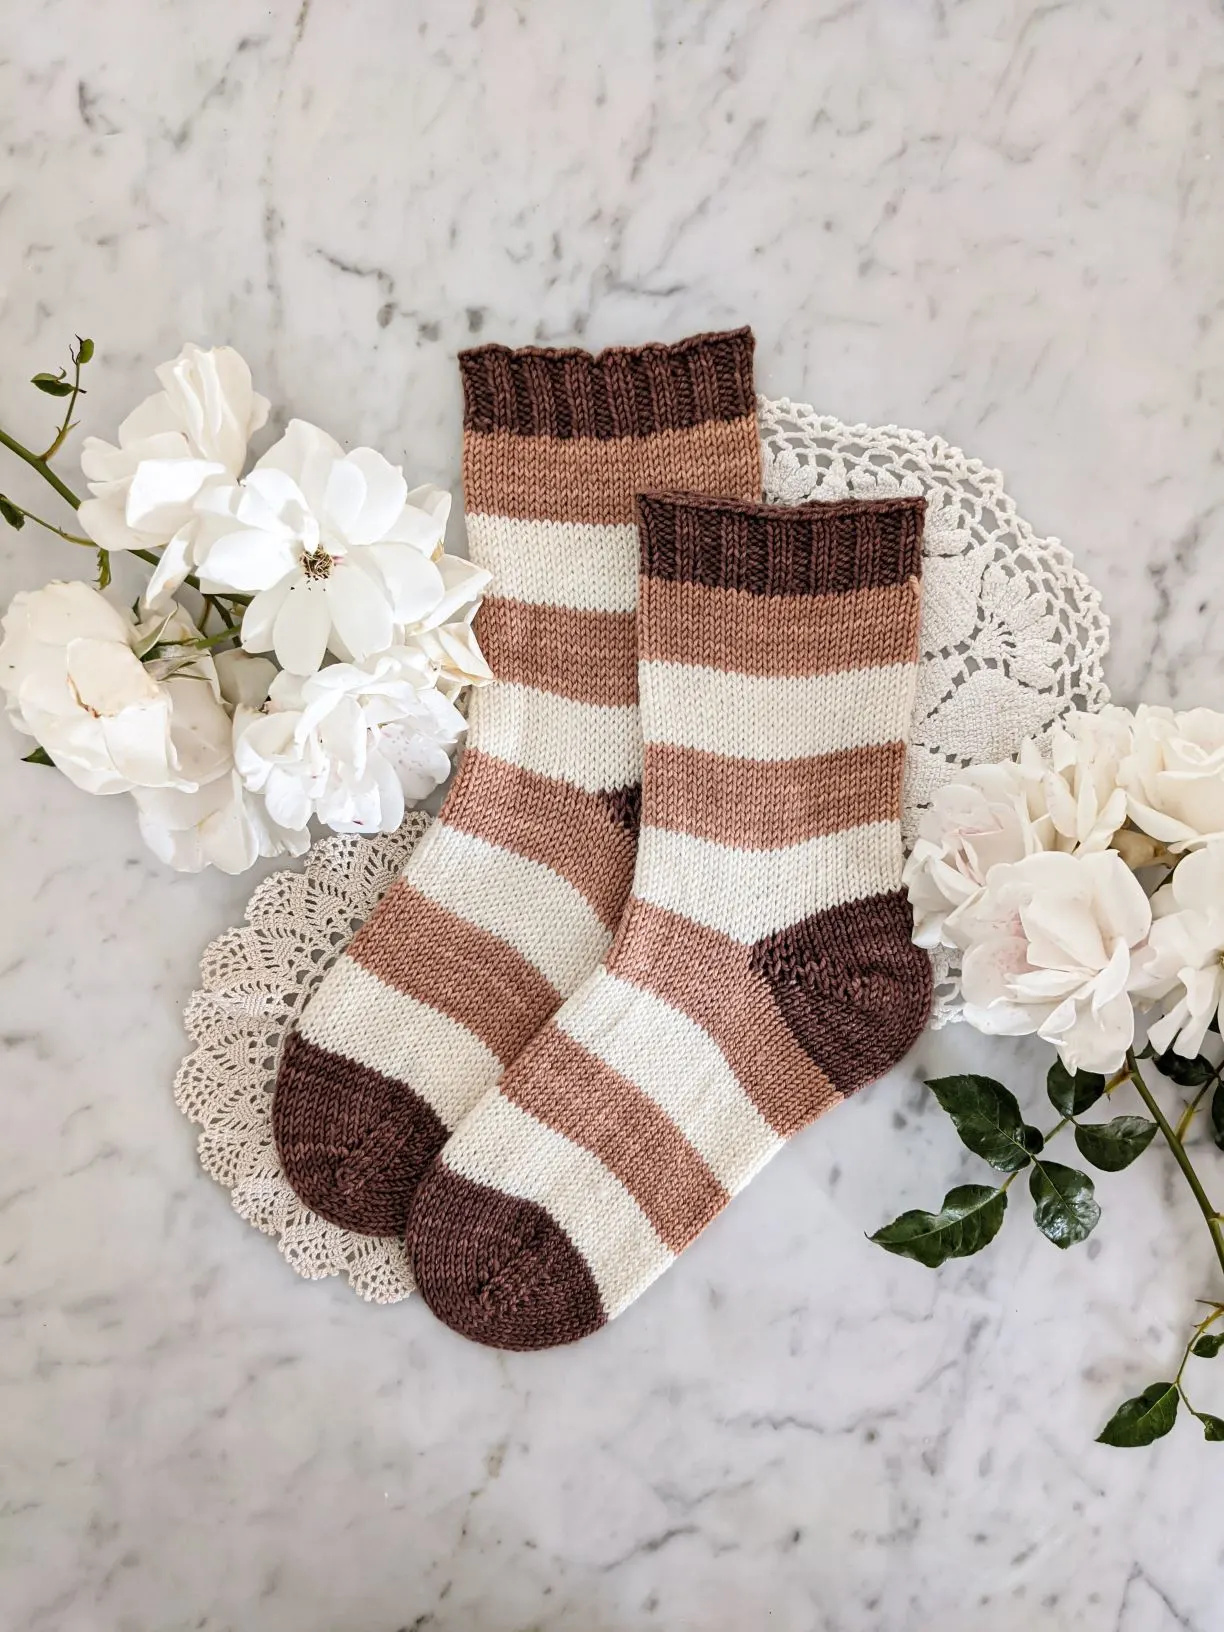
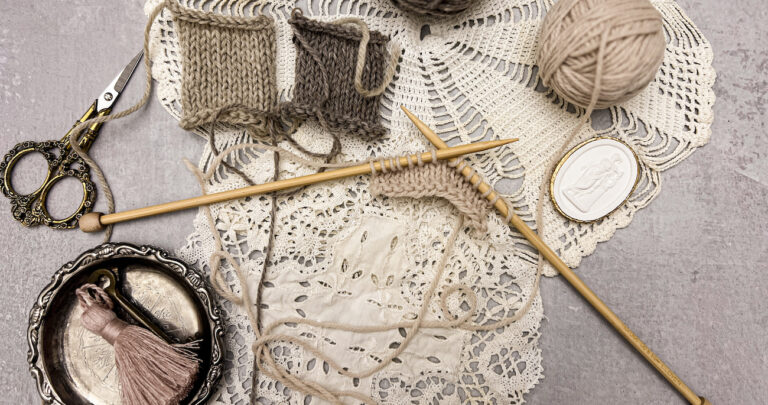
It’s no secret that I love knit socks. I love their portability, the way they show off special yarn, and the fun of finding just the right stitch pattern. I especially love customizing them by using a knit sock heel that fits the unique needs of the wearer.
That’s why I pulled together this post discussing my three most commonly used knit sock heel types: the heel flap and gusset, the no-wrap short-row heel, and the forethought heel. As with my knit sock toe guide, this will focus on heels for cuff-down socks.
Of the three heel types, I like the heel flap and gusset the most. It’s the most customizable, and it’s the one I use most often in my designs. You might like one of the other heel types, though, or even a style that I haven’t discussed here. That’s the beauty of knitting: once you have a general idea of what you’re doing, you can start making your own modifications to get the fit that’s best for you.
Okay, here we go. Let’s get into these sock heels and start analyzing which one is best for different knitters’ needs.
Prefer to get this information in video format? I’ve got you covered! Otherwise, read on below.
Heel Flap and Gusset: A Classic Knit Sock Heel

The heel flap and gusset form a traditional heel that is one of the most customizable and adaptable heels around. If you have a high instep, this is a great heel for you.
Ordinarily, you work the heel flap across an equal, even number of stitches and rows to form a square flap. If you have a high instep, however, you can add additional rows to create a fit that better contours to your foot shape.
When you finish knitting the heel flap, you use simple short rows to create a curve in the heel. This is called “turning the heel.”
A Quick Detour: How to Turn a Heel on a Knit Sock
Here’s a quick guide for how to turn a heel when knitting a sock: first, knit across half the stitches in the heel flap and then knit two more, SSK, knit one, and turn your work. Then you’ll slip one with yarn in front, purl five, p2tog, purl one, and turn your work.
On the next row, you’ll slip one stitch with yarn in back, knit to one stitch before the gap left by the SSK in the previous row, SSK, knit one, and turn. Then you’ll slip one with yarn in front, purl to one stitch before the gap left by the p2tog in the previous row, p2tog, purl one, and turn. Continue working these two rows until you’ve used up all the stitches in your heel. Congratulations! You’ve successfully turned the heel on your knit sock.
Working the Gusset
After turning the heel, you pick up a number of stitches along each side of the heel flap that is equivalent to the number of right-side rows you worked in the heel flap. Then you decrease by two stitches on every other round as you narrow through the gusset down toward the foot.
These decreases will lead to a number of stitches in the gusset that equals the correct number of foot stitches.
Usually, this number is the same as the number you had in the leg portion of the sock, but if you have narrower feet, you may wish to decrease further. Likewise, if you have wider feet, you may decide not to decrease as much.
When you finish the decreases, then you continue working the foot without further decreases until you reach the toe.
The heel flap and gusset have gotten a bit of a bad rap among some knitters because this method takes longer than other heel types. This is technically true, but there’s a caveat. See, you’re also working parts of the instep and sole as you work the gusset, which you don’t do with other heel constructions. In the end, the amount of time spent on the whole sock is about the same.
Forethought Heel: A Quick Heel with a Familiar Construction

Working the forethought heel, which you’ll sometimes see called the peasant heel, requires a strand of spare waste yarn. Choose a waste yarn that is similar in thickness and texture to your working yarn but in a color that will be easily visible when stitched into your working yarn.
When you get to the point in your sock where you want to insert your heel, switch to your waste yarn. You’ll knit across half the sock using your waste yarn. Then you’ll transfer the stitches you just knit with your wasted yarn back to your left needle. Knit them again using your working yarn. Continue knitting your sock in pattern for the length of the foot and work your toe as you please.
When you’re done with the sock, carefully remove the waste yarn, and place the now-live stitches onto your needles. To work this heel, you’ll essentially work a wedge toe, but do it where the heel goes, instead.
You’ll knit a round, then knit a four-stitch decrease round, knit a round, then knit a four-stitch decrease round. Repeat this process until your heel is deep enough and narrow enough to close up with Kitchener stitch.
This tends to be a shallower heel, so it’s great for people with lower insteps. If, however, you have a higher instep and still like the look of this knit sock heel (like I do), you can make it a little roomier. Just add a few rounds of knit stitches at the beginning of the heel before you start your decreases.
A quick note: this knit sock heel is sometimes mistakenly called an afterthought heel. In fact, I’ve done it myself! The afterthought heel, though, doesn’t use waste yarn. Instead, you knit your sock in a tube and, once you’re done with the main body of the knit sock, you cut into the sock to insert the heel. Here’s an overview of how that works.
No-Wrap Short-Row Heel: The Knit Sock Heel for Knitters in a Hurry

The no-wrap short-row heel is the quickest heel discussed in this post. This is a great heel if you prefer settling into the meditative groove of a sock’s texture and don’t want to stop for long to think about the heel.
You work this heel across half the stitches of your sock, and it tends to be a somewhat shallow heel. If you have a higher instep, you may notice a little pulling across the top when you wear the sock.
This heel uses basic short rows to create a little cup for your heel. As you work across the number of stitches for your heel, the rows will decrease by one stitch in each direction until you reach a stopping point.
Then you will start increasing the length of the rows again by one stitch each row until you are back to your original number of stitches. This process forms the curved part where your heel sits inside the sock. The no-wrap method helps eliminate some of the confusion people struggle with when it comes to short rows.
Here’s a great tutorial that explains the steps for how to work this heel.
There are so many more heel types than just these three, but a comprehensive overview would require an entire book. These are my favorites, and they get the job done for just about every situation I encounter. I’ll keep you all posted if I encounter a situation where I need a different heel, though, or if I find a new one I absolutely adore.
Looking to knit socks for yourself? Don’t miss my top 5 sock yarn recommendations.
Let’s stay connected!
Join my newsletter for 30% off all new releases, regular updates with helpful tips and tricks, first crack at registration for upcoming workshops, exclusive discounts, and more.
Join the A Bee In The Bonnet Facebook Group to participate in knitalongs and other fun community events
Come hang out with me on the A Bee In The Bonnet TikTok
Follow along on the A Bee In The Bonnet Instagram
Get inspired via the A Bee In The Bonnet Pinterest


Have you done anything re heels for toe up socks?
Not yet, but I have plans in the works! Stay tuned.
When picking up the extra stitches along the flap, do you pick up both legs of the seam stitch or just one? Yours look so neat and without holes between flap and gusset!
I do both legs, and then on the next round, I knit the stitch through the back loop to tighten everything up. It’s a trick I picked up somewhere along the way, and it works really well.
@Lauren Rad, Thank you 😊