Up until a few years ago, I had no idea how to knit a mitered square. Then I tried out a hat pattern from Woolly Wormhead, and I fell head over heels in love.
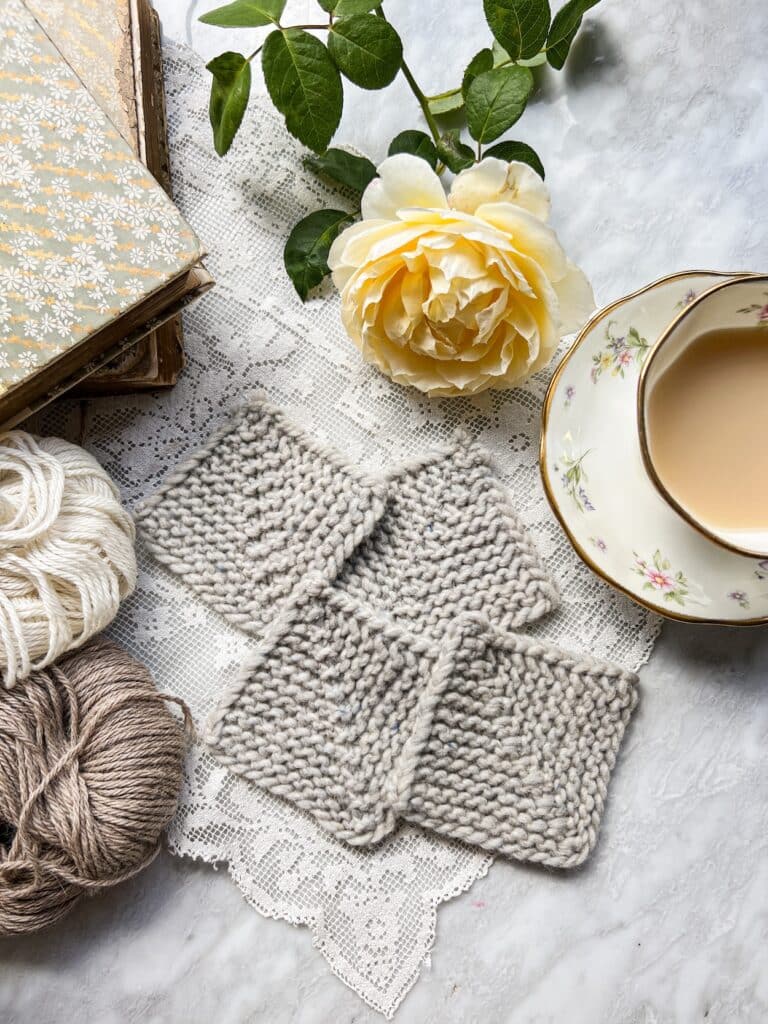
Since then, I have spent a shocking amount of time working on my Mitered Square Blanket of Doom and experimenting with other mitered square construction methods.
You see, there are lots of different ways to knit a mitered square. In today’s blog post, I’m going to cover four different ways to knit mitered squares, but you should know that these are just four common methods. There are lots of other ways that you could do this and make your mitered squares look really fancy.
I’m also only showing you garter stitch mitered squares, but that doesn’t mean you have to do your mitered square in a garter stitch. In fact, you can do some really interesting texture things with a mitered square as long as you are thoughtful about your stitch gauge and row gauge.
Right then. Let’s get to it!
What Makes a Mitered Square?
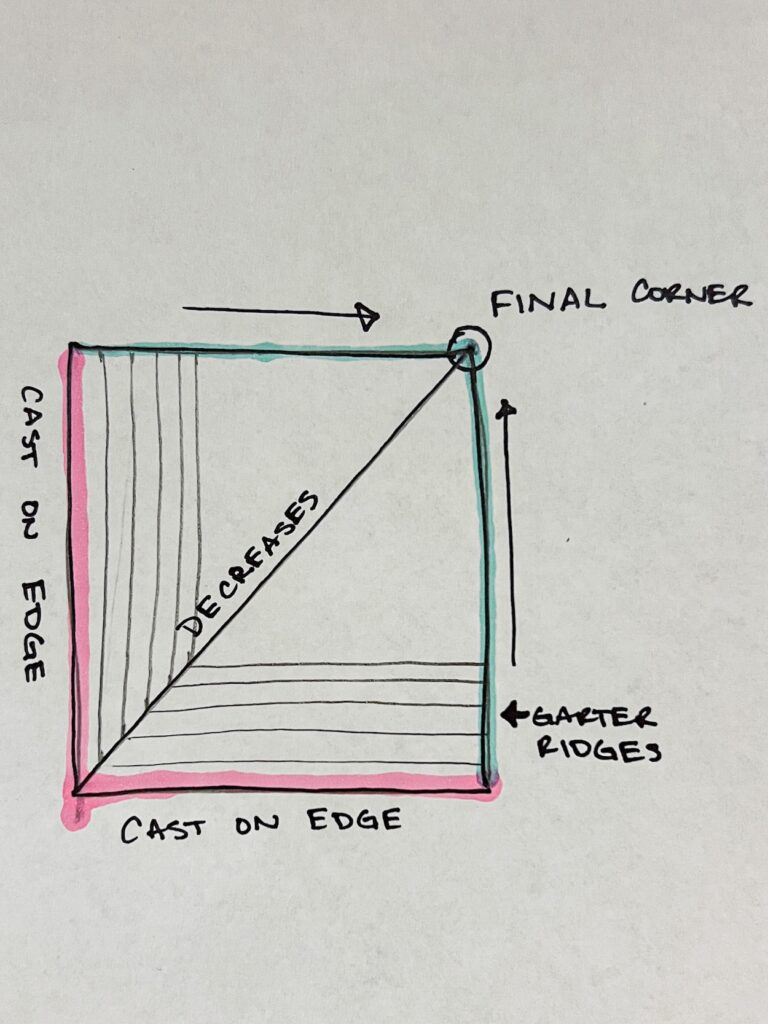
A mitered square is a knit square with decreases worked down a central spine from one corner to another.
You start by casting on enough stitches for the length of two side sides of the square. You’ll work your first decrease or set of decreases on the first row and then, if you’re knitting a garter stitch square, you’ll knit across the next row. As you knit back and forth, you’ll continue decreasing on each right-side row. These decreases narrow your work until eventually you reach a point where only one stitch remains. This forms the final corner of the square.
The rows that you work back and forth fill in the space to create the two additional sides of the square, while the decreases bend the cast-on edge to form a fourth corner at the bottom of the column of decreases.
This diagram I’ve drawn for you with my truly advanced artistic skills (that’s my sarcasm voice, in case you couldn’t tell) shows how the square forms.
Within those limitations, though, there is a lot of room to play. The decrease that you choose for your mitered square will affect not only the visual characteristics of your square but will also affect fabric drape and stretch. Some decreases protrude from the fabric more than others. Some decreases are more flexible than others.
Let’s look at four different ways to decrease for your mitered square.
Method 1: sk2togpsso
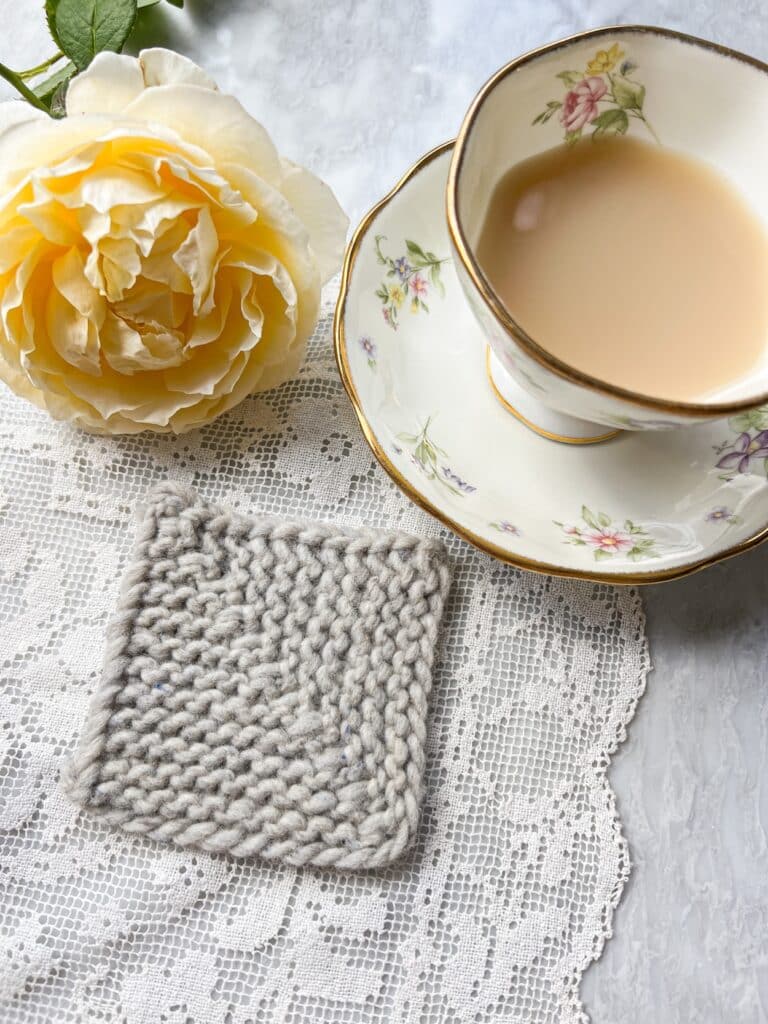
The first method we will look at is also my favorite method for knitting mitered squares and the method I first learned from Woolly Wormhead. This method involves casting on an odd number of stitches, knitting to one stitch before the center stitch, working a sk2togpsso decrease, and knitting to the end of the row. I’ll have step-by-step instructions for you in a moment.
I love this version of mitered squares because it is visually dramatic. This decrease style is a highly visible decrease, and it creates a really strong ridge down the middle of the mitered square.
If you’re not interested in a highly visible decrease column, this may be a drawback for you. It can also be harder to spot where to start this decrease in your knitting than it is for other decrease styles, so keep that in mind if you prefer to read your knitting rather than use a stitch marker.
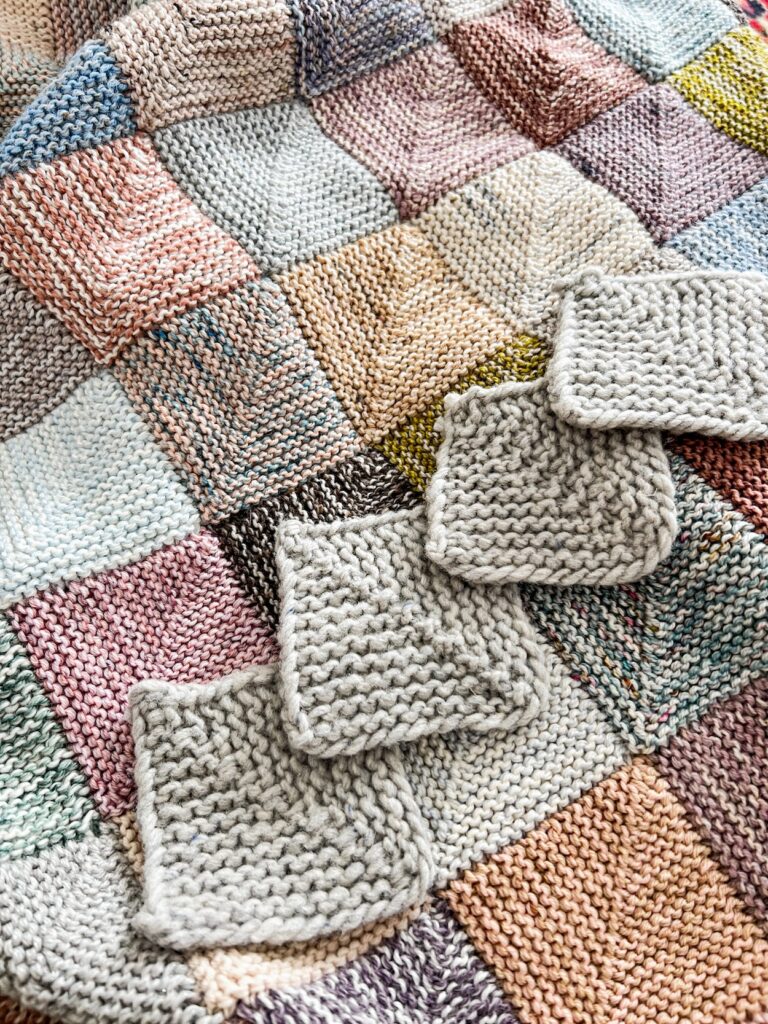
For my mitered square blanket of doom, I start by casting on 35 stitches with two strands of fingering-weight yarn held double and US size 6 needles. You can find more information about how I work these squares in my blog post about how to knit your own mitered square blanket (there’s a free tutorial walking you through the whole blanket process).
Step-by-Step Instructions for Sk2togpsso Mitered Square
Here are step by step instructions for the sk2togpsso mitered square. Remember, to make a bigger square, you can cast on more stitches or use thicker yarn with bigger needles. To make a smaller square, cast on fewer stitches or use thinner yarn with smaller needles. You just need to make sure you cast on an odd number of stitches. For all of the mitered squares in this post, the odd-numbered rows are the right side rows and the even-numbered rows are the wrong side rows.
Row 1 (RS row): Cast on 35 stitches.
Row 2 and all even rows (WS rows): Knit one row. Turn.
Row 3: K16, sk2togpsso, k16. Turn.
Row 5: K15, sk2togpsso, k15. Turn.
Row 7: K14, sk2togpsso, k14. Turn.
Row 9: K13, sk2togpsso, k13. Turn.
Row 11: K12, sk2togpsso, k12. Turn.
Row 13: K11, sk2togpsso, k11. Turn.
Row 15: K10, sk2togpsso, k10. Turn.
Row 17: K9, sk2togpsso, k9. Turn.
Row 19: K8, sk2togpsso, k8. Turn.
Row 21: K7, sk2togpsso, k7. Turn.
Row 23: K6, sk2togpsso, k6. Turn.
Row 25: K5, sk2togpsso, k5. Turn.
Row 27: K4, sk2togpsso, k4. Turn.
Row 29: K3, sk2togpsso, k3. Turn.
Row 31: K2, sk2togpsso, k2. Turn.
Row 33: K1, sk2togpsso, k1. Turn.
Row 35: sk2togpsso. Bind off.
Method 2: Centered Double Decrease (CDD)
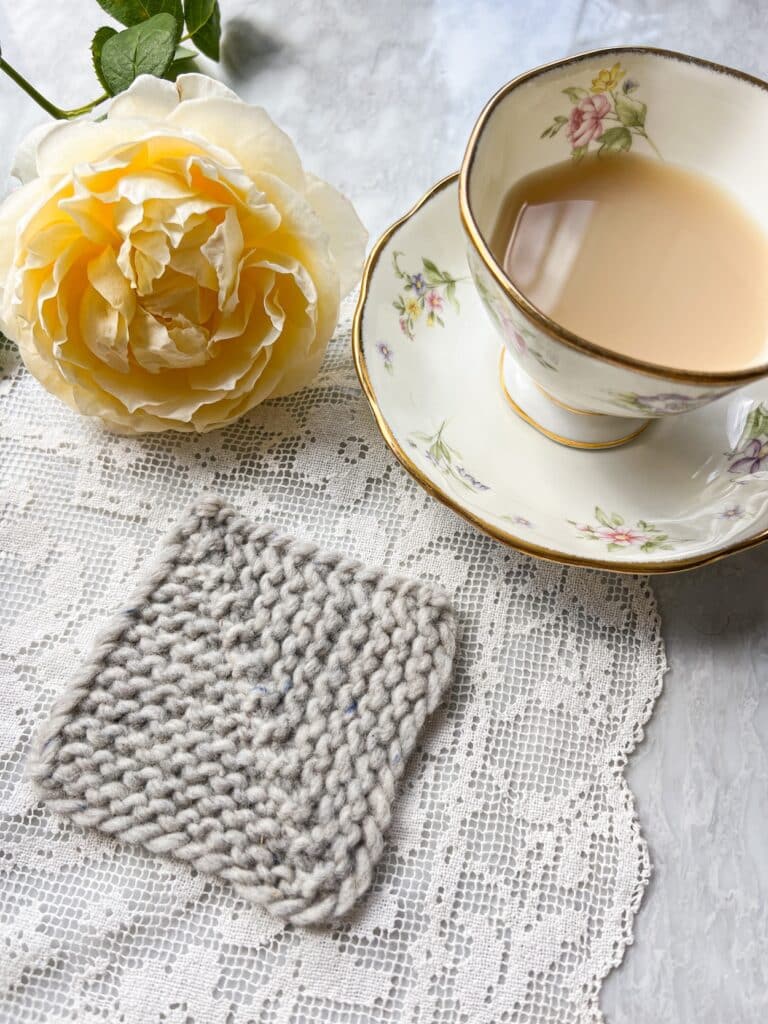
This is a really elegant alternative to the previous method. The center double decrease is a much less visible decrease, and so it will create a less pronounced diagonal line along your mitered square. Essentially, the center stitch in the CDD camouflages the stitch decreased on either side of it.
This is a great choice where you want a more subtle visual effect in your mitered square. For example, if you are knitting a stockinette stitch mitered square, the center decreases will blend in better than some other methods would.
On the other hand, this decrease is probably the trickiest decrease that I’m covering in this blog post today. In fact, for a few years there, I completely misunderstood how to work it. The decrease that I use in my Bricolage Socks and my Baluster Socks is a direct result of that misunderstanding. The CDD is also a little more cumbersome in the hands and more likely to lead to a dropped stitch because you are slipping two stitches together knitwise. This can be especially difficult if you are working with needles with a blunter tip or you are working at a tight gauge.
If you would like to knit a mitered square using this method, you can follow the same instructions for Method 1 and just swap out the decrease. That’s the only thing that needs to change.
Method 3: ssk, k1, k2tog
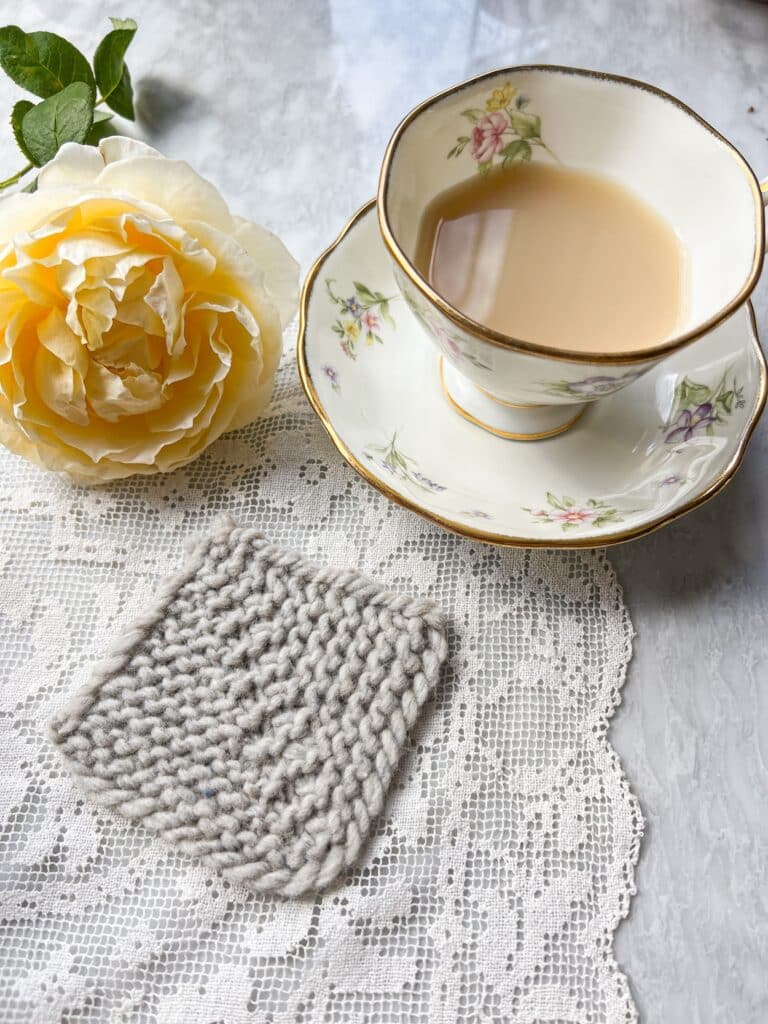
The next method is one of the most beginner-friendly methods for knitting mitered squares. With this method, you cast on an odd number of stitches, knit until two stitches before your center stitch, work a slip slip knit, knit one, knit two together, and then knit to the end of row. Because SSK and k2tog are some of the easiest decreases for beginners and are the first decreases most of us learn, this method will probably feel the least intimidating.
Here are step by step instructions for this method.
Row 1 (RS row): Cast on 35 stitches.
Row 2 and all even rows (WS rows): Knit one row. Turn.
Row 3: K15, ssk, k1, k2tog, k15. Turn.
Row 5: K14, ssk, k1, k2tog, k14. Turn.
Row 7: K13, ssk, k1, k2tog, k13. Turn.
Row 9: K12, ssk, k1, k2tog, k12. Turn.
Row 11: K11, ssk, k1, k2tog, k11. Turn.
Row 13: K10, ssk, k1, k2tog, k10. Turn.
Row 15: K9, ssk, k1, k2tog, k9. Turn.
Row 17: K8, ssk, k1, k2tog, k8. Turn.
Row 19: K7, ssk, k1, k2tog, k7. Turn.
Row 21: K6, ssk, k1, k2tog, k6. Turn.
Row 23: K5, ssk, k1, k2tog, k5. Turn.
Row 25: K4, ssk, k1, k2tog, k4. Turn.
Row 27: K3, ssk, k1, k2tog, k3. Turn.
Row 29: K2, ssk, k1, k2tog, k2. Turn.
Row 31: K1, ssk, k1, k2tog, k1. Turn.
Row 33: Ssk, k1, k2tog. Turn.
Row 35: sk2togpsso. Bind off.
Method 4: ssk, k2tog (without a center stitch)
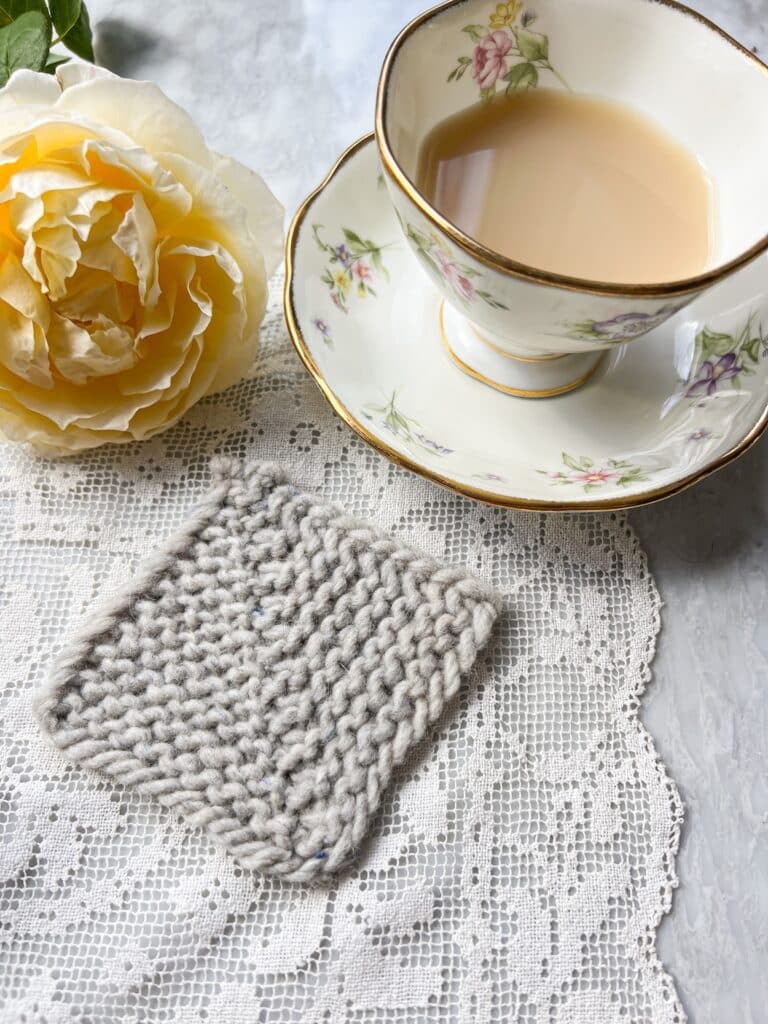
This method is the only method I’ve included in this blog post that uses an even number of stitches in the cast on. Most mitered squares have a center stitch, but they don’t technically have to have one. If you don’t mind working two decreases side-by-side, then this mitered square could be a good choice for you.
Because of how these decreases work, you can also easily mark the center of the mitered square with a stitch marker and then decrease on either side of the marker. Just knit to two stitches before the marker on each odd-numbered row, ssk, slip marker, and k2tog. Easy peasy.
Here are step-by-step instructions for working this type of mitered square:
Row 1 (RS row): Cast on 34 stitches.
Row 2 and all even rows (WS rows): Knit one row. Turn.
Row 3: K15, ssk, k2tog, k15. Turn.
Row 5: K14, ssk, k2tog, k14. Turn.
Row 7: K13, ssk, k2tog, k13. Turn.
Row 9: K12, ssk, k2tog, k12. Turn.
Row 11: K11, ssk, k2tog, k11. Turn.
Row 13: K10, ssk, k2tog, k10. Turn.
Row 15: K9, ssk, k2tog, k9. Turn.
Row 17: K8, ssk, k2tog, k8. Turn.
Row 19: K7, ssk, k2tog, k7. Turn.
Row 21: K6, ssk, k2tog, k6. Turn.
Row 23: K5, ssk, k2tog, k5. Turn.
Row 25: K4, ssk, k2tog, k4. Turn.
Row 27: K3, ssk, k1, k2tog, k3. Turn.
Row 29: K2, ssk, k1, k2tog, k2. Turn.
Row 31: K1, ssk, k1, k2tog, k1. Turn.
Row 33: Ssk, k1, k2tog. Turn.
Row 35: sk2togpsso. Bind off.
How to Choose the Right Decrease for Your Mitered Square Project
Each of these mitered square styles is slightly different, and depending on your goals, you might want to choose one over the other. The sk2togpsso square will be the most visually bold, while the CDD method will be more subtle and polished. The square knit with ssk, k1, k2tog will be simple and straightforward, while the square with just ssk and k2tog in the middle and no center stitch will be the most sleek-looking.
If you’re not sure which version you might prefer, the easy option Is to swatch. You can cast on for a smaller version of the size squares you plan to knit, and then you can decide after you see how they look all knit up.
Some Tips to Get the Most Out of Your Mitered Squares
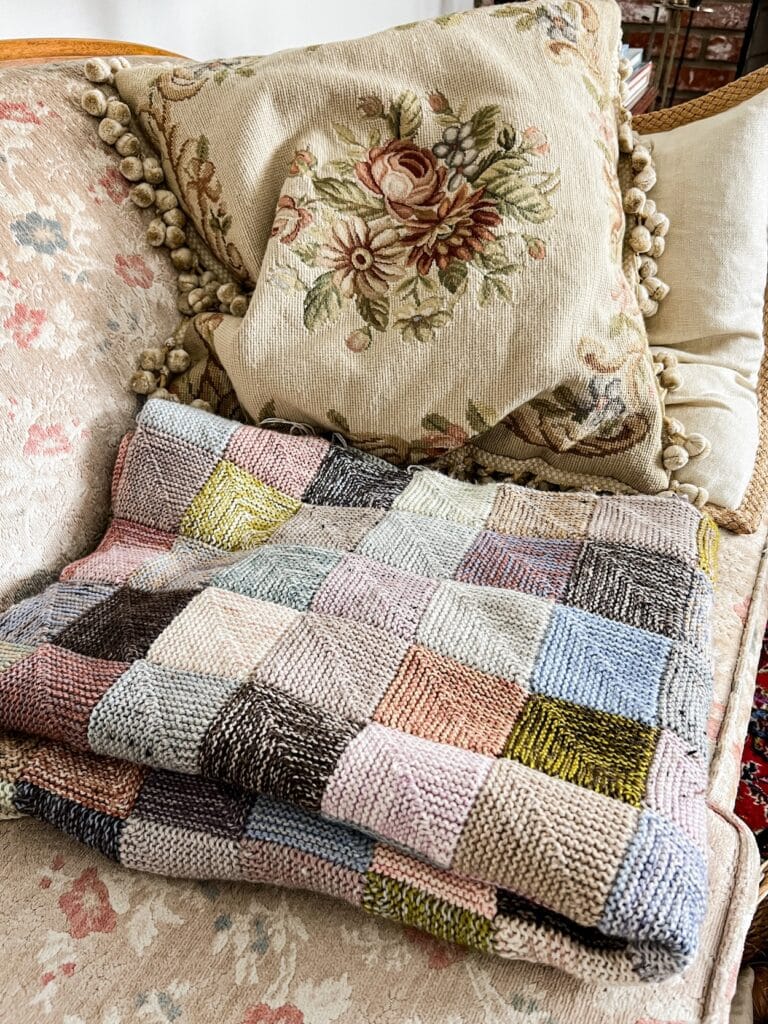
Mitered squares are a great way to use up leftover yarn and scraps from projects. My mitered square blanket I’ve been working on is knit entirely with leftover sock yarn. You can also sew them together to make bags and cardigans (like you would with crocheted granny squares), or you can use single mitered squares as potholders and hot pads.
A removable stitch marker can be helpful if you are working one of the odd-numbered mitered squares and need help keeping track of where to make your decreases. If you clip the marker into the decrease, you’ll easily be able to see the halfway point in the next garter ridge as you keep knitting. Then you can remove it, work the next decrease, and place it again into the decrease stitch.
If you’re working mitered squares that you plan to seam together or join as you go, using slipped stitches at the beginning of each row in a garter stitch square can make that process easier. Note that doing so for a stockinette stitch square may cause a little distortion along the edges.
Circular needles make it much easier to knit your mitered square, because as you work your decreases, the remaining stitches will naturally develop a bit of a curve. You’ll also be casting on a fairly large number of stitches, and that may feel crowded on straight needles.
Let’s stay connected!
Join my newsletter for 30% off all new releases, regular updates with helpful tips and tricks, first crack at registration for upcoming workshops, exclusive discounts, and more.
Prefer to read without ads? Join my Patreon, which starts at just $1 a month!
Join the A Bee In The Bonnet Facebook Group to participate in knitalongs and other fun community events
Come hang out with me on the A Bee In The Bonnet TikTok
Follow along on the A Bee In The Bonnet Instagram
Get inspired via the A Bee In The Bonnet Pinterest



Hello,
A question. By sk2togpsso you mean: SL1, K2TOG, PSSO?
Thank you.
Yes, that’s the same decrease. It can be abbreviated several different ways.
I have made 2 mitred square blankets and used the JAYG (Join As You Go) method which is very easy and gives a neat finish