One reason many of us got into knitting is to make things that fit ourselves just right, especially if we’re shaped in ways that common mass-produced sizing blocks don’t really accommodate. To do that, though, we need a bit of knowledge and some math.
And part of the essential math is making sure your gauge matches the pattern’s gauge so you know you’ve chosen the right size item to knit. It’s a crucial step, even for an easy knit with only a few measurement points.
With things knit in the round, though, there are some special considerations. In today’s blog post, we’re going to cover the purpose of a gauge swatch and what you need to look out for when swatching. We’ll also look at how to use the speed swatch technique for swatching projects knit in the round.
Why Gauge Swatching Is an Essential Step
Gauge varies from knitter to knitter. Different hands often end up with different gauge even when using the same yarn and needles.
Both stitch gauge and row gauge are crucial to getting your finished knit to fit properly. Stitch gauge determines the width of your project, while row gauge determines height/depth.
For example, if your stitch gauge is off, you may end up with a significantly wider or narrower garment than you had planned. If your row gauge is off, the yoke on your sweater or the armholes may be too deep or too shallow.
Knitting in the Round vs. Knitting Flat – The Gauge Issue
The thing is, if you’re knitting something in the round, your gauge will likely be different compared to if you’re knitting something flat. That’s true even if you’re using the same stitch pattern. When you’re knitting flat, you usually purl a lot on the wrong side and knit a lot on the right side.
For most Western-style knitters, the purl stitch is slightly larger than the knit stitch. That means if you’re knitting stockinette stitch, for example, your gauge when knitting flat is likely to be looser than when you knit in the round. The looser purls lead to a looser overall gauge.
That matters for things like socks and seamless garments knit in the round. If you are working on a garment that’s knit in the round, you need to swatch in the round.
Swatching in the Round is a Pain
The problem, of course, is that swatching in the round is twice as many stitches as swatching flat. That’s twice as much yarn and twice as much time, too. Nobody wants to be spending hours swatching when they could just start their knitting project. These natural feelings of impatience can be dangerous, though, when they lead a knitter to skip swatching altogether.
Enter: the speed swatch.
What Is a Speed Swatch?
The speed swatch is a special way of swatching. It allows you to mimic the gauge of knitting in the round without actually knitting all the way around.
Essentially, you knit the first half of the tube you’d normally knit for your swatch in the round. Then, rather than continuing in the round, you slide the swatch back along the needle to its starting position. Trail the yarn around the back to leave very long floats, and start the next row.
This process is faster than swatching completely in the round. You’re only working half the stitches you’d otherwise be working. It’s also a more accurate way to find gauge for a garment knit in the round because you don’t flip the project and work wrong-side rows like you would with a flat swatch.
How to Knit a Speed Swatch: An Easy Tutorial
Let’s walk through the process of knitting your own speed swatch.
Step One: Choose Your Yarn and Test Needle
Grab the yarn you plan to use for the project and the needle size you’re going to start with for your gauge swatch.
Usually you’ll want to start with the needle size the designer used to hit gauge (they’ll say which size in the pattern). If you’re an experienced knitter and know you’re usually a tight or a loose knitter, you may want to preemptively adjust your needle size up or down accordingly. It’s okay to start with a different needle size if experience tells you that’ll be the likely end result anyway.
For needle style, you’ll want either a fairly long DPN (at least 6″ or 15 cm) or a circular needle.
Step Two: Cast On Enough Stitches for a Full-Sized Speed Swatch
Tiny gauge swatches are no good to you, especially when you’re knitting adult-sized garments. You want your finished swatch to be at least 4” (10 cm) wide. I also recommend including some extra buffer room for edge stitches. Edge stitches can easily get distorted and shouldn’t be used to determine gauge. When in doubt, knit a larger swatch.
The gauge indications in the pattern are a good starting point here. For example, if the pattern says 36 stitches = 4” (10 cm), I would cast on at least 44 or 46 stitches. This gives me wiggle room so I know all the stitches I’ll be measuring for my gauge swatch are even.
You can use any cast-on method you prefer. If the pattern calls for a specific cast-on, this can be a good opportunity to try it. If it doesn’t give guidance, I always like a long tail cast-on.
Step Three: Work the First Right-Side Row in the Correct Pattern
You should always swatch in the stitch pattern indicated by the designer. Usually they’ll say whether the gauge swatch is worked in stockinette, in a particular pattern, or something else. When in doubt, use the stitch pattern of the garment itself. Pattern gauge will be the real determiner of fit.
Work the first row in the stitch pattern you’ve chosen. When you get to the end of the row, slide your stitches along the needle until you’re back in the starting position. The first stitch you knit should be the first stitch on the left needle tip.
Step Four: Make a Long Yarn Float and Begin the Second Row
After sliding your work back to starting position, stretch it out along the needle so that the stitches aren’t bunched together. This will help ensure you have a long enough yarn float behind your work.
Then take your working yarn and, keeping it nice and loose, drape it around the back of your work. This float should be long enough that it won’t tug the edges of the swatch and cause them to curl.
Use the working yarn to knit the first stitch of the second row in your swatch. Then work the remainder of the row in the pattern you chose for the swatch.
At the end of this and each row going forward, repeat the same process: slide the work back to starting position, make a long float, and start the next row. If you need to try more than one stitch pattern to measure its gauge, just keep going and knit a very tall swatch with all the different patterns you’ll need to test. You can change to a new stitch pattern at the beginning of a new row.
Step Five: Continue Until Your Swatch is Big Enough, Then Bind Off
Once your swatch is a little over 4” (10 cm) tall or you’ve worked the desired number of rounds, you can bind off your swatch. Any method is fine. If you have a specific one in mind for finishing your actual knitting project, this would be a good chance to test it out and see how it does with the yarn you chose.
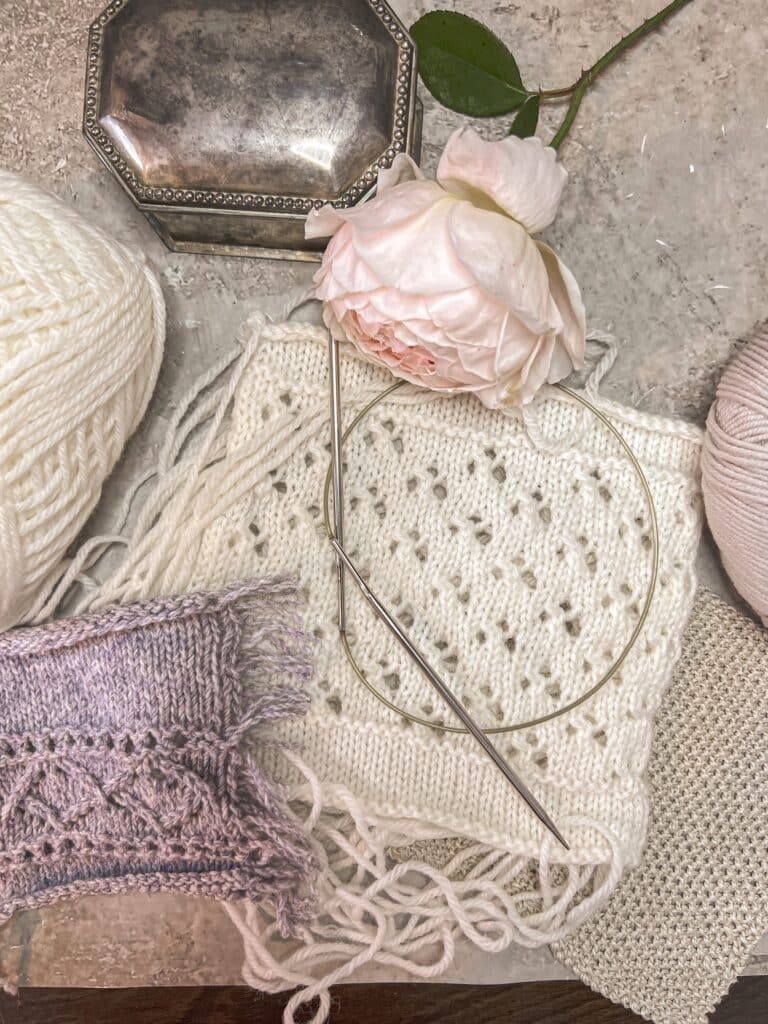
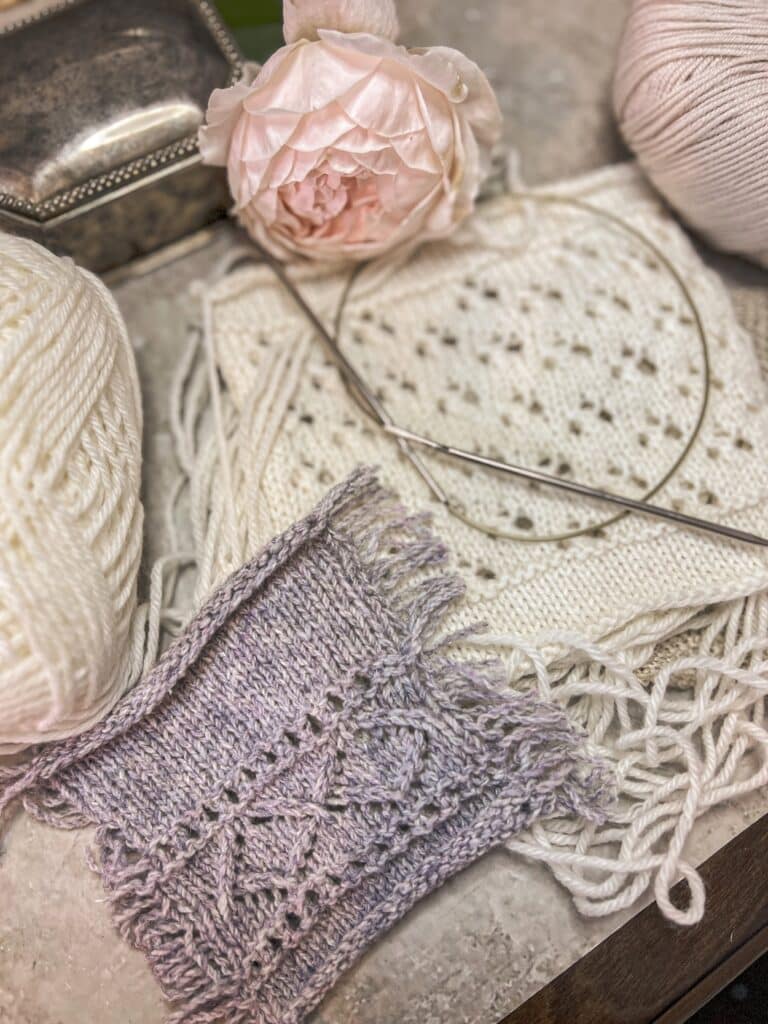
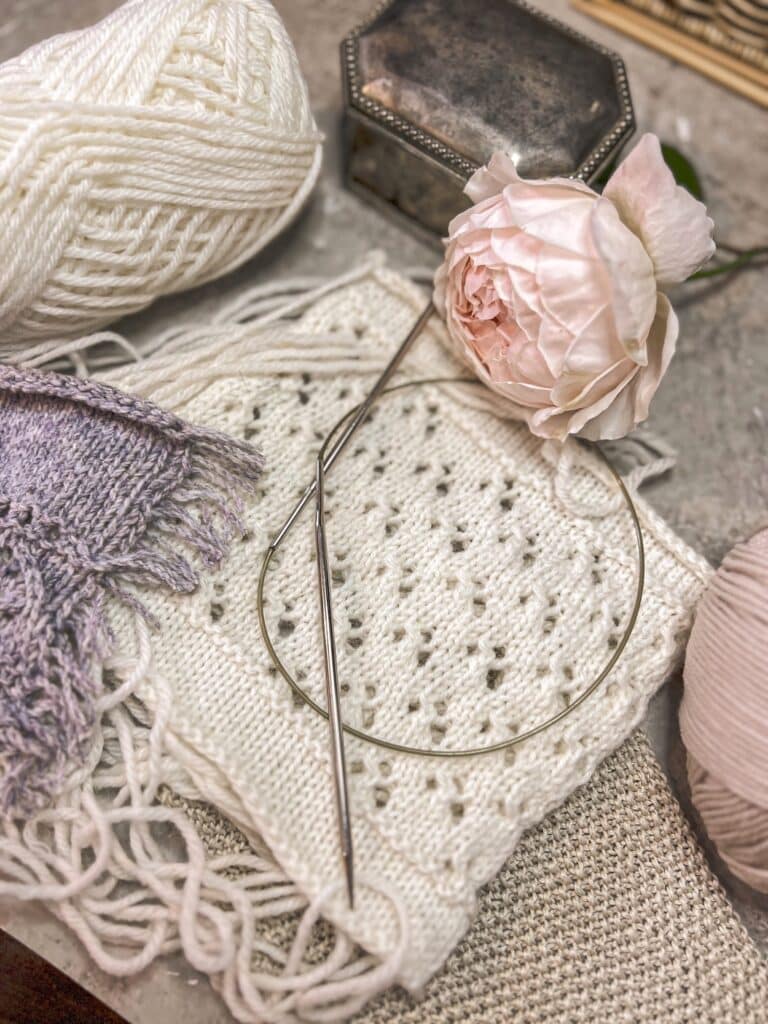
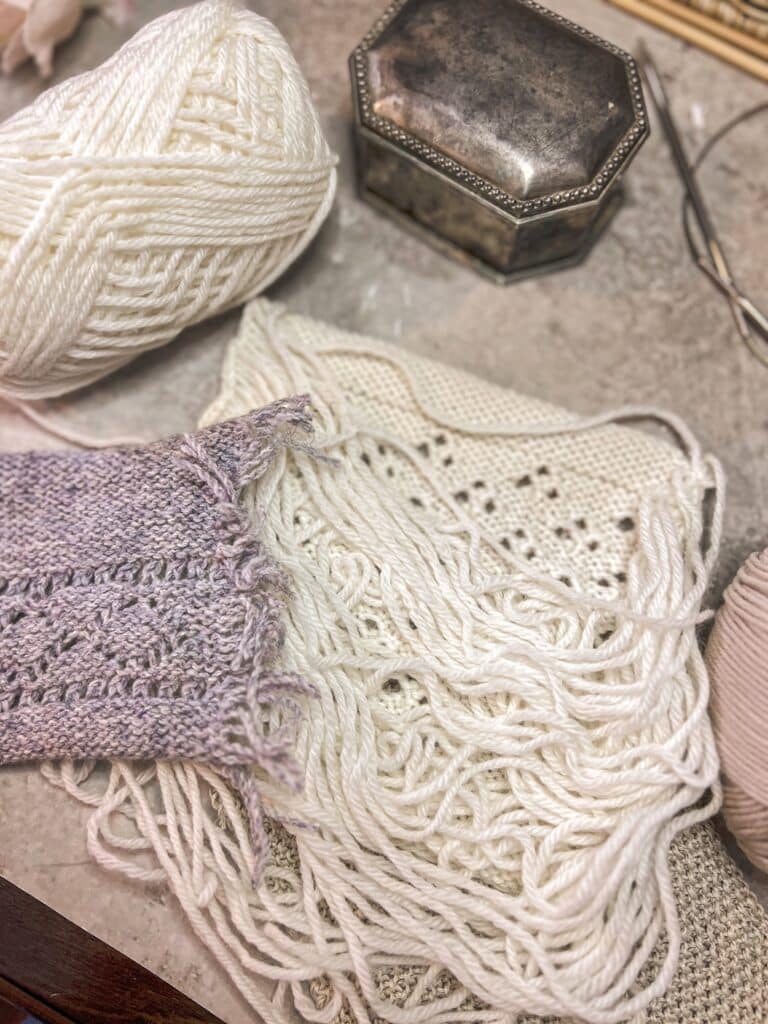
If your floats on the back of the swatch are a little snug, you can cut them like I’ve done with the gray swatch in these photos. It’s okay. The swatch won’t come unraveled that easily.
Don’t Forget to Measure and Block (and Measure Again) Your Swatch
Your knit item is going to need to be cleaned at some point. The cleaning process is almost guaranteed to affect the fabric of the knit item. This is why it’s so important to treat your swatch the way you plan to treat the finished knit.
Measurement #1: Unblocked
First, you need to measure your swatch. Knowing its unblocked gauge measurement is crucial for patterns where the instructions include things like, “Knit until the body of the sweater is 10 inches long.” If your row gauge is different from the pattern designer’s gauge, you may need to do a little math to know how long you should knit your sweater in its unblocked state. You’ll only know that if you know the swatch measurements before and after blocking.
Blocking the Swatch
Once you’ve measured the stitch and row gauge, you’ll want to block your swatch. Note: this does not mean stretch the swatch! It means expose the swatch to the same type of moisture you plan to use to clean the garment (soaking or steaming are most common). Then you should pat it gently into shape and let it dry flat. Only lace really requires pins or wires at this stage. You generally don’t want to pin out a cable design.
Measurement #2: Blocked
Let the swatch dry, and then take one last set of measurements. Odds are good your swatch’s dimensions will have changed. This is okay and very normal. If your finished, blocked gauge is larger than the pattern designer’s gauge, you’ll want to try again with a smaller knitting needle size. Conversely, if your finished, blocked gauge is smaller than the pattern designer’s gauge, you’ll want to try again with a larger needle size.
Once you’ve measured your swatch before and after blocking, you’ll be equipped with the information you need to knit your garment in the intended size.
A Few Tips to Make Speed Swatching Easier
Speed swatching isn’t always the most intuitive thing. Here are some tips to provide for a smoother knitting process.
Multiple Needles in One Swatch
If you suspect that your finished gauge swatch won’t meet gauge with the first needles you tried, you can work one large gauge swatch with several needle sizes in it. Just do a purl row or some sort of dividing line and make a note of which needle size you used for each section. Then switch needles and keep knitting. This lets you see what different tension looks like right next to each other without multiple rounds of blocking and measuring.
Multiple Yarns in One Swatch
The same is true if you’d like to test a few different yarns. Once your swatch with your first yarn is tall enough, you can just attach the new yarn and carry on. This is less useful if you’re also interested in seeing how a particular cast-on or bind-off works with each yarn. It can be helpful, though, if you’re just looking at the knit fabric itself. Having the different results in one swatch is also a great way to make sure you don’t misplace one.
Measuring Your Swatch Accurately
To make sure you get a more accurate reading of your gauge, it’s best to measure your swatch using a ruler or a soft measuring tape. I’m not a fan of the tools that measure stitches across an inch or two and then tell you your gauge, because you really need to measure across a large number of stitches for accuracy. 18 stitches per 4″ and 22 stitches per 4″ look very similar when you’re only measuring one inch, but that’s more than a small difference across a garment with 200 stitches or more in its circumference.
Tidiness Isn’t Always Important
The back of your speed swatch is going to look messy with all those floats! Don’t worry. You can cut them when you’re done if you don’t like how they look. Just know that’ll make it harder to reuse the yarn if you need it. Cutting the floats on the flip side is probably only a good call if you’re sure you have plenty of yarn.
Let’s stay connected!
Join my newsletter for 30% off all new releases, regular updates with helpful tips and tricks, first crack at registration for upcoming workshops, exclusive discounts, and more.
Prefer to read without ads? Join my Patreon, which starts at just $1 a month!
Join the A Bee In The Bonnet Facebook Group to participate in knitalongs and other fun community events
Come hang out with me on the A Bee In The Bonnet TikTok
Follow along on the A Bee In The Bonnet Instagram
Get inspired via the A Bee In The Bonnet Pinterest

lovely advices you gave us, I learnt a lot from it ! thank you!