I love knitting blankets because they’re the only project you can actually use as you’re working on them. As they grow, they’ll keep you nice and cozy while you stitch. If you’ve been wondering how to knit a blanket and are hoping for a similarly cozy experience, this post will guide you through the steps to make any blanket from a baby blanket to a throw blanket and beyond, from any stitch pattern you’d like to use.
Here’s what you’ll need for this process:
- The type of yarn you want to use for your blanket
- A pair of needles that are the right size for your yarn
- Somewhere to soak your gauge swatch (a sink or a bowl of lukewarm water is fine)
- A ruler
- Some scratch paper to do some simple math
- Maybe a calculator, if you’re like me

Before You Start: Choosing the Right Yarn
Before you start anything, you’ll want to figure out which kind of yarn you’ll be using for your blanket. Different types of yarn will result in different blanket characteristics.
First, let’s talk fiber content. Many knitters like to work with acrylic yarn for blankets because they’re easy to launder. Others are fine with using a superwash merino wool and setting the blanket out to dry. Wool yarn will be somewhat warmer than acrylic yarn, but it often comes with a higher price tag, so there’s a trade off there.
You’ll also want to think about what weight yarn to use for your blanket. I like worsted weight yarn or, at the lightest, fingering-weight held double to approximate a DK-weight yarn. I have, however, also knit using bulky weight yarn. Bear in mind that, the thicker the yarn, the heavier the blanket, and that’ll be especially obvious on laundry day. You’ll really notice the weight of the blanket when it’s wet and you’re trying to wrangle it.
Finally, choose a yarn with a couple plies and some structure to it. In other words, you don’t want to knit a really chunky blanket out of that ultra fluffy, roving-style yarn. They look pretty, but they’re impossible to launder, they pill like nobody’s business, and they shed everywhere. For more on understanding yarn construction and why it matters, check out my yarn substitution series.
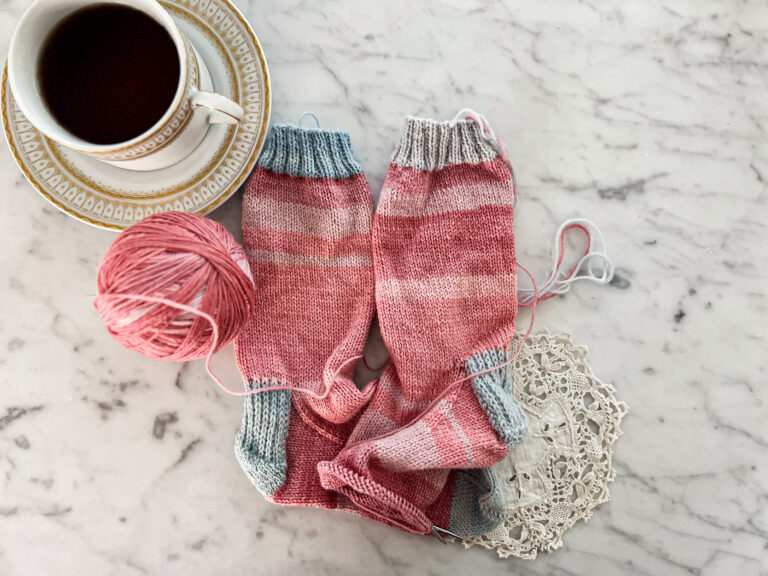
Step One: For the Best Blanket Knitting Experience, Do a Gauge Swatch
I know, I know, almost nobody likes swatching. The problem is, if you’re not working from a predesigned pattern, you really do need to do a gauge swatch first. That’s because you won’t know how many stitches to cast on until you do your gauge swatch, and you don’t want to spend all this time hand knitting something as big as a blanket only to have it turn out the wrong size.
There are some tricks to it, though, so read on for the best practices for this stage of your blanket knitting process.
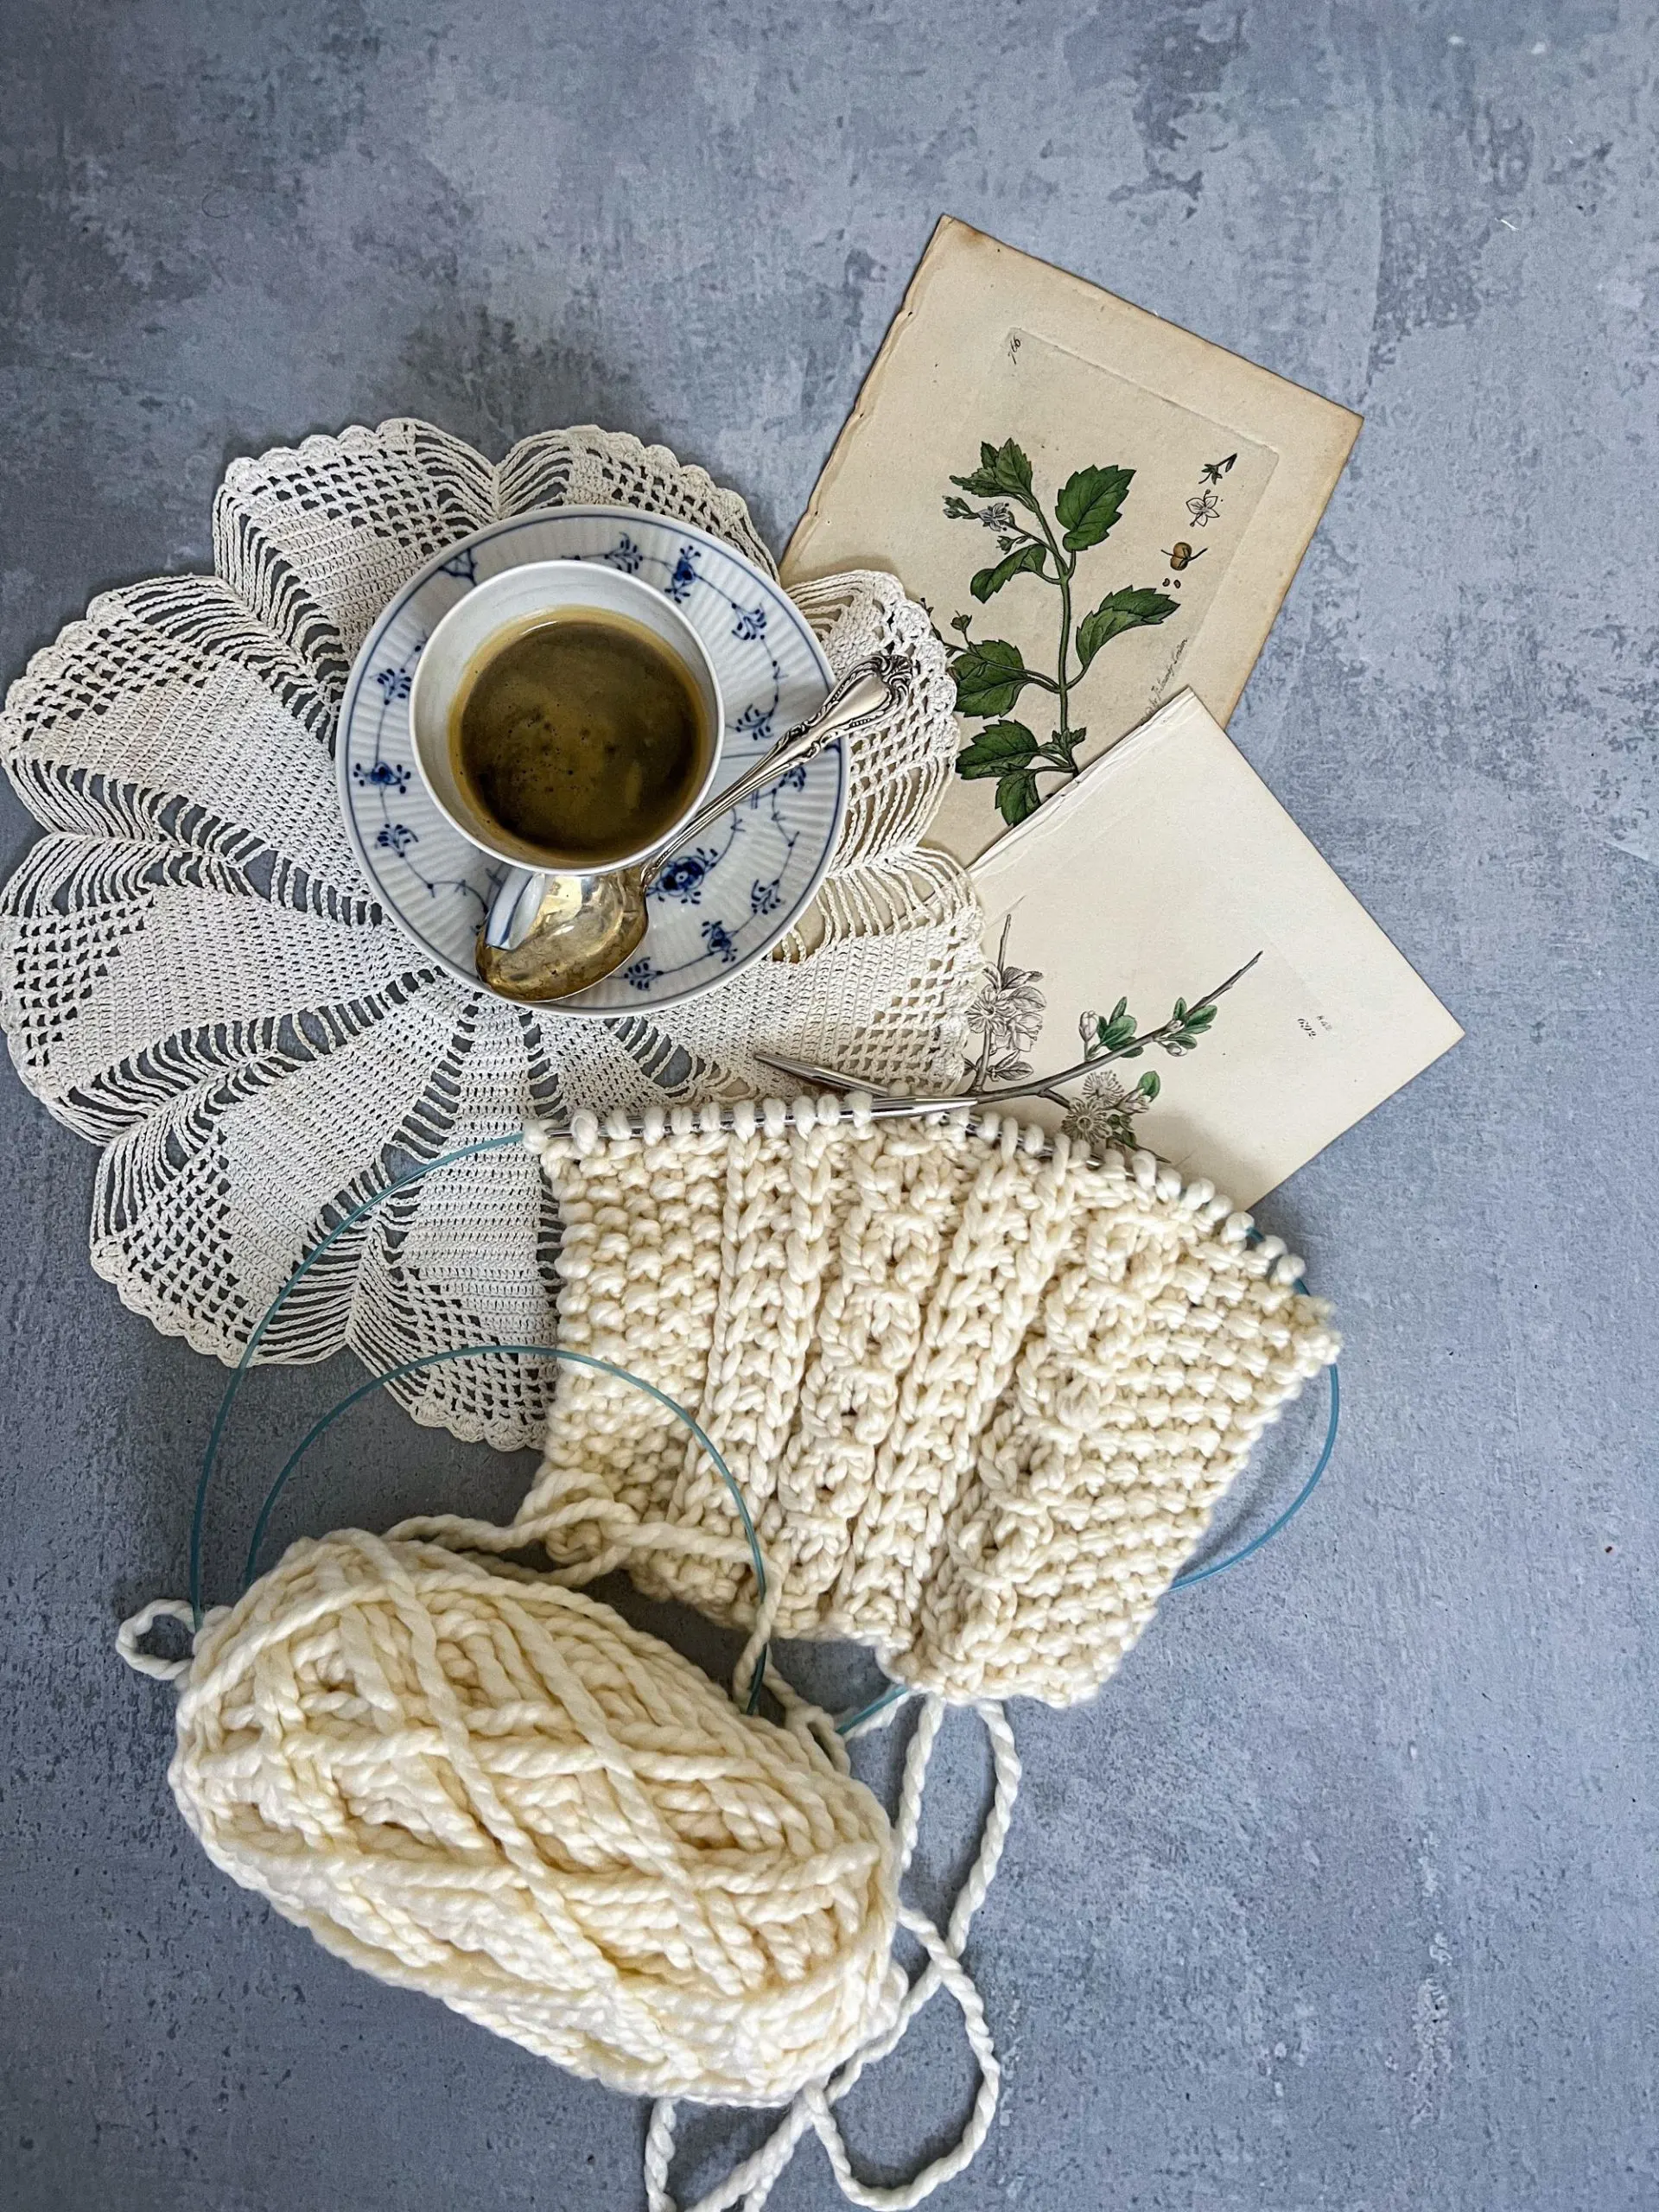
Casting On Your Swatch
First, pick out your stitch pattern and the size needles you’d like to use. Make sure the needles are the same needle size as the ones you plan to use for knitting your blanket. I recommend using circular needles instead of straight needles, because blankets get heavy pretty quickly. Circular knitting needles will distribute the weight more comfortably.
Cast on enough stitches for at least two and maybe even three horizontal repeats of that stitch pattern. I have found over the years that a stitch pattern can look beautiful in one repeat but chaotic over two or three repeats. You want to make sure that you are designing a knit blanket that will be visually pleasing, both because you’ll have to stare at it while you are making it and because you will have to stare at it once you’re using it.
Next, work at least two and probably even three vertical repeats of your stitch pattern. Again, that’s because some stitch patterns will look great after one repeat but look a bit messy after two or three repeats. Blanket knitting is as much an art as it is a science, so it’s best to double check.
You will also find after a few repeats whether you actually enjoy working this stitch or whether it makes you want to rip your hair out. That’s a really important consideration, because you’re going to be working this stitch pattern a lot. Even a small blanket in chunky weight yarn requires a lot of pattern repeats and can take a long time. Blanket knitting is an endurance sport, so it’s best to make sure that the stitch pattern you choose is one you enjoy.
Finally, it’s important to see whether the stitch pattern you chose works well in a larger scale. Sometimes, a stitch pattern that looks great on a sock is just too intricate or too simple for a knit blanket project. It’s hard to know until you see that stitch pattern in the yarn you plan to use for knitting your blanket.
Finishing Your Swatch
You might think you’re done, and if you’re using an acrylic yarn, you could be. If you are using cotton or wool or bamboo, though, you have another step. Knitting a blanket requires a little extra effort.
You need to give your gauge swatch a good soaking in lukewarm water and then lay it flat to dry. You don’t need pins or wires or any fancy gear. Just gently squeeze out the yarn and then lay it flat to dry. That’s enough. (For more on how simple blocking can be, check out this post.)
We do this step because yarns made from natural fibers change when they come into contact with water, and your blanket will get washed at some point. It is a fact of life. Therefore, you need to know what your blanket measurements will be after that blanket gets washed and dried.
Most natural fibers tend to open up and stretch after they have gotten wet. The result is that your gauge swatch will grow at least somewhat and sometimes even significantly after a soaking. Your blanket will do the same thing.
Here’s what you don’t want to have happen in your process of learning how to knit a blanket. Let’s say you spend months knitting a baby-size blanket. You knit to the correct dimensions while it’s unblocked, and then you give it to the new parents. After an incident, they wash the blanket, and it grows into a twin-size blanket that’s way too large for the tiny baby. Nope, that’s not ideal. To avoid that scenario, you need to soak and dry your swatch.
If you plan to use a border on your hand knit blanket to avoid curling (I recommend this!), make sure to swatch the border stitch using this same process. You’ll want to make sure you add a border that’s the right size. To do that, you’ll need to know the stitch gauge and row gauge of the pattern you plan to use for the border.
After your gauge swatch has been soaked and dried, it’s time for the next phase.
Step two: do some math
Once your gauge swatch is dried, you will be able to determine how many stitches you need to make the size blanket you want to make. It’s going to involve a ruler and a little bit of math, but I promise, it’s very basic math. I will give you the formula for how to do it. You’ll just have to plug in the numbers.

Knowing how to do this simple math is crucial to knowing how to knit a blanket that’s the right size, so give this a genuine try.
First, Take Some Measurements
You’ll need to use a ruler to see many stitches it takes to make four inches of width in your design. I recommend using a ruler or metal tape measure because they won’t distort over time. A fabric tape measure can stretch or shrink and give inaccurate measurements.
We measure across four inches because stitches rarely fit perfectly into a single inch. What’s more, even after blocking, there can be some unevenness in stitch size. When we measure across 4 inches, we are more likely to get an accurate measurement of how many stitches per inch you have in your gauge swatch.
Then, do the same vertically. Using a ruler, measure how many rows it takes to achieve 4 inches of height.
When you are done, you will divide each of those numbers by four. This will give you the number of stitches per inch and rows per inch.
Then, Use Those Measurements to Calculate Your Stitches and Rows
Now, you will use that number of stitches per inch to figure out how many stitches you need to cast on and how many rows you need to knit for your desired blanket size. Here’s a link to a helpful infographic that will help you figure out the size of the blanket you need.
So let’s say you want to knit a baby blanket. A baby blanket’s standard measurements vary, but the one I used for the Catalina Eddy blanket was 36” (91.5 cm) x 54” (137 cm). And let’s say, for the sake of our example, that your design has 4.25 stitches per inch and 5.5 rows per inch. Using these numbers, you can multiply the stitches per inch and rows per inch with the width and length measurements of the blanket to figure out how many stitches and how many rows you will need for your completed blanket.
Here’s an example for a baby-sized blanket.
4.25 stitches per inch x 36 inches = 153.36 stitches cast on
5.5 rows per inch x 54 inches length = 297 rows to work in pattern
Here’s the fun part. Neither of those calculations work with our design, which is a ten-stitch repeat over four rows. What’s a knitter to do?
Fudge things a bit.
That’s right. This is your official permission to get approximate. Cast on 150 stitches and work 296 rows. It’ll be okay. Part of figuring out how to knit a blanket is getting comfortable with things not being 100% exact.
Remember, if you are adding a border to your blanket, you’ll want to do a separate bit of math to make sure your border dimensions are right. Use the same steps to calculate your stitches per inch and rows per inch. Then decide how wide you want your border to be. Do the math above to calculate how many stitches and rows you need for a border of that thickness, and be sure to account for those stitches in your final cast-on number.
This same process applies to all the different sizes of blankets out there, and it can even work for non-standard blanket sizes, too. Once you know your target dimensions, you can just plug them into the equation.

Step Three: Cast On and Go
Once you know how many stitches you need to cast on and how many rows you need to knit, you can get to work. Be sure to choose a circular needle with a cable that is slightly shorter than your intended finished width. That will help keep you from having to deal with random bits of cable flapping around while you work. Then, it’s off to the races.
To calculate how much yarn you’ll need to finish your blanket, just follow this simple process.
- Weigh your gauge swatch. Write down its weight.
- Find the total area of your swatch by multiplying its length by its width.
- Find the total area of your intended blanket by multiplying its length by its width.
- Multiply the weight of your gauge swatch by the total area of your intended blanket.
- Divide your total from Step 4 by the total area of your gauge swatch.
- That will tell you the total weight of yarn you’ll need for your final blanket, assuming you’re using the same yarn for the blanket that you used for your swatch. To be on the safe side, add 10-15% to that total. With that knowledge, you can figure out how many skeins of yarn to buy based on how much each skein weighs.
I hope this blog post has been helpful in your journey toward learning how to knit a blanket. Blanket knitting can be a fun, relaxing, and rewarding experience, and having the tools to create your knitted blanket from scratch makes it feel even better.
If you end up using this blog post to make your own blanket from a stitch pattern you’ve found, I’d love to see it! Drop me a note in the comments with a picture or a link to somewhere that you have posted about your work.
Want to try knitting a slightly more complicated blanket? Check out my mitered square blanket tutorial, which includes a video tutorial for the special cast on I suggest using.
Let’s stay connected!
Join my newsletter for 30% off all new releases, regular updates with helpful tips and tricks, first crack at registration for upcoming workshops, exclusive discounts, and more.
I’m on YouTube now and would love to have you join me there for regular project updates, technique tips, chats about goings-on in the knitting world, and more.
Prefer to read without ads? Join my Patreon, which starts at just $1 a month!
Join the A Bee In The Bonnet Facebook Group to participate in knitalongs and other fun community events
Come hang out with me on the A Bee In The Bonnet TikTok
Follow along on the A Bee In The Bonnet Instagram
Get inspired via the A Bee In The Bonnet Pinterest