
Last week, I covered what to do when the stitches themselves are too tight in your cast on. In that situation, you’ll often have trouble getting your second needle into them and working the first row of stitches. Today, we’re going to cover the other problem people are often referring to when they say they have a tight cast on. This blog post will address what to do when you need a stretchy cast on but there’s no give in your stitches.
What Causes a Cast On That’s Not Stretchy
Tight cast ons with no stretch can be a real problem for things like socks and hats. Those are projects where you need a little bit of give in your cast on.
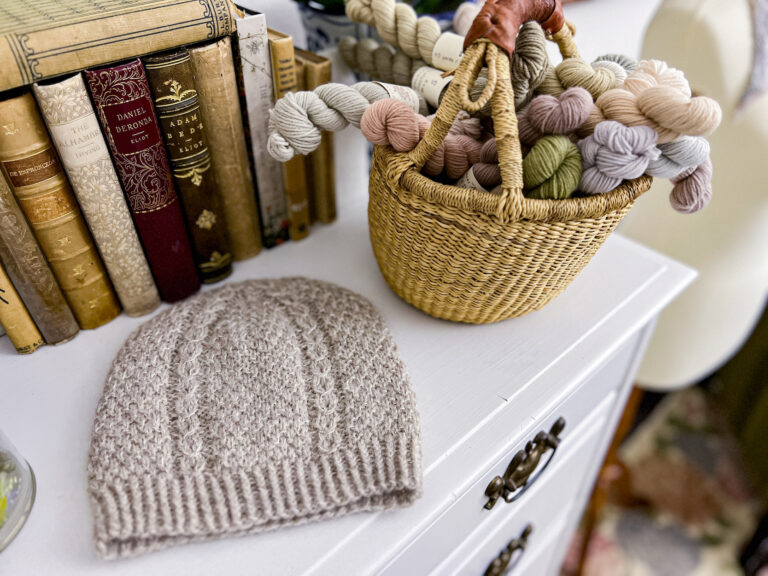
Picture this. You’ve finished a beautiful hat for yourself, but when you put it on, the very edge of the brim cuts into your head.
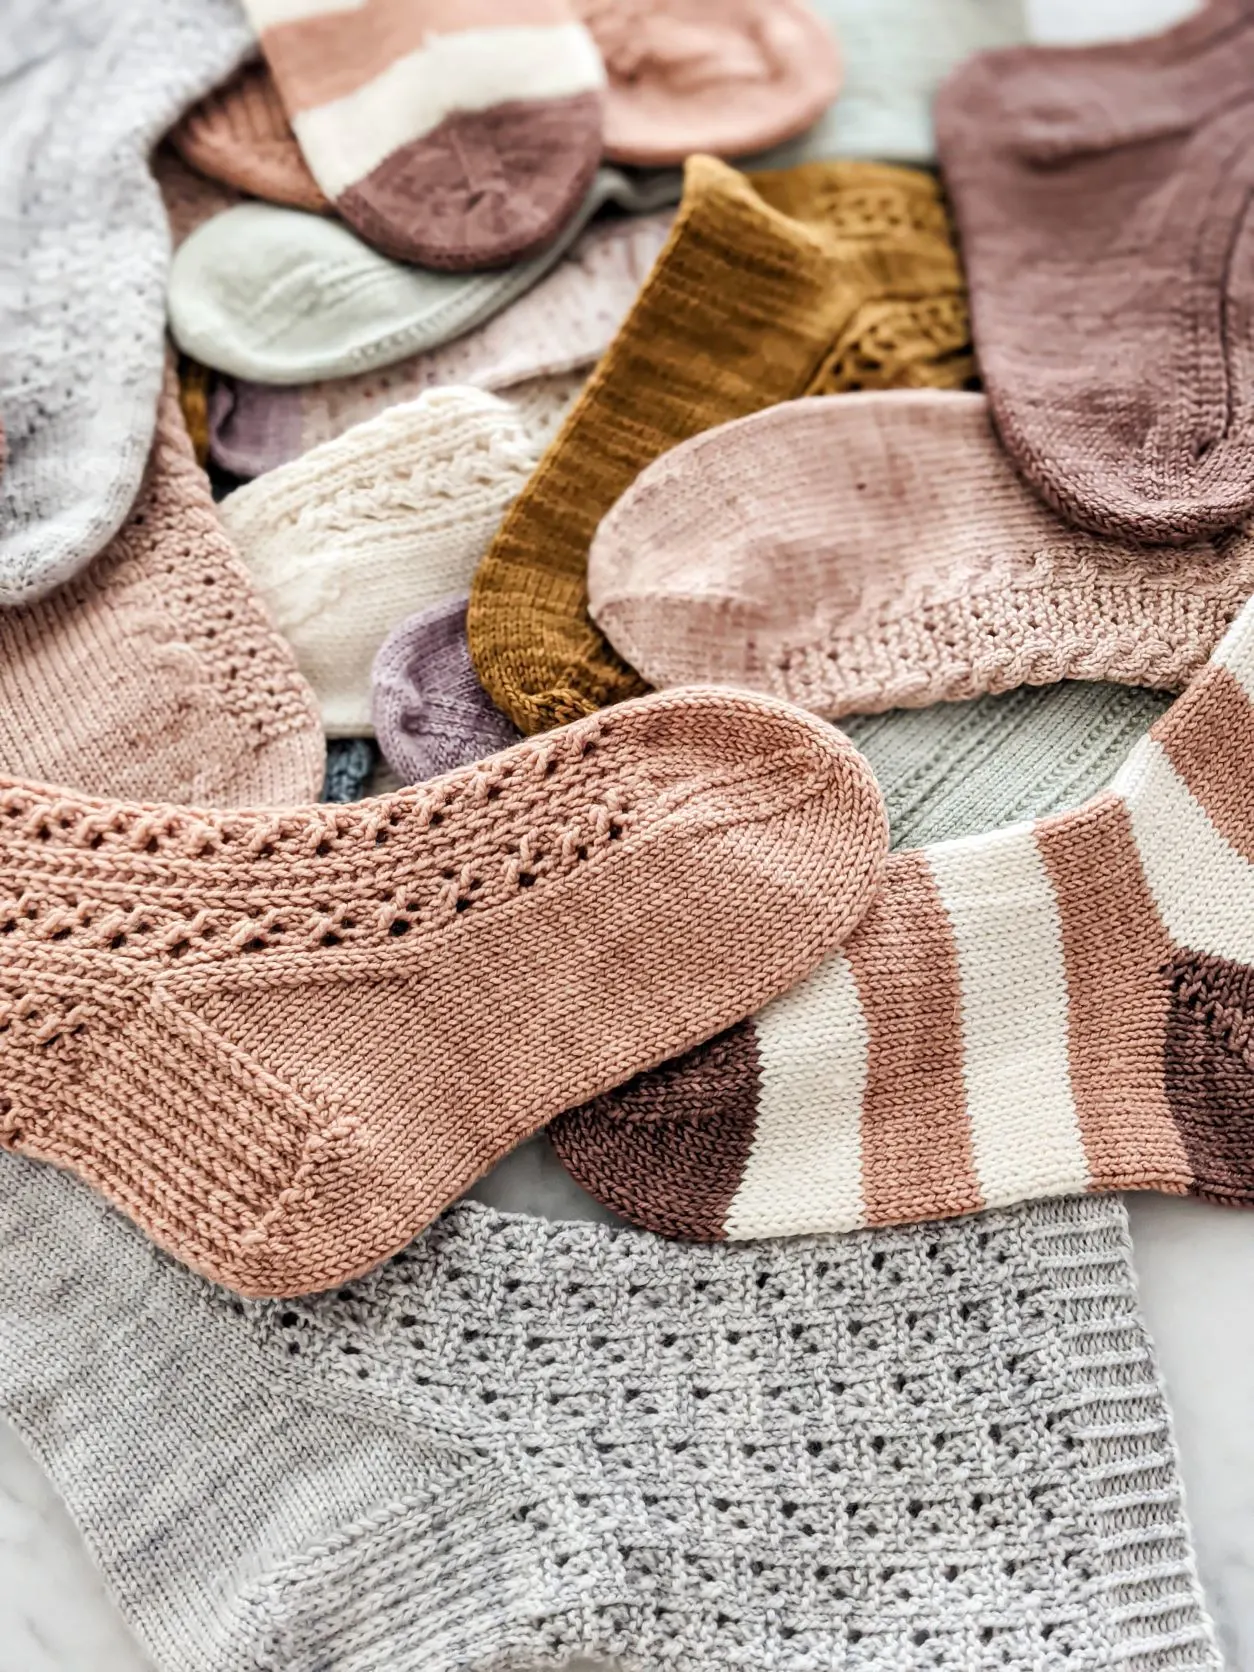
Or maybe you’ve knit a pair of socks that should fit perfectly, but you can’t get the cuff up over your heel. What’s a knitter to do?
Remember, the relationship between your stitches is governed in part by the length of yarn between your stitches. The tighter together they are, the less room they have for movement. This is a good thing in some circumstances, but it’s not what you want for a cast on.
That means you need to come up with some way to increase the amount of yarn available between each stitch.
How To Knit a Stretchy Cast On
There are two primary ways to fix a knitting cast on that has no stretch. The first is to adjust the placement of your stitches as you put them on the needle. The second is to choose a type of cast on that is designed for extra stretchiness. I’ll explain both options.
Option one: space out your stitches
The first option if you don’t want to change up your cast on method? Simply space out the distance between the stitches when you’re casting on.

I do this a lot when I am working with a long tail cast on that I need to have a little more stretch. If I’m honest, while I’ve tried a lot of other cast on methods, the long tail is still my favorite, and I am a creature of habit.
To make the long tail cast on more stretchy, instead of snugging your stitches right up next to each other as you place them onto the needle, space them out on the needle as you tighten them down.
If you look at a loosely cast-on set of stitches, you’ll see there are gaps between the stitches. That’s because, as the knitter puts a new stitch on the needle, the knitter doesn’t place it directly next to the existing stitch. Instead, they’ll put it on the needle a little distance away. This will give you a loose, stretchy cast on for your project.
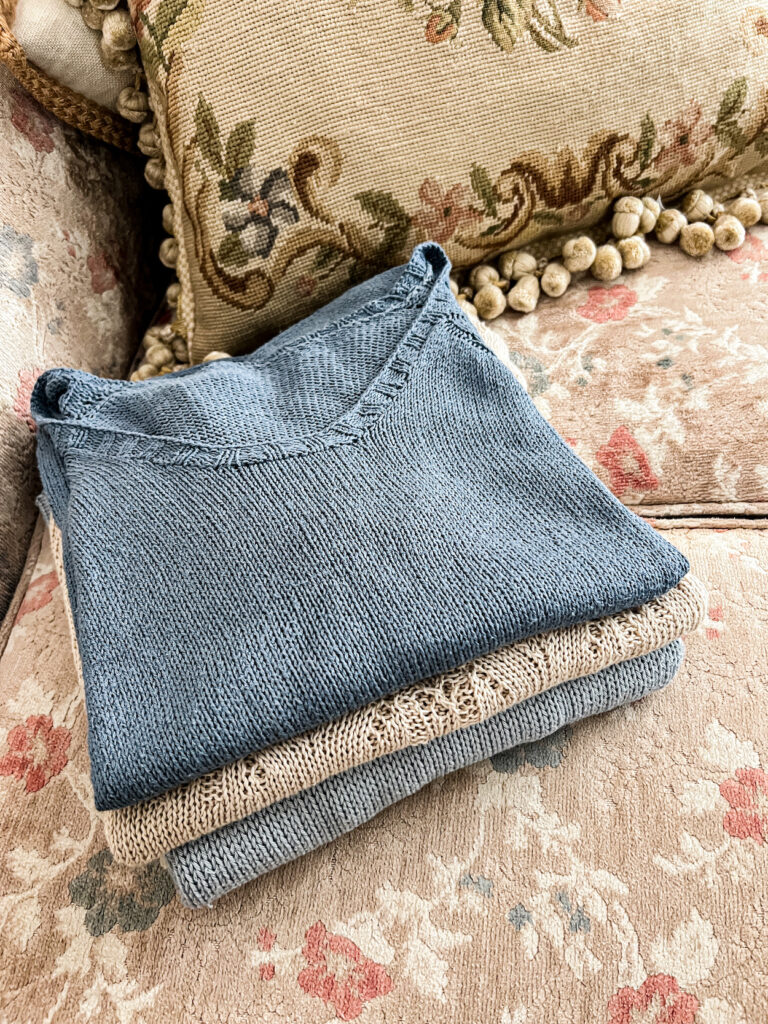
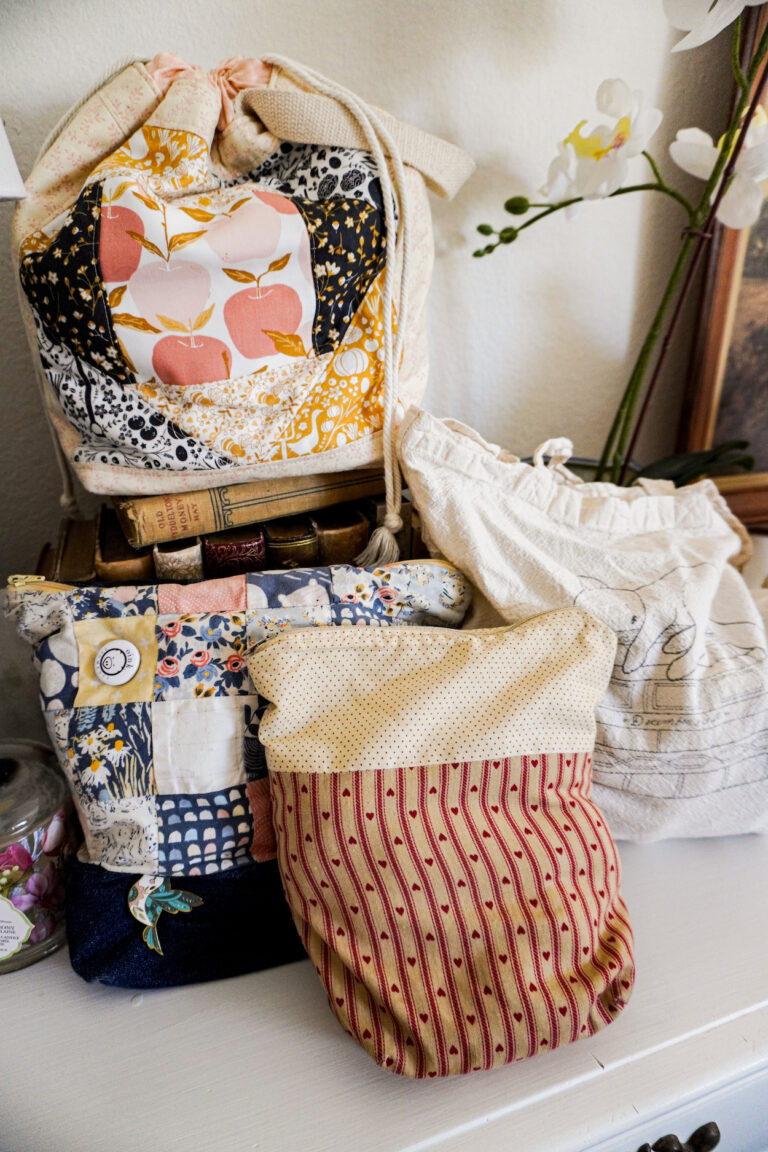
If you want your long tail cast on to be really tight, then you want your stitches snugged up right next to each other. This is helpful if, for example, you’re making a bag and don’t want a ton of movement at the opening.
Option two: choose a knitting cast on designed for stretchiness
The first way to do that is to choose a cast on specifically designed for stretchiness. These cast on methods will generally involve adding an additional loop of yarn somewhere in the process or creating stretch by wrapping the yarn around itself somehow.
Here are instructions for two of my favorite stretchy cast on methods.
The Long-Tail Tubular Cast On
This is a great cast on if you plan to work a 1×1 rib after your cast on. Many of my sock, mitt, and hat patterns start with exactly that kind of ribbing, so this is an excellent choice for those projects! If written instructions aren’t your thing, just scroll down. I’ll have a video tutorial for you, too.
A note regarding knitting in the round: this cast on is always worked flat to begin with, and can be joined to be worked in the round at the very end. Regardless of whether you’re knitting your project flat or in the round, the instructions for this part will be the same.
- After you’ve checked your gauge by swatching, go down one needle size for your cast on.
- You’ll start your cast on by making a slip knot. Be sure to leave a long end that’s about 4-5 times as long as the piece of knit fabric you’ll be working up (so, if you’re casting on a hat, make the long end about 4-5 times the circumference of the brim).
- Place the slip knot onto your right needle. When you join in the yarn for working in the round, this stitch will be your first knit stitch in your 1×1 rib.
- Making an L-shape with your left thumb and forefinger, wrap the two ends of the yarn around them. The yarn attached to the ball (I’ll call this your working yarn) should go over your forefinger, while your tail should go over your thumb.
- Using your right-hand needle, place the tip over the working yarn around to the back. Using the tip of the needle, you’ll loop the yarn from the tail over the needle tip and pull it out from under the working yarn. That’s your next stitch in your cast on. It’ll look like a purl.
- Using your right hand needle, place the tip down and in front of your tail. Sliding up under the tail, you’ll loop your working yarn over the needle and draw it back out to the front. This is your next knit stitch in your cast on.
- Continue working steps 6 and 7 until you’ve cast on enough stitches.
- Now, work two rows as follows: knit the knit stitches and slip the purl stitches purlwise with yarn in front. Knit stitches tend to twist on the first row with this method. If yours are twisted, you’ll want to knit those stitches through the back loop to untwist them.
- Go back up to your needle size you used to reach gauge and continue working your ribbing as normal. If you’re working your project in the round, this is where you will join for knitting in the round. When your project is finished, use your tail to seam up the small gap at the join.
Here’s a video for you. It’s silent so you can watch it anywhere.
The Knitted Cast On
This is the first cast on I ever learned. I like how it can be tight or stretchy depending on how you do it. The trick? Don’t yank your working yarn when you slip the new stitch onto your left needle. I’ll show you what I mean. If written step-by-step instructions aren’t your thing, skip ahead to the video below.
- Make a slip knot and place it onto your left needle. Leave just enough of a tail that you can weave it in later with a darning needle.
- Using your right needle, insert it through the slip knot as if to knit a stitch.
- Wrap your yarn counterclockwise around the tip of your right needle and draw the yarn back through the slip knot as if you are knitting a stitch. Do not slide the slip knot off the left needle.
- Draw the loop up and over, placing it onto your left needle. Remove the right needle and give the working yarn a gentle tug to tighten up the new stitch. Do not tug too tightly.
- Repeat steps 2-4 in the new stitch you just made.
- Continue for each new stitch until you have cast on enough stitches.
Here’s a video for you. It’s silent so you can watch it anywhere.
If you’re curious about some of my favorite knitting tools, here’s a round-up of the things I use most. These are affiliate links, which means if you choose to buy something through those links, I’ll receive a small commission at no extra cost to you. I will always identify affiliate links for you. Thanks for supporting my work!
The 9-inch circular needles I prefer for knitting socks
My favorite, more-affordable sock yarn
The interchangeable needle set I’ve been using since 2011
The needles I use for knitting all my shawls


You need words to go with your videos. They are super confusing on their own.
Thanks for the feedback. I generally watch videos on mute so don’t pay attention to whether there is audio or not. I’ll see what I can do about adding some narration here at some point.