
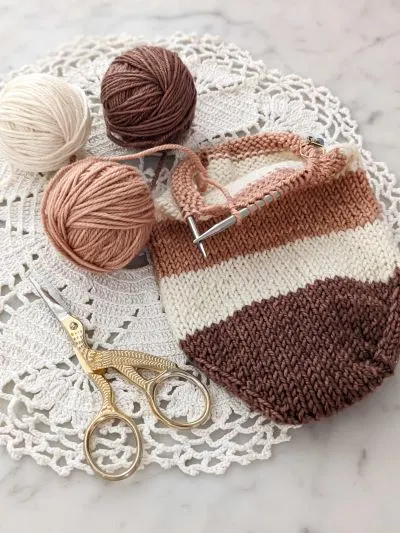
To celebrate Socktober 2020, I thought it would be fun to design a free sock knitting pattern together with the community of knitters who have given me so much support and encouragement these last few years.
Throughout the month of October, I’ll be posting polls in my Instagram stories, where everybody can vote on options for our sock design. Then I’ll write up the next phase of instructions for the knit sock pattern and post it here.
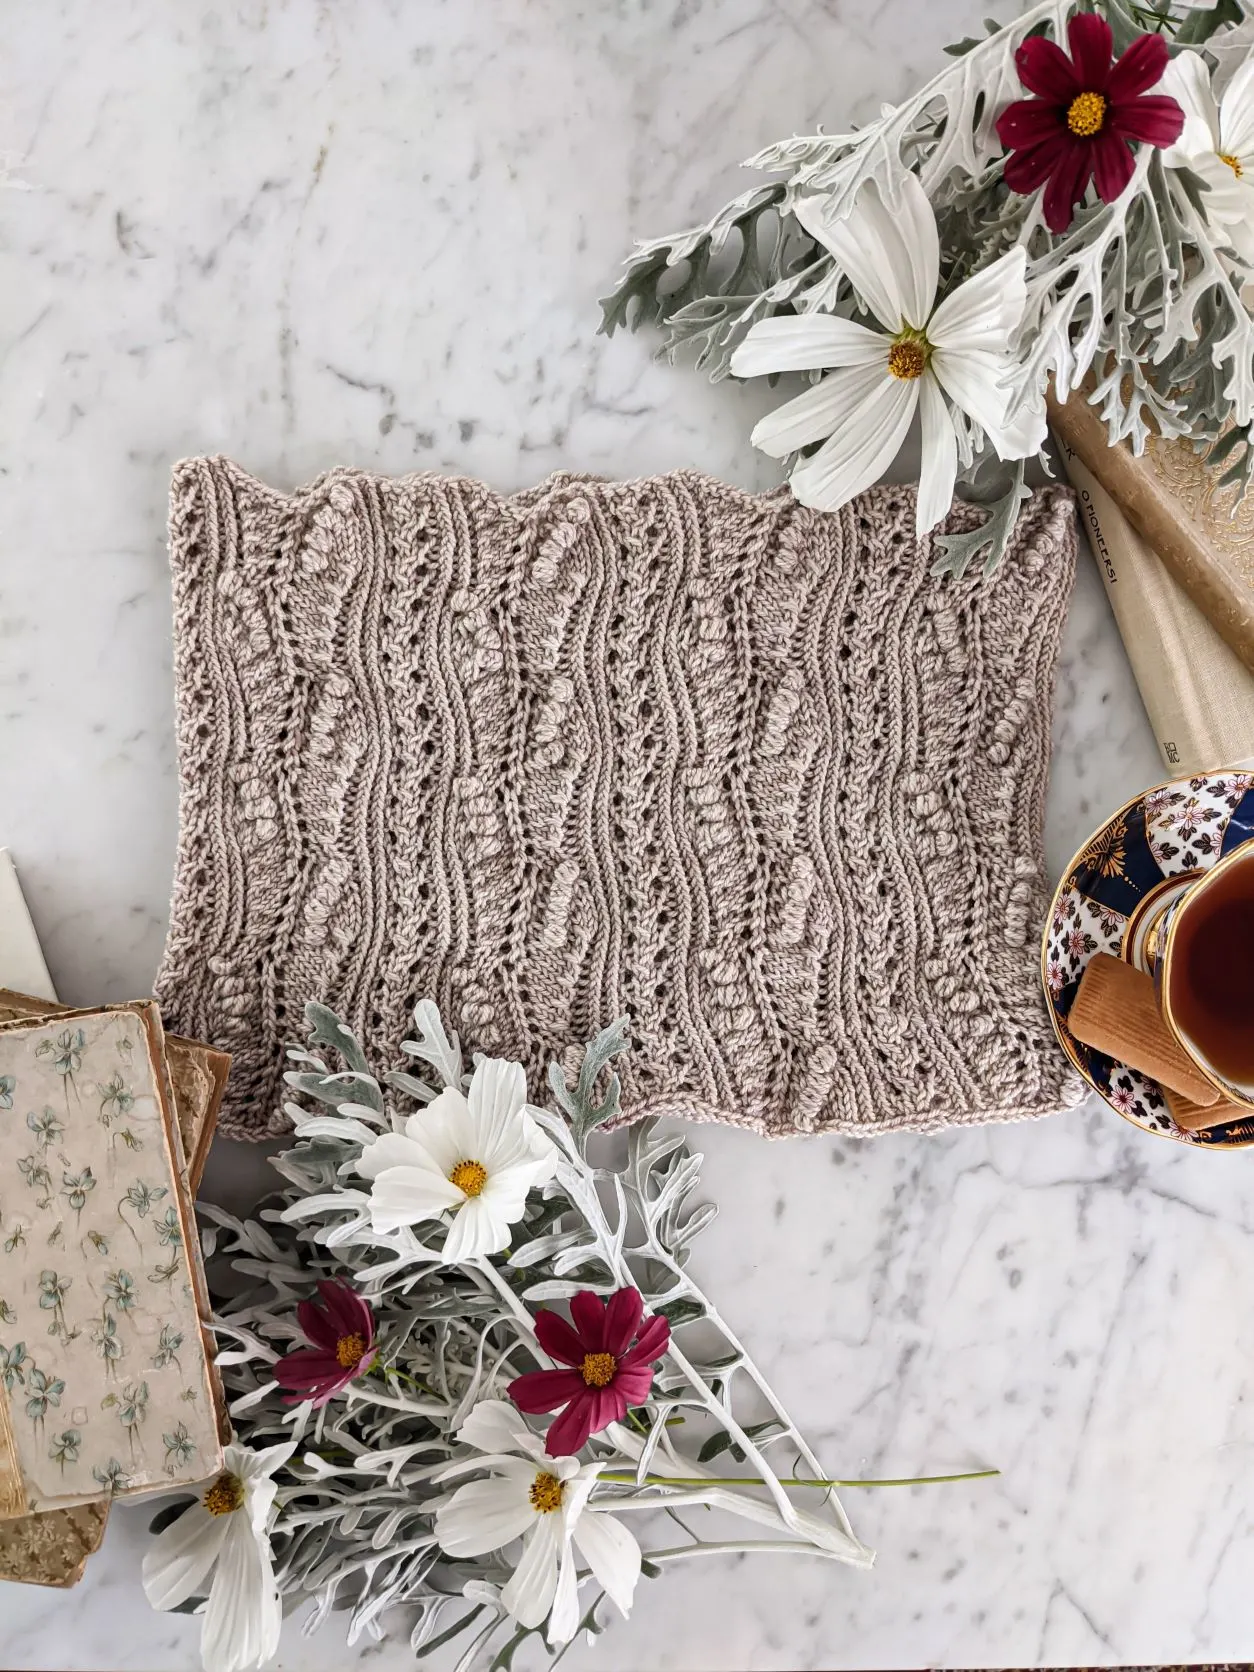
This sock knitting pattern will always be free here on my blog as long as the blog is alive. If you like knitting lacy socks with a delicate texture, this will be a good fit for you.
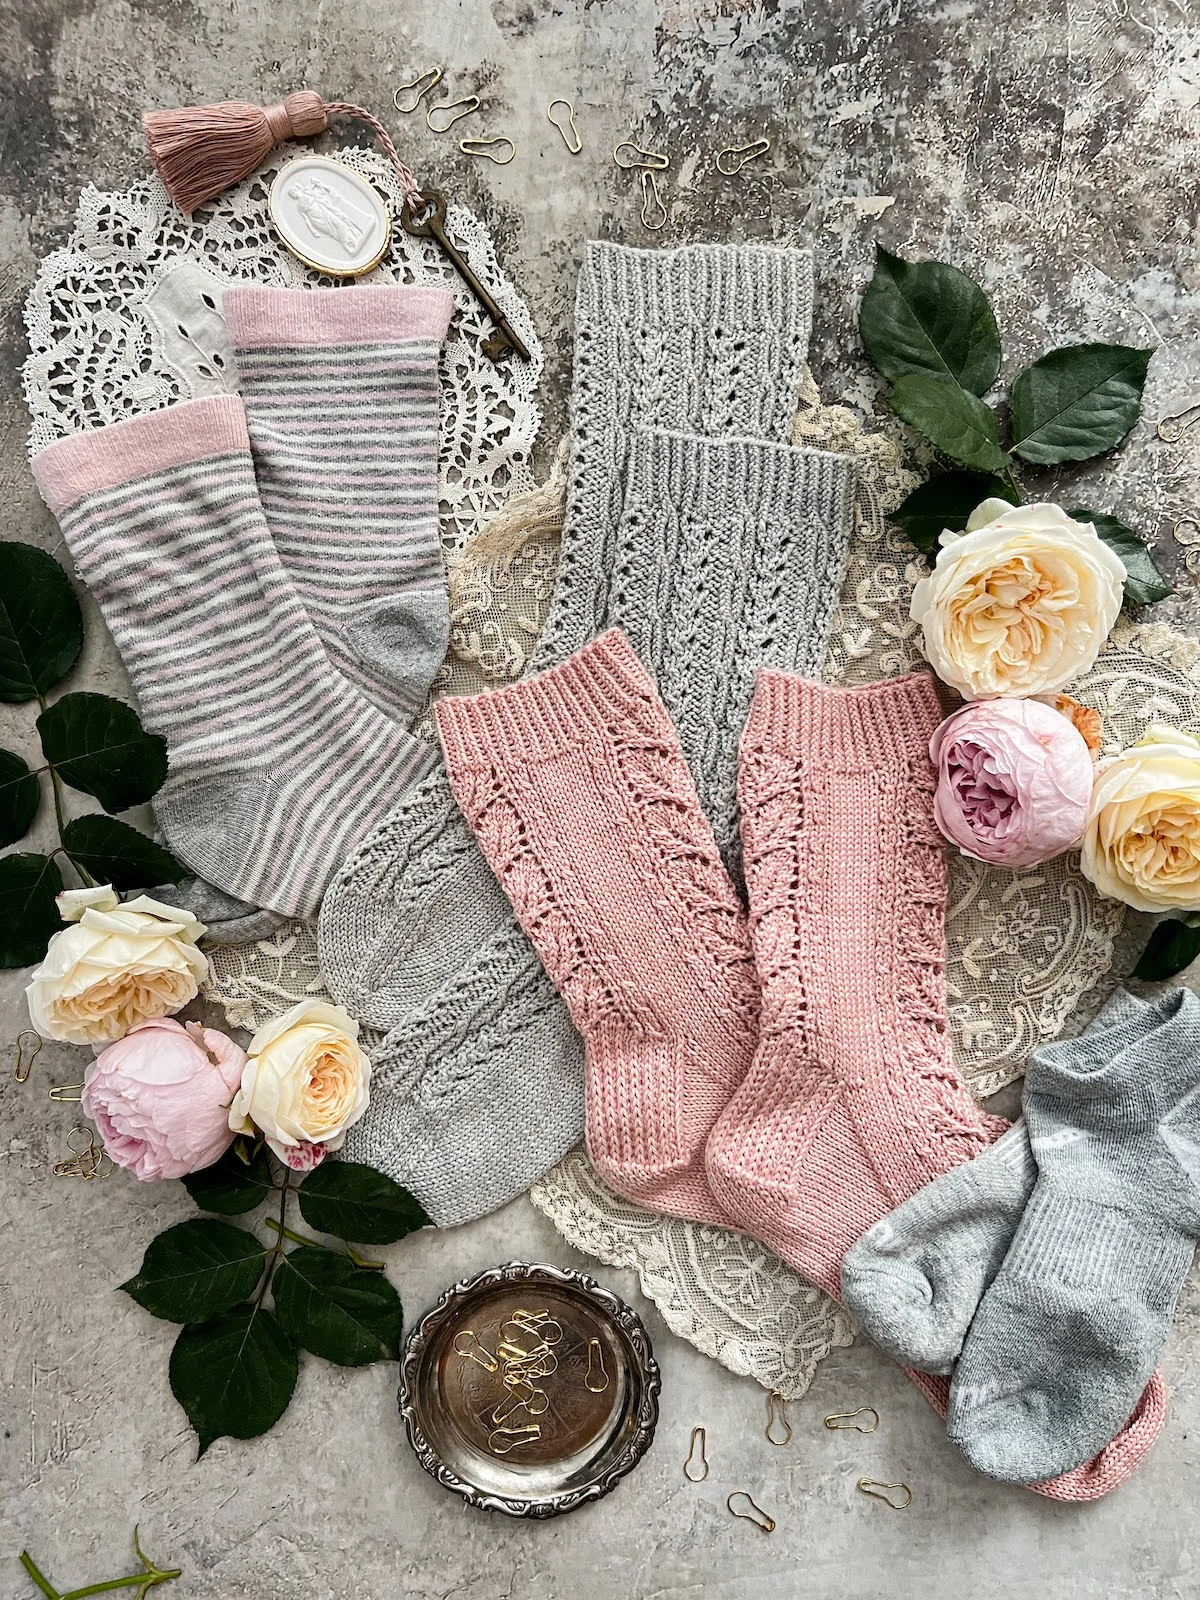
Scroll down through this blog post for detail photos of the toe, cuff, and heel.
If you knit this pattern and share photos on Instagram, please tag me so I can share in my stories! You can tag me @abeeinthebonnet and use the hashtags #ABITBSocktober and #ABITBknits to share your work with others.
I’ve got some other great resources for sock knitting that might come in handy, too:
- Here’s a guide to how to care for your hand knit socks.
- If you need to adjust your socks for a better fit, I’ve got you covered.
- Do you love sock knitting, too? Are you a newer sock knitter just getting started on your sock knitting journey? Here’s why I’m such a fan of knitting socks.
Is This Free Sock Pattern Good for Beginners?
I’ve had several people ask over the years if I can recommend a good sock pattern for beginners. While I wouldn’t recommend this one for your very first pair of socks, I think this is a great option for your second or third pair of socks.
For a true beginner sock pattern, I think it’s best to start with either a plain stockinette sock (here’s my plain vanilla sock recipe for customizing your own pattern once you get the hang of it) or a sock with just knit and purl stitches. I knit my first sock using Kate Atherley’s Basic Ribbed Sock and think that’s a great pattern to start with if you’ve never, ever knit a single sock before.
But if you’ve knit one or two pairs and are looking to try slightly more complex patterns, then this free pattern is great for beginner sock knitters. The texture used in this pattern is just one step up from a basic ribbed sock. It uses knits, purls, yarn overs, twisted stitches, and k2togs to create the texture. The stitch repeat is short and easily memorized.
So if you’re early in your sock knitting journey, this pattern could be just the right fit for you. If you don’t feel like you’re quite ready to tackle this texture, you might like my Tiramisu Socks, which are also a great sock pattern for your first time knitting socks.
And now, without further ado, here we go—our first community-designed sock pattern!
Free Sock Knitting Pattern Specs
SIZES
S, M, L
Finished sock dimensions: 8” (20.25 cm), 9” (22.75 cm), 10” (25.5 cm) circumference (Note: most people like their socks snug, so choose a finished sock size that is slightly smaller than your actual foot circumference)
MATERIALS, NEEDLES, AND TOOLS
- Fingering weight yarn, 300-380 yds (274-348 m)
- One set of needles for your preferred style of small-circumference knitting in a size to match gauge listed above; suggested needle size: US 1.5 (2.5 mm)
- One stitch marker for beginning of round; optional additional markers between pattern repeats
- Tapestry needle for weaving in ends
For an easy shopping list, here are links to my recommended materials. These are affiliate links, which means if you choose to buy something through those links, I’ll receive a small commission at no extra cost to you. I will always identify affiliate links for you by putting “(affiliate link)” next to them. Thanks for supporting my work!
The 9-inch circular needles I prefer for knitting socks (affiliate link)
The DPNs I’ve used since 2009 (affiliate link)
The yarn I’d recommend for these socks: Knit Picks Hawthorne (affiliate link)
Some stitch markers (affiliate link)

GAUGE
4” (10 cm) square = 32 stitches x 40 rows in stockinette
SKILL LEVEL
Intermediate
Techniques: knitting through the back loop, increases, decreases, knitting in the round, stockinette grafting (also known as Kitchener stitch)
ABBREVIATIONS
• k = knit
• p = purl
• yo = yarn over
• k2tog = knit two stitches together
• ssk = slip two stitches individually knitwise and knit together through the back loop
• ktbl = knit through the back loop
• sl = slip stitch purlwise with yarn in back (RS) or in front (WS)
INSTRUCTIONS
Using your preferred cast-on method, cast on 64 (72) (80) stitches. Join for knitting in the round and take care not to twist. Place a marker at the join to mark the end of the round.
Work 12 rounds of k1tbl, p1 ribbing. If knitting through the back loop is new to you, here’s an explainer.
Leg Instructions:
Work the following 8-round repeat or see Chart A. Work this repeat until the leg of your sock measures 6” (15.25 cm), ending on either round 4 or round 8. You can make this part of your sock longer or shorter, if you’d like, but know that changes to the length of the leg will affect how much yarn you use.
Round 1: *P4, ktbl, k2tog, yo, ktbl, repeat from * to end of round.
Round 2: *K4, ktbl, k2, ktbl, repeat from * to end of round.
Round 3: *K1, p2, k1, ktbl, yo, k2tog, ktbl, repeat from * to end of round.
Round 4: Repeat round 2.
Round 5: *Ktbl, k2tog, yo, ktbl, p4, repeat from * to end of round.
Round 6: *Ktbl, k2, ktbl, k4, repeat from * to end of round.
Round 7: *Ktbl, yo, k2tog, ktbl, k1, p2, k1, repeat from * to end of round.
Round 8: Repeat round 6.
Chart A

Heel Instructions:
This sock uses a heel flap and gusset for a snug, highly customizable fit. You’ll work your heel flap using the last 32 (36, 40) stitches of your sock. Work in pattern across the first 32 (36, 40) stitches.
Now begin working your heel flap as follows:
Row 1 (RS): *slip 1 purlwise with yarn in back, k1, repeat from * to end of row.
Row 2 (WS): slip 1 purlwise, p to end of row.
Work these two rows until you have 32 (36, 40) rows total, ending on a WS row.
Now it’s time to turn the heel. For each slip stitch in the following instructions, slip your stitch purlwise with yarn held in back (RS rows) or front (WS rows). Follow these steps to work the heel turn:
- Knit 18 (20, 22), ssk, k1, turn.
- Sl1, p5, p2tog, p1, turn.
- Sl1, knit to within first stitch from gap, ssk, k1, turn.
- Sl1, p to within first stitch from gap, p2tog, p1, turn
- Repeat from steps 3 and 4 until all heel stitches are used up.
Gusset Instructions:

Set-up: Knit half of the heel stitches. Rounds will now start in the middle of the heel flap. Knit remaining heel stitches and pick up one stitch in each of the slipped edge stitches along the heel flap. Pick up 1 additional stitch where heel flap and instep join. Work in pattern across the instep stitches. Pick up and knit one stitch where instep and heel flap join and one stitch in each slipped stitch along the other edge of the other side of the heel flap. Work remaining stitches left from heel flap. Work one round.
Round 1: K to 3 stitches before instep, k2tog, k1, work instep stitches in pattern, k1, ssk, k to end of round.
Round 2: Work one round, knitting the sole stitches and working the instep stitches in pattern.
Repeat Rounds 1 and 2 until there are 64 (72, 80) stitches total on your needles.
Remove end of round marker and knit to beginning of instep. Replace end of round marker.
Continue working in pattern across instep and knitting across sole until foot measures 2.5” (6.5 cm) shorter than your desired length. To determine the length of your sock’s foot, measure from the outside of your heel to the tip of your toes. Compare that to the length of your sock from the deepest part of the heel to the working edge.
Toe Instructions:
This sock uses a round toe, which is deeper and more spacious than the wedge toe. To work the toe decreases, follow these steps:
*K6, k2tog; rep from * to end of round. Knit 6 rounds.
*K5, k2tog; rep from * to end of round. Knit 5 rounds.
*K4, k2tog; rep from * to end of round. Knit 4 rounds.
Continue in this manner, working one less stitch between each decrease and knitting one less round between decrease rounds, until you work only one plain round.
*K2tog; repeat from * to end of round.
To finish, cut the yarn, leaving a 10″ (25.5 cm) tail. Thread tail on a tapestry needle, draw through remaining stitches, pull tight to close hole, and secure. Weave in ends, soak in lukewarm water to relax fibers, and lay flat to dry.
Choosing the Best Yarn for These Hand Knit Socks
Newer knitters often wonder how to choose the right yarn for their projects, and that’s totally normal. In other words, don’t feel bad if you’re in the same boat!
This sock knitting pattern is designed for what’s known as fingering-weight yarn here in the US and as 4-ply in some other English-speaking countries. It is internationally described as yarn weight category #1. There are lots of yarns that fit into this weight category, but choosing a good yarn for your hand knit socks is about more than just finding the right yarn weight for socks.
The most important thing? Finding yarn that will hold up to a lot of wear. Here’s a post full of helpful hints that will guide you to the sock yarn that’s right for you.
Let’s stay connected!
Join my newsletter for 30% off all new releases, regular updates with helpful tips and tricks, first crack at registration for upcoming workshops, exclusive discounts, and more.
Join the A Bee In The Bonnet Facebook Group to participate in knitalongs and other fun community events
Come hang out with me on the A Bee In The Bonnet TikTok
Follow along on the A Bee In The Bonnet Instagram
Get inspired via the A Bee In The Bonnet Pinterest


not sure what you are measuring to get size S,M,L. What is an 8inch dimension- is it a shoe size?
It’s the finished circumference of the foot and leg of the sock.
How do I measure the tubular swatch I made. This is my 1st pair. Do I cut the swatch after blocking or leave it as it is?
Also won’t measuring the swatch be difficult considering the twisted stitch pattern, as difficult to see the rows & stitches?
Any advice is very much appreciated
Kind regards
Mrs Carol Fallon
Hi Carol! The gauge swatch is done in stockinette, so you should still be able to see the stitches okay. Some knitters cut their swatches to measure, while others use a speed swatching method. More here: https://www.craftsy.com/post/swatching-in-the-round/