I’ve used i-cord to embellish projects and add straps or drawstrings for years. It’s a versatile, sleek trim with lots of benefits and few drawbacks. In today’s post, we’ll explore how to knit an i-cord both on its own and as an applied edging.

Why I Love the i-Cord
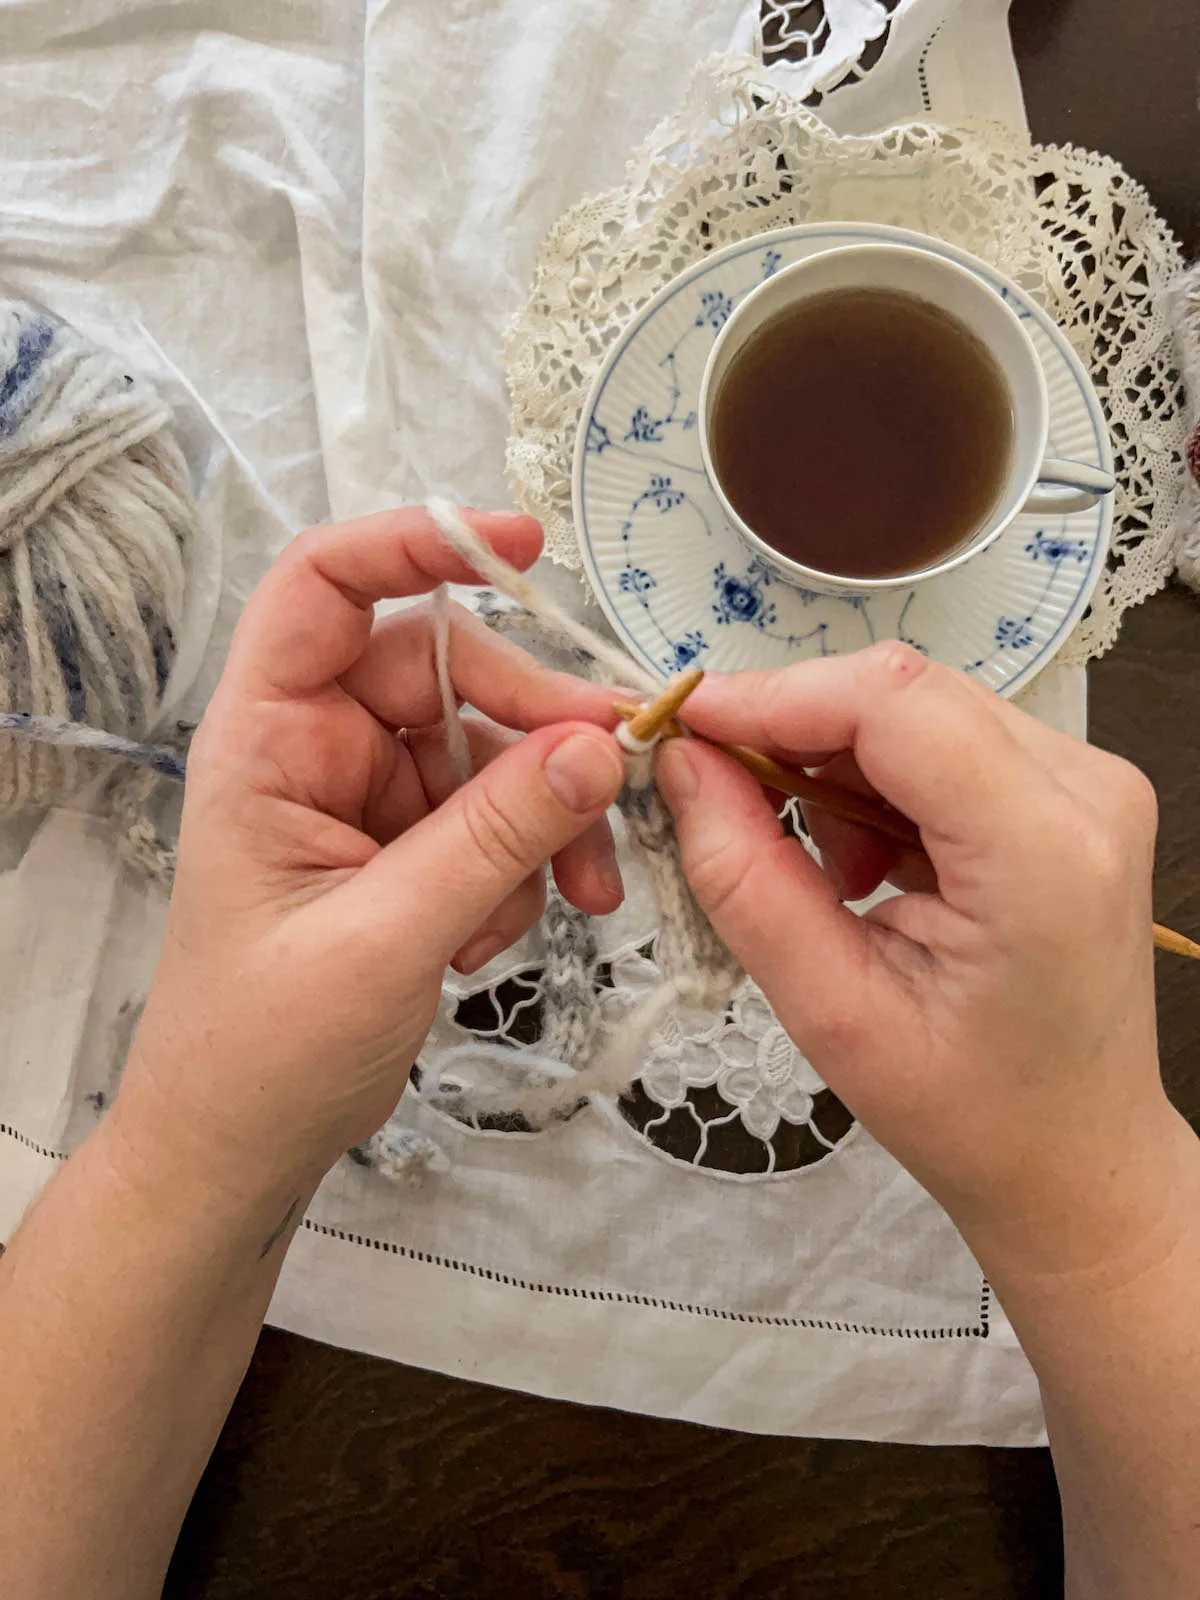
I first knit an i-cord over a decade ago as a drawstring closure for a bag I had made. It was such a quick and simple process, wonderfully meditative in its own way, and so much fun to do.
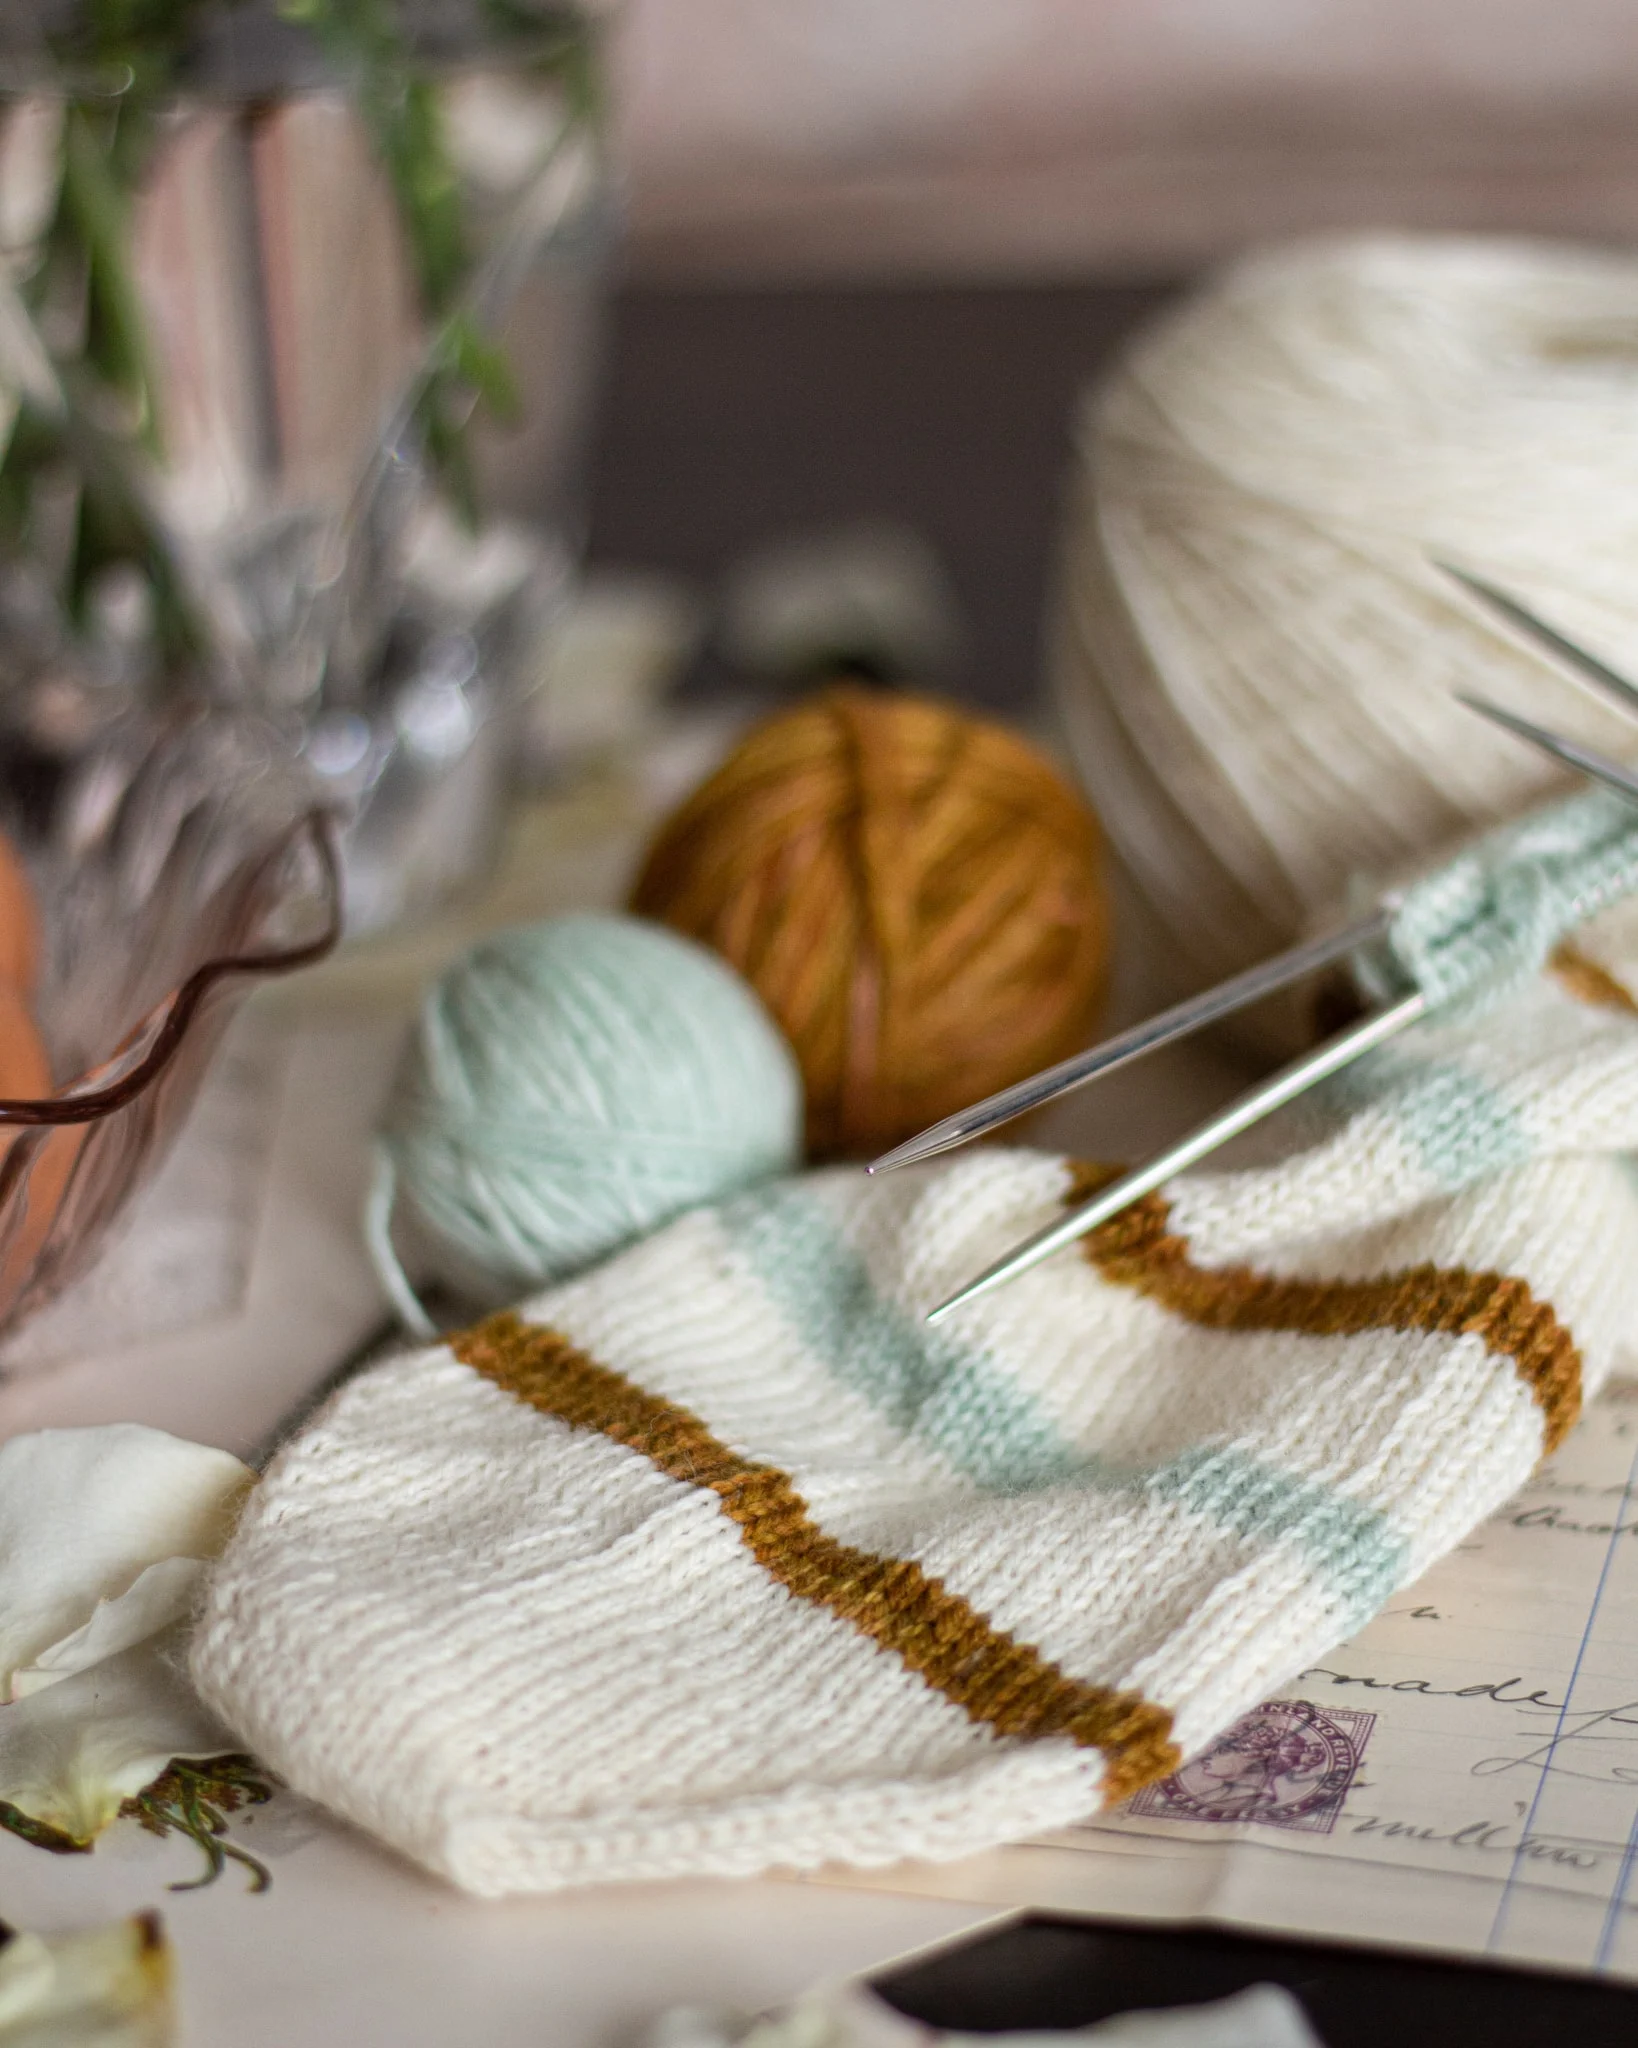
If you’ve knit something that needs a drawstring or handle, the i-cord is a great choice. It is thicker and sturdier than just a single strand of yarn woven through eyelets, and it won’t cut into your shoulders as much if you’re using it as a purse strap or bag handles. You can make the i-cord thicker or thinner depending on how many stitches you put into that i-cord. You can even knit cords and then braid them together.
When used as an edging, it’s also an easy way to add polish without distracting from the finished item. Like the picot bind-off, another of my favorite finishing techniques, the i-cord adds a lot of polish for very little effort. This simple technique is great if you’ve knit, for example, a minimalist sweater in stockinette stitch and would like to keep it that way but don’t want the edges of the sleeves and neckline curling over. I also love the i-cord edging on a shawl for the same reasons.
How to Knit an i-Cord
The process of knitting an i-cord is very simple. In this section of the post, I will walk you through how to knit just the i-cord itself for use as a drawstring or handle using a few simple steps. Later, I’ll walk you through how to knit on an i-cord edging as a simple finishing step. At the end of this section, I’ll have a video tutorial for you so that you can see how to knit the i-cord if you prefer learning that way. By the end of this blog post, you’ll be knitting cords like a pro.
To start, choose your yarn and a corresponding set of double-pointed needles (DPNs) or circular needles. You will need two double pointed needles or one circular needle to do this. Then follow these steps:
- Using your preferred cast-on method, cast on three, four, or five stitches on your left hand needle. You can cast on more, but beyond five stitches, the i-cord does start to get a little floppy. I usually use the long tail cast-on.
- Knit across the stitches you’ve cast on as if you are knitting flat. Do not turn your work.
- Slide your work from the left tip of your knitting needle to the other end of the needle on the right so that you can start knitting your next row on the same side of your work where you started knitting before. In other words, the first stitch of your second row is on top of the first stitch of your first row. Every row is a right side row (rs row)
. - Starting on the right-hand side of your work again, knit to the end of the row.
- Continue repeating Steps 3 and 4 until your i-cord reaches the desired length.
- When you read the end of your i-cord, bind off, break yarn, and weave in loose ends using a tapestry needle. If you are using the i-cord as a handle, you can use the yarn tail to sew each end of the i-cord onto your project before you weave them in.
In case you would like a visual for this method of knitting an i-cord, here is a video tutorial:
@abeeinthebonnet I love knitting i-cords for drawstrings, handles on bags, decorations, edgings, and more. Here’s a quick tutorial showing you how to knit one, too. #knittok #knittersoftiktok #beginnerknitter #knittingtutorial ♬ original sound – Lauren
Helpful Tips to Demystify the i-Cord
The i-cord is fairly straightforward, but understanding a few key things about it can help improve your experience even better. With this info, you’ll be knitting cords in a jiffy.
Tip #1: It’s a tube
Your i-cord is essentially a knitted tube with a very small number of stitches. You’re knitting in the round, but it looks like you’re knitting flat. Your live stitches are always worked in the same order, so when you go back to start the first stitch of the next row, you’ll pull the two sides together when you bring your working yarn over to the first stitch. As you keep working, your knitted cord wraps in on itself, forming the tube.
Tip #2: There are lots of methods
There are different ways to make an i-cord using crochet or loom knitting, but for purposes of this post, I’ve focused on the method that is simplest for most knitters. If this method isn’t comfortable for you, though, you can try one of the other i-cord techniques. There are some great tutorial videos on YouTube that show other easy ways to make an i-cord. Don’t let one uncomfortable method stop you from knitting cords with another.
Tip #3: Your work slides along the needles
If you’re using DPNs to knit your i-cord, you always end up sliding your work from one end of the double-pointed needle to the other. Then, the needle that was your right needle becomes your left needle, and you start all over again.
Tip #4: For bigger cord, cast on more stitches
The amount of stitches you cast on will determine how thick your i-cord is. For a thicker cord, cast on more i-cord stitches. For a thinner cord, cast on fewer. Remember that the small circumferences of i-cords lend them stability, so don’t go too big or your cord will get floppy.
Tip #5: You can use straight needles
You can knit an i-cord using regular straight needles, too, but it’s a little more work on your part. When you finish knitting one row, you’ll need to slip all the stitches from your right needle to your left needle without turning your work. Then you can start knitting your second row.

How to Apply an i-Cord Edging
This will be a very pared down explanation of how to apply an i-cord edging. It’s important to know that when you are applying your i-cord edging, depending on whether you are working along the sides or along the top or bottom of your work, you may need to do a little bit of math. We’ll talk about that in a moment.
First, let’s talk about the basic mechanics of applying an i-cord edging.
How to Apply an i-Cord Edge
1. Using your DPNs or a circular needle, cast on the number of stitches you want to have in your i-cord edging. For example, if you want a four-stitch i-cord, cast on four stitches. I recommend somewhere between 3-5 stitches for your edging.
2. With the back side (sometimes called the wrong side) of your work facing you, pick up and knit one stitch at the spot where you’d like to start applying your i-cord edging. Do not turn your work. Slide your stitches along the needle until they’ve moved from the left tip to the right tip.
3. Knit until two stitches remain. For example, if you have a four-stitch i-cord, you will knit three stitches and two will be remaining on your needle (one i-cord stitch and one picked-up stitch).
4. Slip slip knit. All stitches will now be on one needle again.
5. Keeping your stitches on the left side of your needle and with the back side of your work still facing you, pick up and knit another stitch along the edge of your work. Slide all stitches to the right side of your needle and repeat Step 3.
6. Continue working Steps 3-6 until you have finished adding the i-cord edging to your entire project.
Now, here are a couple important pointers for applying an i-cord edging.

Tips for Applying an i-Cord Edging
First, if you are applying an i-cord edging along the top or bottom of your work, you may need to do a little math to prevent puckering or rippling. That’s because knit stitches are generally wider than they are tall, so the ratio of stitches you’ll need to pick up isn’t a perfect 1:1 ratio when you’re working sideways. If you find that your work is beginning to pucker or ripple, check out this excellent article from Modern Daily Knitting that goes into great depth about how to calculate your stitch pickup ratio.
Second, if you are applying an i-cord edging in the round, you’ll eventually reach a point where the two ends of your edging need to be joined together. You can handle this in a couple ways. One option is to start your i-cord with a provisional cast-on and then, when you reach the end, graft your stitches together. Another option is to do the same thing but join the ends using a three-needle bind-off. If both of those sound like more trouble than they’re worth, you can always just seam the two ends together (this is usually what I do).
I hope this introduction to the i-cord and the applied i-cord edging was helpful for you. If you have questions, feel free to drop them in the comments below, and I’ll do my best to help. Happy stitching.
Let’s stay connected!
Join my newsletter for 30% off all new releases, regular updates with helpful tips and tricks, first crack at registration for upcoming workshops, exclusive discounts, and more.
Join the A Bee In The Bonnet Facebook Group to participate in knitalongs and other fun community events
Come hang out with me on the A Bee In The Bonnet TikTok
Follow along on the A Bee In The Bonnet Instagram
Get inspired via the A Bee In The Bonnet Pinterest


Thanks for your review of the i-cord. I love it when used as an edging, but have had problems with it being too tight on the edge of a shawl or the neck of a cowl. Do you have any suggestions for keeping the icord loose enough? Love your blog!
Thanks for the kind note, Kathy. If the i-cord is too tight as an edging, your best bet is to pick up more stitches or, if you’re knitting directly onto live stitches, to periodically work an extra row of i-cord before joining it to the next stitch. Good luck to you!