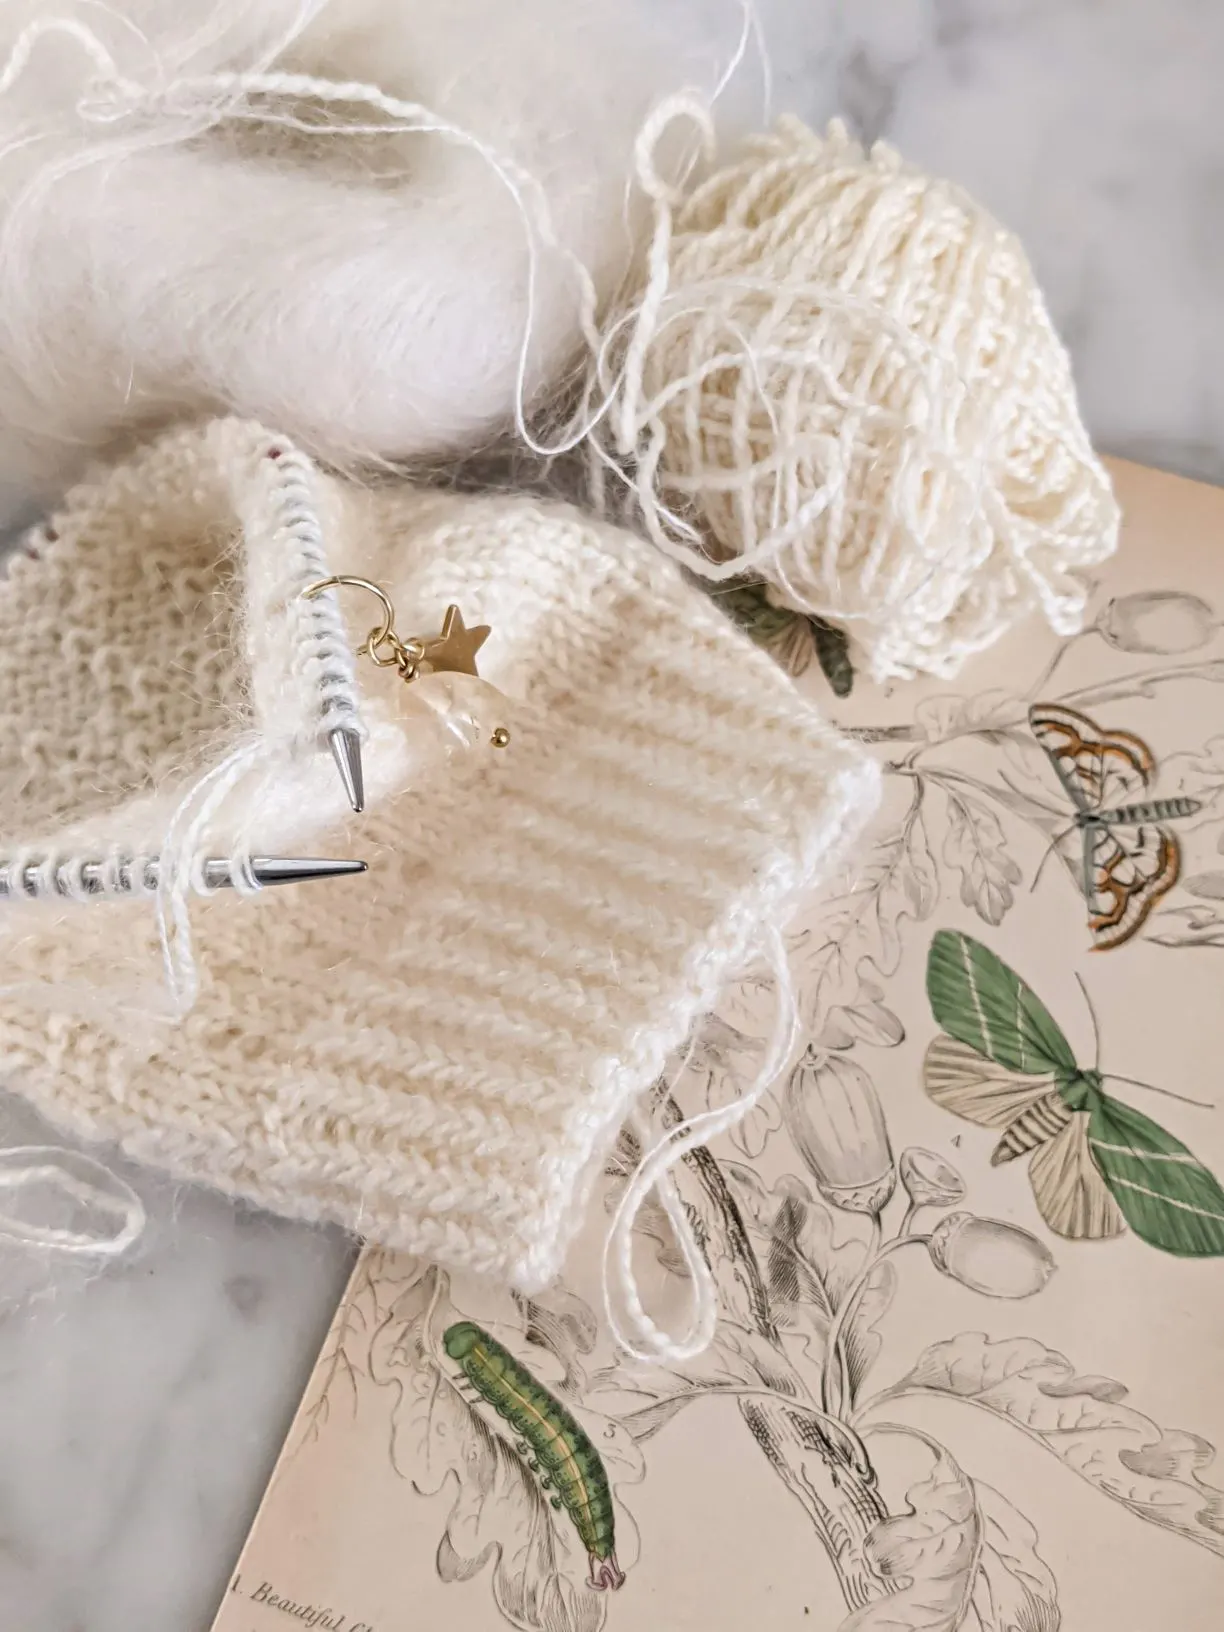
Nearly every knitter has experienced the frustrating phenomenon of knitting a beautiful scarf or blanket, only to find the sides or top and bottom (or all of them!) are curling in on themselves. There’s a reason for that, and thankfully, there are also lots of ways to reduce or even prevent that curling from happening at all.

First: Why Does Knitting Curl?
When knitting curls in on itself, it’s usually a result of having significantly more knit stitches than purl stitches on one side of the knitted fabric. That’s why this problem is especially common when using stockinette stitch, stranded colorwork, and certain lace stitches in your knitting projects.
There are two theories as to why this happens. The most common theory is that the knit side of a stitch occupies less space than the purl side of a stitch. When you have an even balance of knit and purl stitches on both sides of the fabric, they balance each other out. When there are lots of purl stitches on one side of the work and lots of knit stitches on the other, though, the larger purl stitches tend to push on the knit stitches, causing that side to curl.
The other theory is that the curling is a result of uneven tension. Many knitters have slightly looser purl stitches than they do knit stitches, especially if they knit and purl Western style. If your purl stitches are looser than your knit stitches, again, you’ll experience the problem of curling stitches when working in stockinette stitch or other stitch patterns that have a significantly uneven distribution of stitch sizes on the two sides. The uneven tension means the purl rows will be slightly larger or looser than the knit rows.
As for me? I think it’s a combination of both factors. Certainly, uneven tension when knitting flat can exacerbate the problem of curling knitting, but that doesn’t completely explain the phenomenon. Many knitters struggle with curling knitting when knitting in the round, too (so the tension is the same because they’re only working knit stitches).
So let’s take a look at some ways to reduce or prevent this problem, shall we?
Tip #1: Add textured stitches to the side
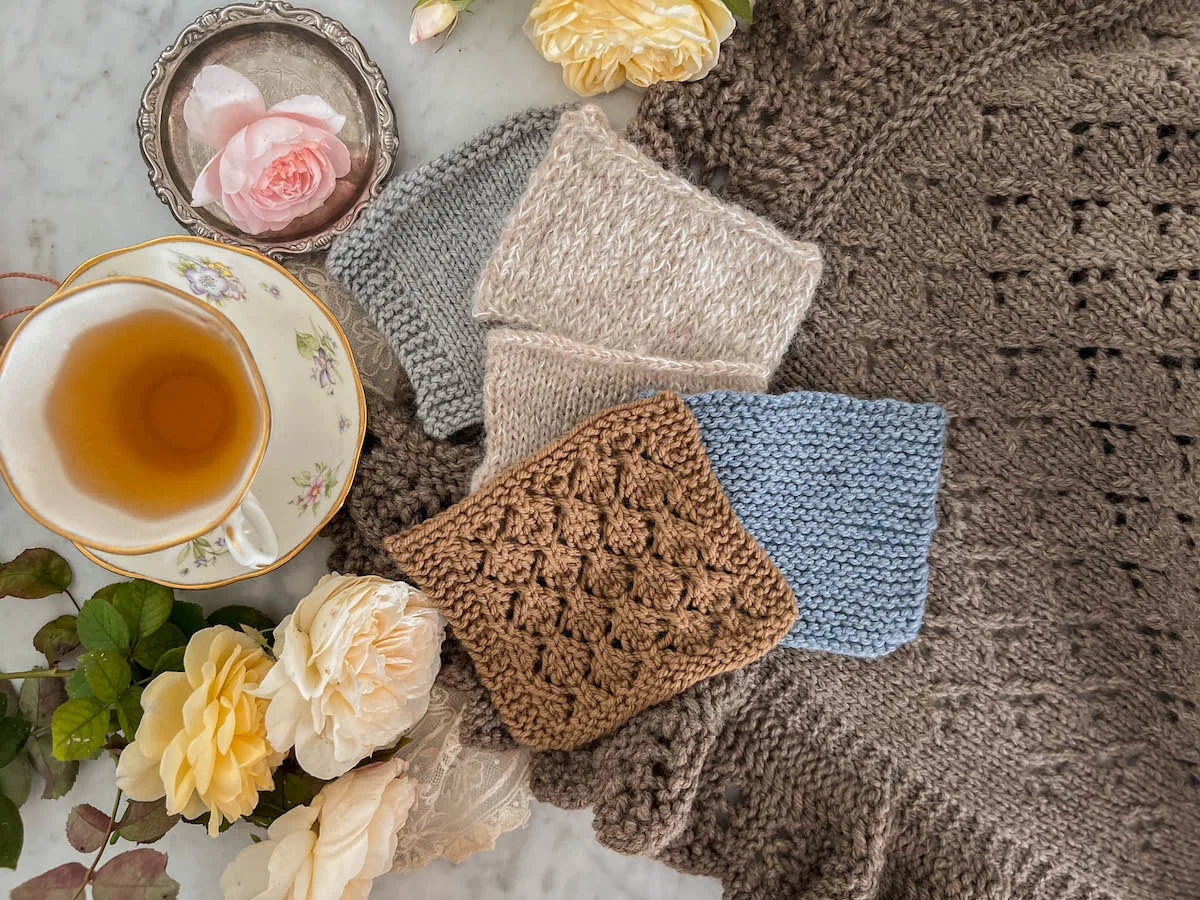
If you’re experiencing curling edges on the side of your work, it can help to add a textured border to your work. Adding a little garter stitch or seed stitch to the side edge of your work can help a lot, especially if your work is relatively narrow.
This border stitch strategy relies a little bit on understanding the size of your work relative to the width of your border. If you have a blanket that is 60 inches wide, for example, three garter stitches along each side isn’t going to do very much.
However, for something like a scarf, a garter stitch border can have some helpful effects. Even on a blanket, a wider garter stitch border will help hold some of the ends in place. It won’t cure all of the curling, but it’ll help.
If you’re working from a knitting pattern that doesn’t have a border already, you can adjust for this by casting on extra stitches on either side of your work.

Tip #2: Add textured stitches to the bottom
If your most severe curling is happening on the top or bottom edge of your work, adding textured stitches here can help, too. Unlike on the sides of your work, where you need to think about the width of your edging stitches relative to the body of your work, here, you need to think about the height of your edging relative to the rest of your work.
Four rows of garter stitch or seed stitch will generally not be enough. I like to do 6 to 10 row for my projects, depending on how big the project is.
You can also use a ribbed edging for projects where you don’t mind the edge being a little more narrow than the body of the work. I’m a fan of ribbing on cowls, for example, where it’s actually helpful having a slightly narrower opening at the top.
Again, you want to have a tall enough section of ribbing that it can help counteract the pull of the stockinette stitch. I like to go for at least an inch on my socks, and an inch and a half to two inches on cowls.
Tip #3: Slip a stitch at the beginning of each row
Another option is to slip a stitch at the beginning of each row. This doesn’t have the most significant effect, but if part of the reason your work is curling is because of differing tension on the two sides at just the beginning of your row, slipping a stitch at the beginning of the row can help.
Many knitters have loose stitches at the beginning and end of each row. Slipping the edge stitches at the beginning can help balance things out. If the curl is only happening at the beginning and end of the row, this might help solve the problem.
However, these slipped stitches will not prevent more intense curling across the middle of your project. To prevent the whole thing from curling, you’ll need to use a different strategy.

Tip #4: Try a different cast-on
Sometimes, the cast on method you’ve chosen is too loose or too tight, and it is exacerbating your curling problem. Experimenting with different methods that have a different level of stretchiness can help you see whether your cast on is contributing to your curled knitting.
For example, the knitted cast on tends to be pretty tight, while the long tail cast on tends to be a medium stretchiness, and the tubular cast on can be very stretchy. If your cast-on is too tight or too loose, trying a different method may help fix that problem.
Tip #5: Add an i-cord edging
If you have finished your work and it’s curling, sometimes adding an i-cord edging can increase the stability of that work. I especially like this method for neck lines and cuffs on sweaters. It still gives that raw, organic look, but it’s sturdier than an unfinished bind-off edge.
If you work the i-cord edging, you can also make it a little tighter than the circumference of your opening by skipping the occasional stitch as you’re picking up stitches. That will increase the stability and reduce the likelihood that your fabric will roll. This is a good finishing technique to correct curling issues that you don’t notice until after you’ve finished knitting your project.
Tip #6: Block your knits
Blocking your knits is one of the single most effective things you can do to reduce the likelihood that your work will curl in on itself. I knit a lot of lacy shawls, and I swear by blocking.
Specifically, I use wet blocking, which is the most aggressive form of blocking, when I am dealing with a project that is trying to curl under on itself. This will force the fibers to relax and settle into place, making it less likely that I’ll have edges curling once everything has dried.
Again, this can only do so much for some thing like a scarf that is knit entirely in stockinette stitch, but it can help.
It’s also worth remembering that acrylic does not respond as well to wet blocking as animal fibers do. Although you can use a hot steam iron to help relax acrylic yarn into place, which is a process known as killing the acrylic, you should be very, very careful with this because it is easy to melt the fibers. Once they’re melted, there’s no one doing it.

Tip #7: Add a stabilizing agent
Depending on what you have knit, adding either a physical or chemical stabilizing agent can help, too. For example, if you are dealing with a knit hat with a wide brim, you can add a small wire into the edge of the brim to help hold it in place and keep the edging from curling up.
You can also use starch to help stiffen the fibers, especially if you are working with a plant fiber. I wouldn’t recommend using starch on an animal fiber.
Finally, if you’re working with a large blanket, you could sew a backing onto it. Doing that will provide some stability for the knit fabric if you use a stiffer woven fabric like a cotton or linen for the back side.
Tip #8: Add a folded, seamed hem
If your work is knit in the round and therefore only curling at the top and bottom, you can use a folded and seamed hem to stop that process. Here’s how.
When starting, work about an inch in plain stockinette, work one row of purl stitches, and then work in pattern until it is the height you’d like. Then, work one more row of purl stitches and about an inch of plain stockinette. The purl stitches will be the turning rows that help you fold your hem inward on your work. Then you can tack the hem down using small stitches.
Tip #9: Apply a knit-on lacy border after the fact
If you have a flat piece of stockinette that is curling in on itself, sometimes applying a knit-on border after the fact can help add some weight and stability to the work.
For example, I love to knit square shawls from the center out, but those are notoriously prone to curling. To prevent that problem, I knit on a border that is quite wide and has a lot of weight. That helps hold down the edges so that they don’t curl.

Take a look at this photo example. It’s a baby blanket I knit for my kid about 8 years ago, and I based it on an old shawl pattern. The whole piece would absolutely curl in on itself if I hadn’t added that decorative lacy border. The border, however, keeps this knitted piece flat.
If you crochet as well as knit, a crochet border can serve a similar purpose to a knit-on lace border and will also have the stabilizing effect of an i-cord edging. If you apply a crochet edge to your knit project, it will stiffen the edge and add weight along the curling sides.
Tip #10: Avoid using stockinette for flat pieces
None of these solutions will truly prevent a flat piece knit entirely in stockinette stitches from rolling in on itself. That’s just the nature of the stitch. Stockinette stitch curls on itself because that’s what it’s supposed to do.
That’s why I strongly recommend against using plaint stockinette for scarves and blankets. Pieces that are flat but have all purl stitches on one side and all knit stitches on the other will curl to some extent no matter what you do.
Instead, the best way to avoid curling is to choose a stitch pattern with a mix of knits and purls on both sides of the knit fabric. It doesn’t need to be an even distribution of knits and purls, but having some of each on the right side and the wrong side will help balance out the different tugging forces in that fabric.
Tip #11: Choose yarn with a different fiber content
Sometimes, knitting curling is a result of a project being too heavy for the stitch pattern. Knitting patterns usually will tell you what yarn the designer used in their sample. If you don’t use the same yarn, that’s okay, but you should look for something with a similar fiber content.
A yarn with a lot of drape can also help minimize some curling in your knitting. Look for yarns with silk, linen, or bamboo in them. Those yarns will respond more to the weight of gravity on them, which can help them hold their shapes for some types of knitting.
On the other hand, a lightweight yarn can help minimize some curling for the opposite reason: it’ll resist the effects of gravity on your work. Where a heavier yarn might respond to gravity by curling, a lace shawl knit in a laceweight silk-mohair blend, for example, will be pretty much curl-proof once it has been blocked because the yarn weighs so little.
—
Of course, there’s one other thing you can also do: embrace the curl. Instead of knitting a flat scarf, knit it as a tube and secure the ends of the piece together with tassels. It’ll take more time and yarn, but it’ll also be doubly warm. This is especially popular for stranded colorwork scarves.
Did you find these tips helpful? Do you have other strategies you use to deal with curling knitting? Let me know! I’d love to hear from you in the comments.
Let’s stay connected!
Join my newsletter for 30% off all new releases, regular updates with helpful tips and tricks, first crack at registration for upcoming workshops, exclusive discounts, and more.
I’m on YouTube now and would love to have you join me there for regular project updates, technique tips, chats about goings-on in the knitting world, and more.
Prefer to read without ads? Join my Patreon, which starts at just $1 a month!
Join the A Bee In The Bonnet Facebook Group to participate in knitalongs and other fun community events
Come hang out with me on the A Bee In The Bonnet TikTok
Follow along on the A Bee In The Bonnet Instagram
Get inspired via the A Bee In The Bonnet Pinterest


Thank you for providing so many options for curling edges. I’m probably an intermediate knitter who sometimes feels like a novice when reading instructions, but your blogs are well-written to the point that I can visualize the techniques you are describing.
Thank you so much for that kind note! I really appreciate it, and I’m so glad the blogs are helpful for you.
Hi Lauren—I had dropped a note to you a few days ago with a question about the China pattern of the blue and white teacup in several of your photos. Can you let me know what it is? Love your blog! And many thanks—Marla Shatkin
Hi Marla, not sure why it hasn’t notified you that I responded, but here’s my answer: Hi there! Good eye. That’s a vintage Royal Copenhagen teacup. The modern version is the Blue Fluted Plain pattern, but I do think the vintage ones have a softer, slightly blurry effect that is so pretty.