Want to know the first step to better knitting photography? Find the light.
Lighting is everything for a good photo. Online photography guides are always telling aspiring photographers to work with natural light – but what the heck does that even mean?
There’s a scene in Girl With A Pearl Earring where the painter Vermeer asks Griet, the family’s housemaid, what color the clouds are. She glances quickly out the window and responds that they’re white. Then, after looking more closely, she starts to see a panoply of color.
The same is true of the daylight you work with when taking photos–it’s full of colors.
See, it turns out that having daylight illuminating your work is only the first part of having a good picture. While daylight is just about necessary for taking a good photo of your yarn (unless you’re a pro with a good lighting setup), it’s not sufficient by itself. Here are some additional things to think about when deciding whether you’ve got good light for taking pictures.
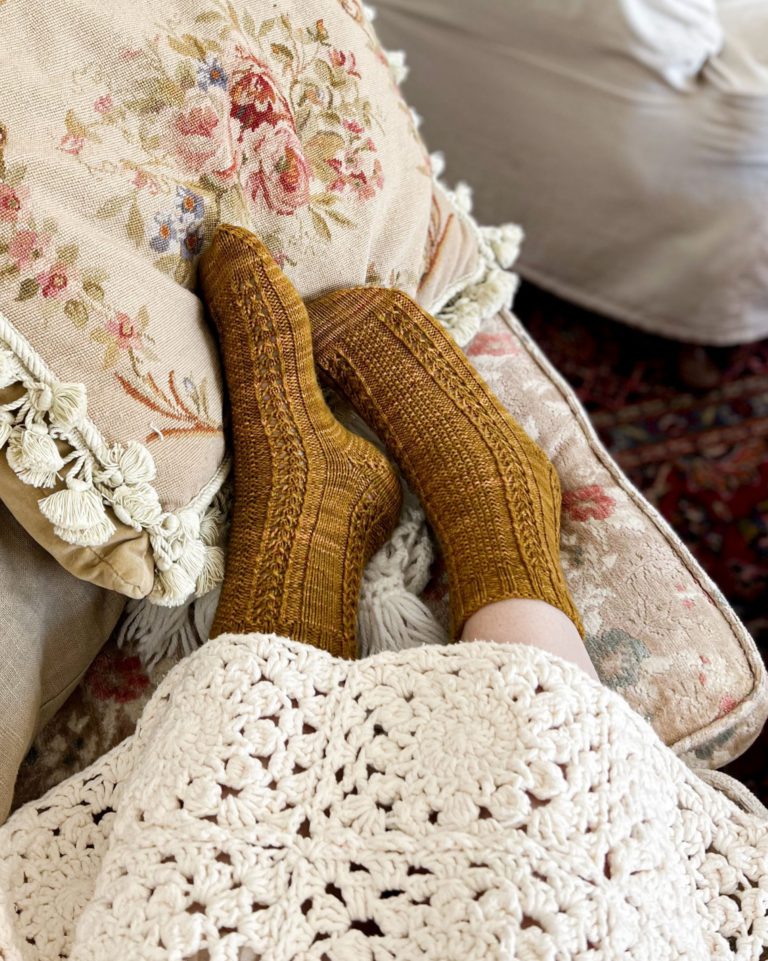
Before you dive in, this post is part of a series of posts about better knitting photography. Here are links to all the other posts in this series:
- To Take Better Pictures of Knits, Make Sure You Have the Right Gear
- Three Quick Tips for Photographing Knitwear in Tricky Light
- Five Simple Steps for Better Flatlay Photographs of Knitting Projects
- Five Easy Tips for Photographing Your Knits in a Vertical Space
- Framing Your Photograph for Better Knitting Pictures
- How to Edit Your Knitting Photos for Clarity and Crispness
How strong is the light?
Depending on whether your light is direct overhead sunlight, filtered through clouds, or shining at a low angle at the beginning or end of the day, you’re going to have different kinds of shadows surrounding your work.
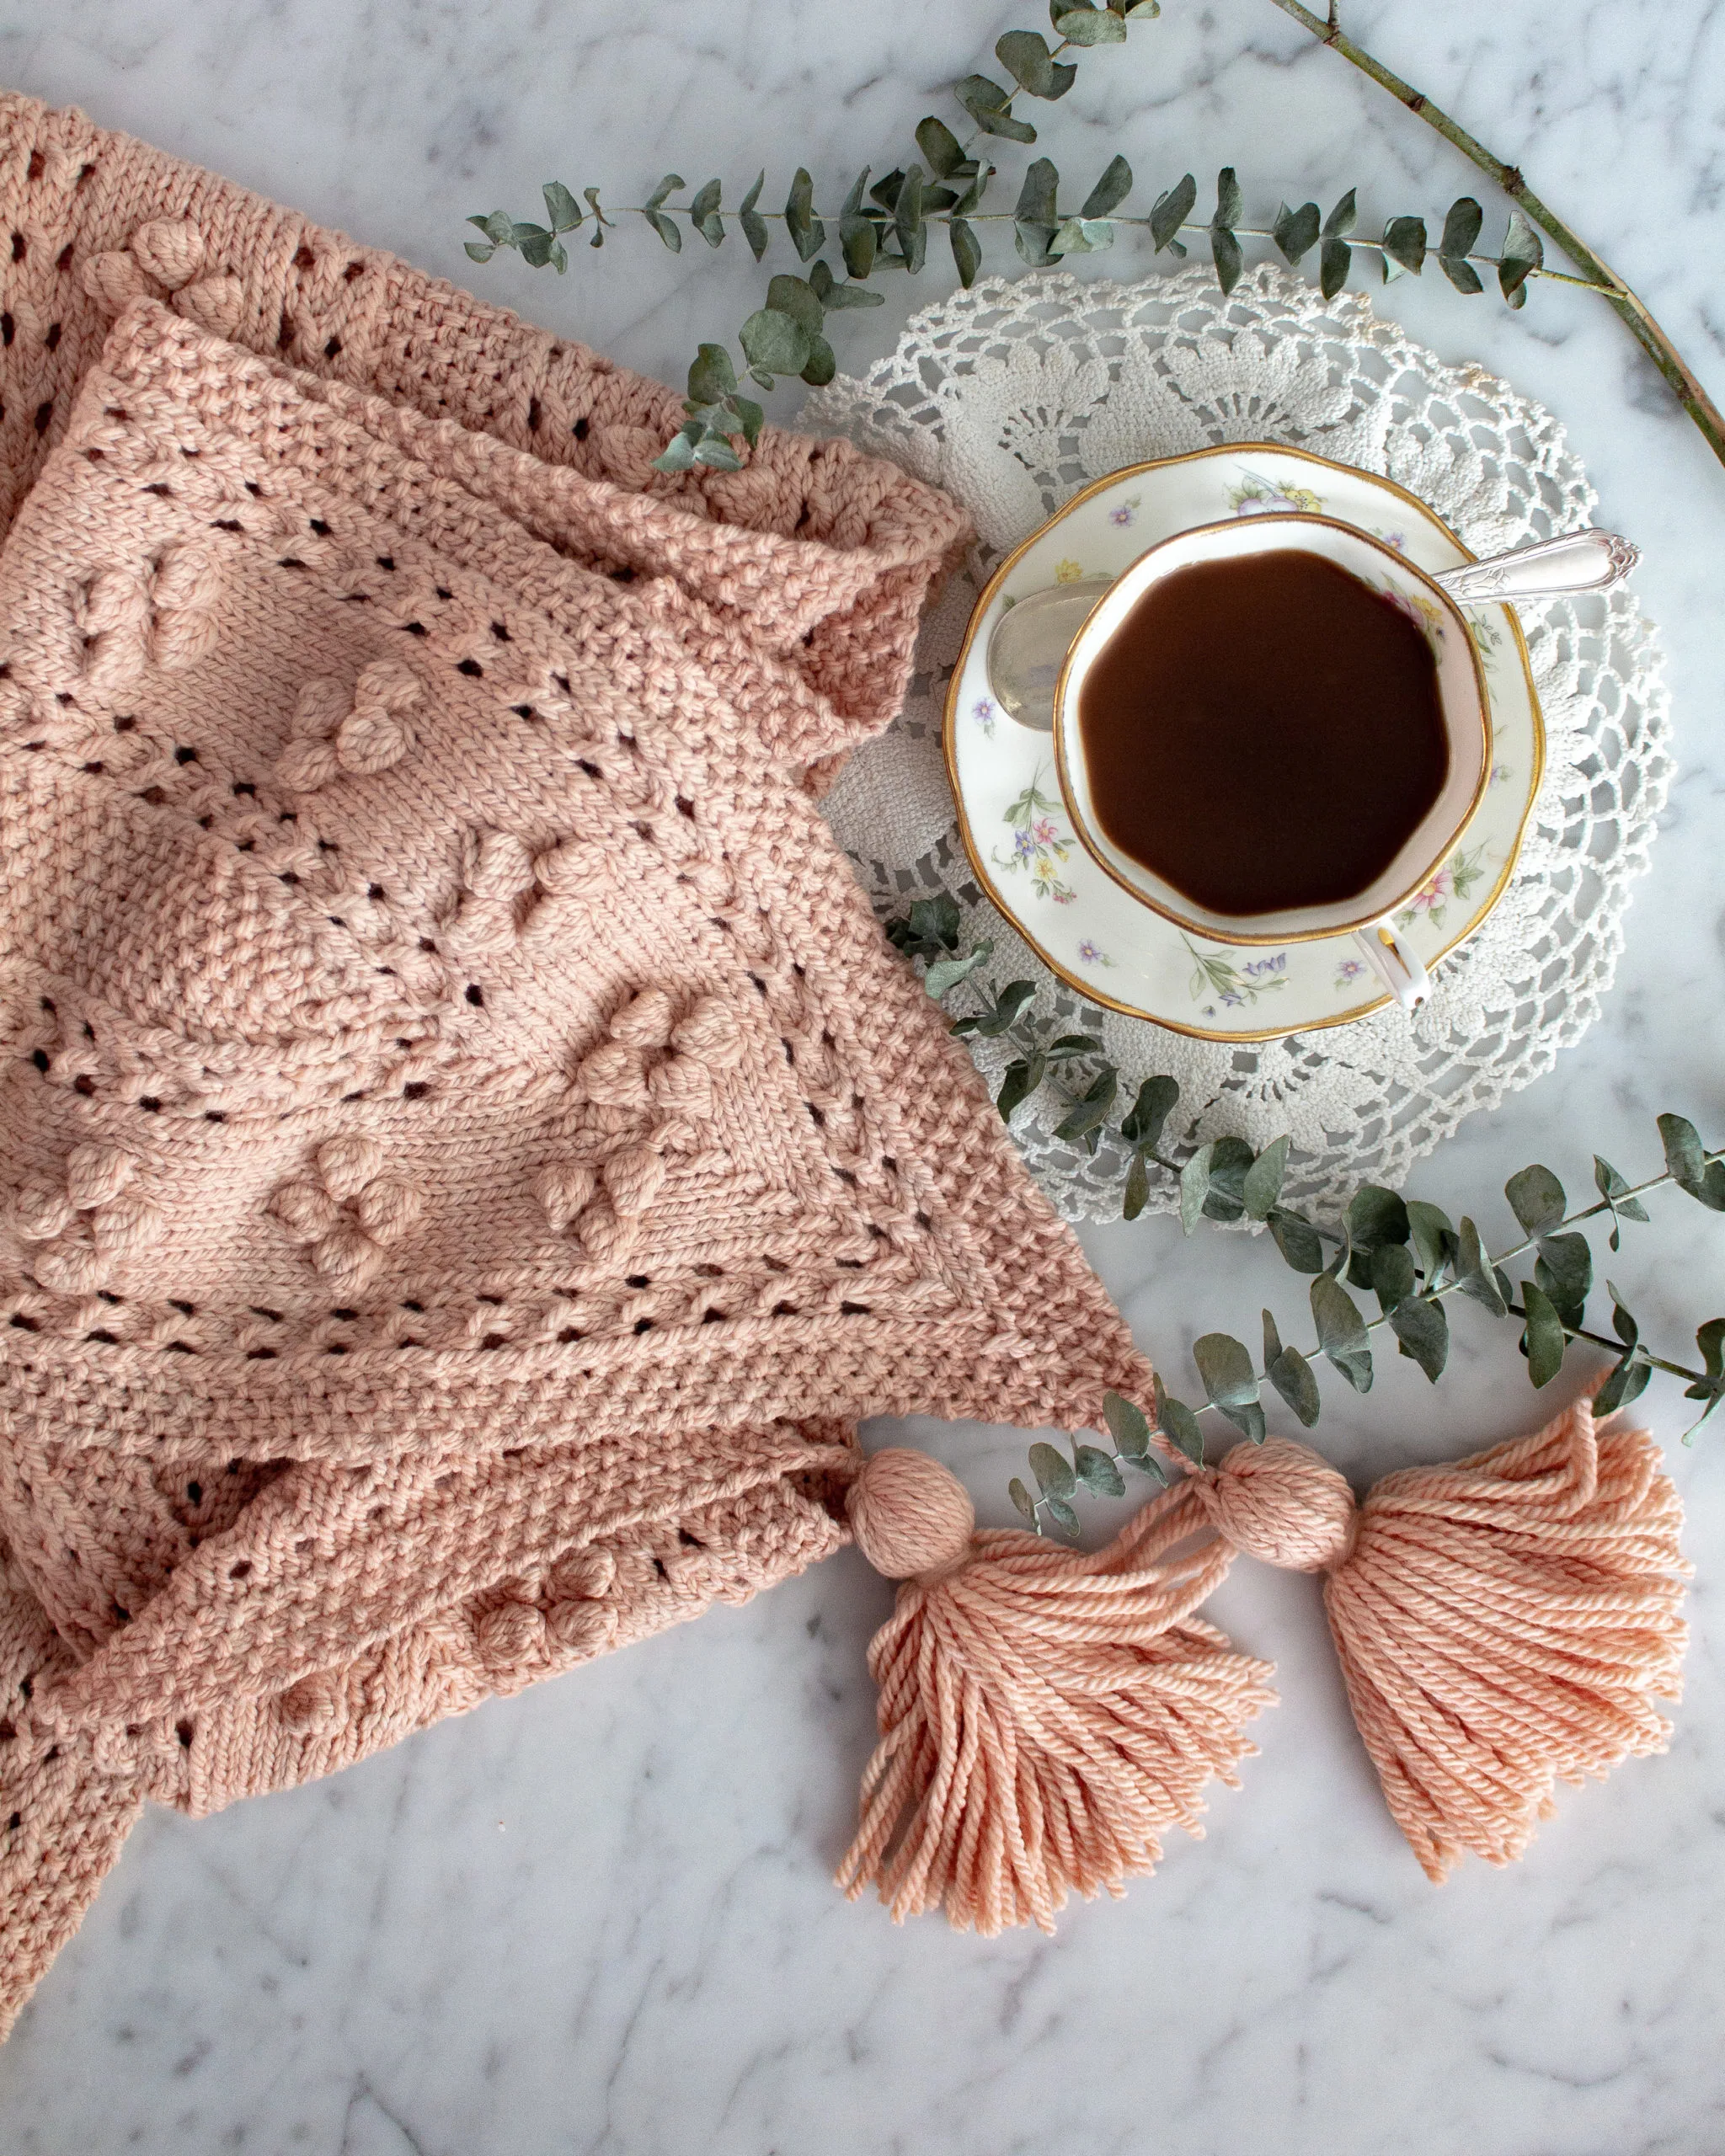
I prefer working with bright, indirect sunlight. That’s why I shoot my photographs in the mid-afternoon in my kitchen, which has a west-facing window. The window allows lots of light to enter the room, but the light doesn’t fall directly on the knitting. This reduces shadows that might make it harder to see my project.
When you take pictures at noon on a clear, sunny day, your shadow situation is going to be different. Direct, overhead light can cast strong shadows. Those shadows can sometimes obscure what you’re trying to photograph or distort the depth of your photos. This can be especially challenging when you’re trying to photograph a highly textured knit project.
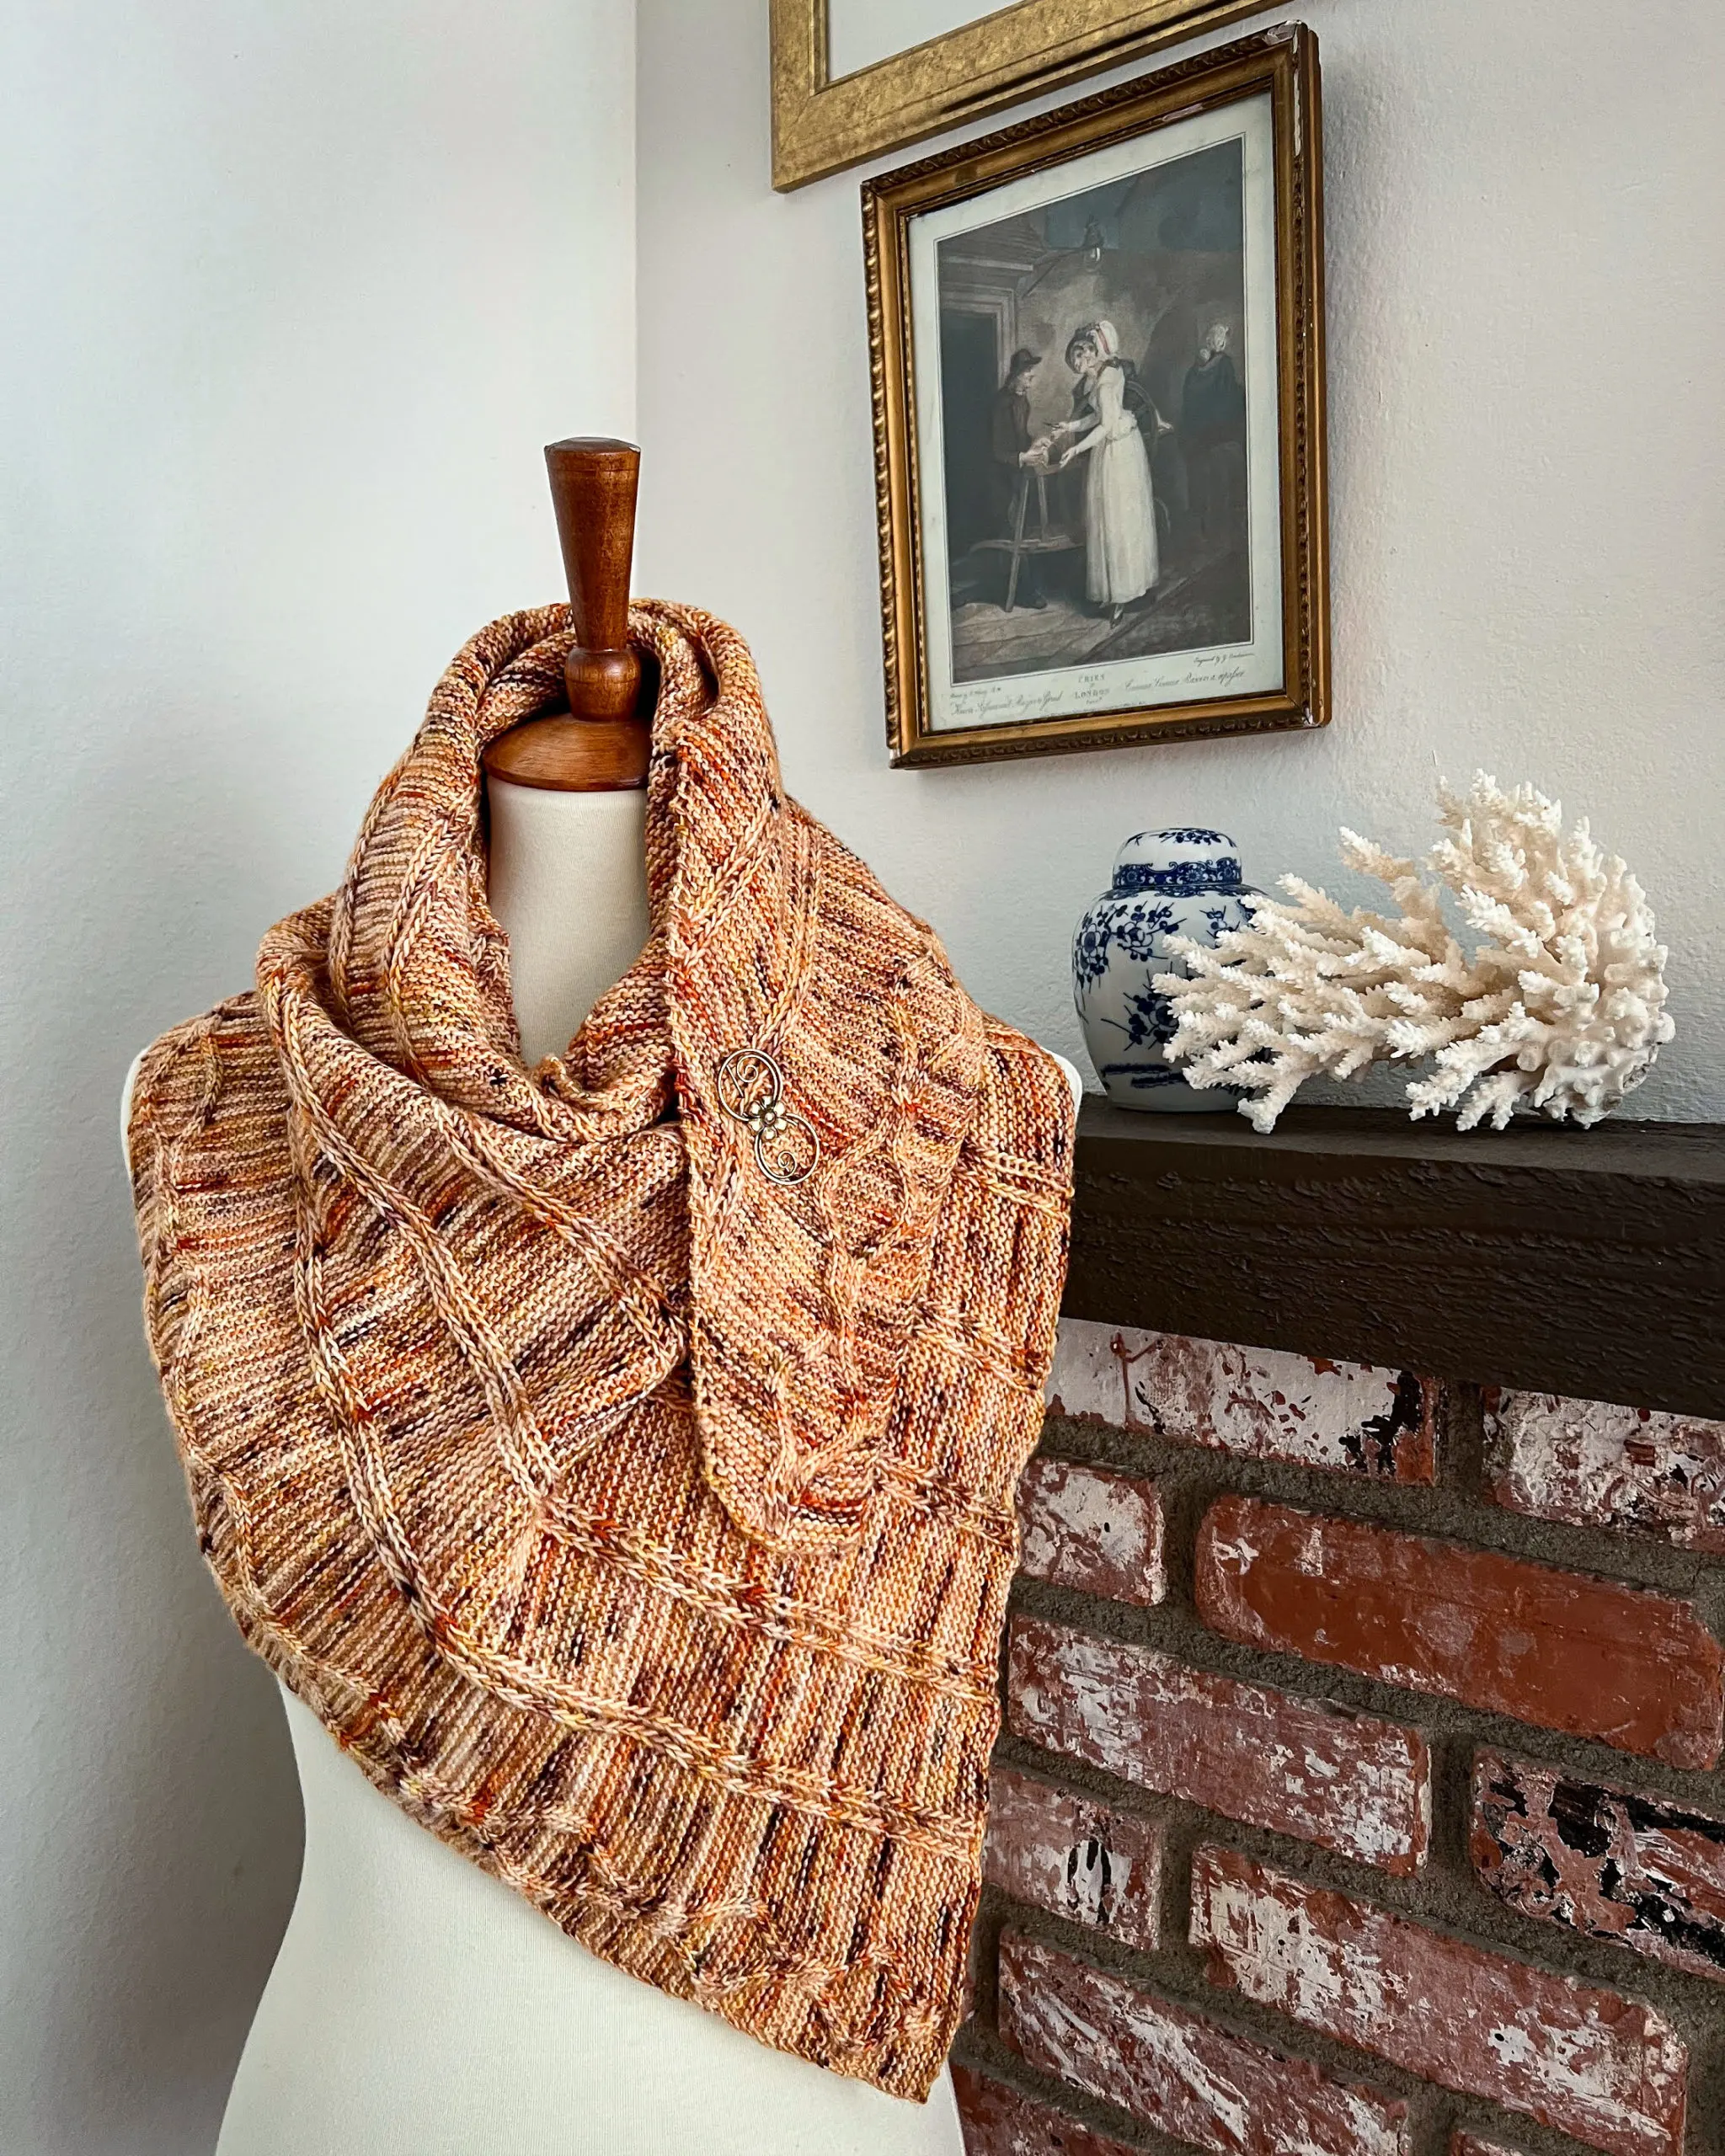
On the other hand, if you’re diligent about learning to use shadows to your benefit, you can achieve some very cool effects with them. Deep, moody photos can highlight a rustic yarn and make tweedy neps look extra prominent.
What temperature is the light?
Light can be all sorts of colors, from red to gold to blue to purple, depending on various circumstances. This is referred to as the light’s “temperature.” That doesn’t mean how the light registers on a thermometer. Rather, it’s asking whether the light is warm (reddish to yellow) or cool (greenish to purple).
If you’re shooting in the late afternoon, the light will most likely be a warm, golden color. If you’re shooting in the early morning, it’s likely to be a cooler, bluish light. On a cloudy day, the light will also generally be cooler. If you live in a part of the world prone to wildfires, like I do, you’ll find the light on smoky days is very warm.
Since I shoot in mid-afternoon, my photos tend to have a warm glow to them, though I notice that my photos are always cooler in winter than in summer.
Remember the debate that swirled over The Dress several years ago, or The Shoes more recently? People saw different colors depending on whether and how much they mentally adjusted for the lighting in the image. The lighting you use in your photos can affect how accurately the color of your yarn is conveyed to others, so it’s important to pick the right light.
What sources of reflected light are around you?
My backyard fence is painted a deep reddish-brown. In the early morning, the light bounces right off that fence, through the window, and into my workspace in the kitchen. The reflected light has a reddish tinge that colors everything it touches, and it changes the temperature of my photos.
Think about what color your walls are, whether there are surfaces outside that might reflect light into your photo area, and whether you need to make adjustments to correct for any reflections that might change the color of your light.
Think, too, about what items are nearby that might reflect light. Sometimes I find I’m getting a weird color cast in part of a photo. Then I realize I’ve got a box of Cheerios on the counter that is reflecting yellow light or a bottle of soda casting a weird shadow.
Even your clothing can affect the way your image captures light. As a result, I like to wear neutral-colored clothes like a soft tan sweater while I’m taking photos.
What surface are you using for your knitting photography?
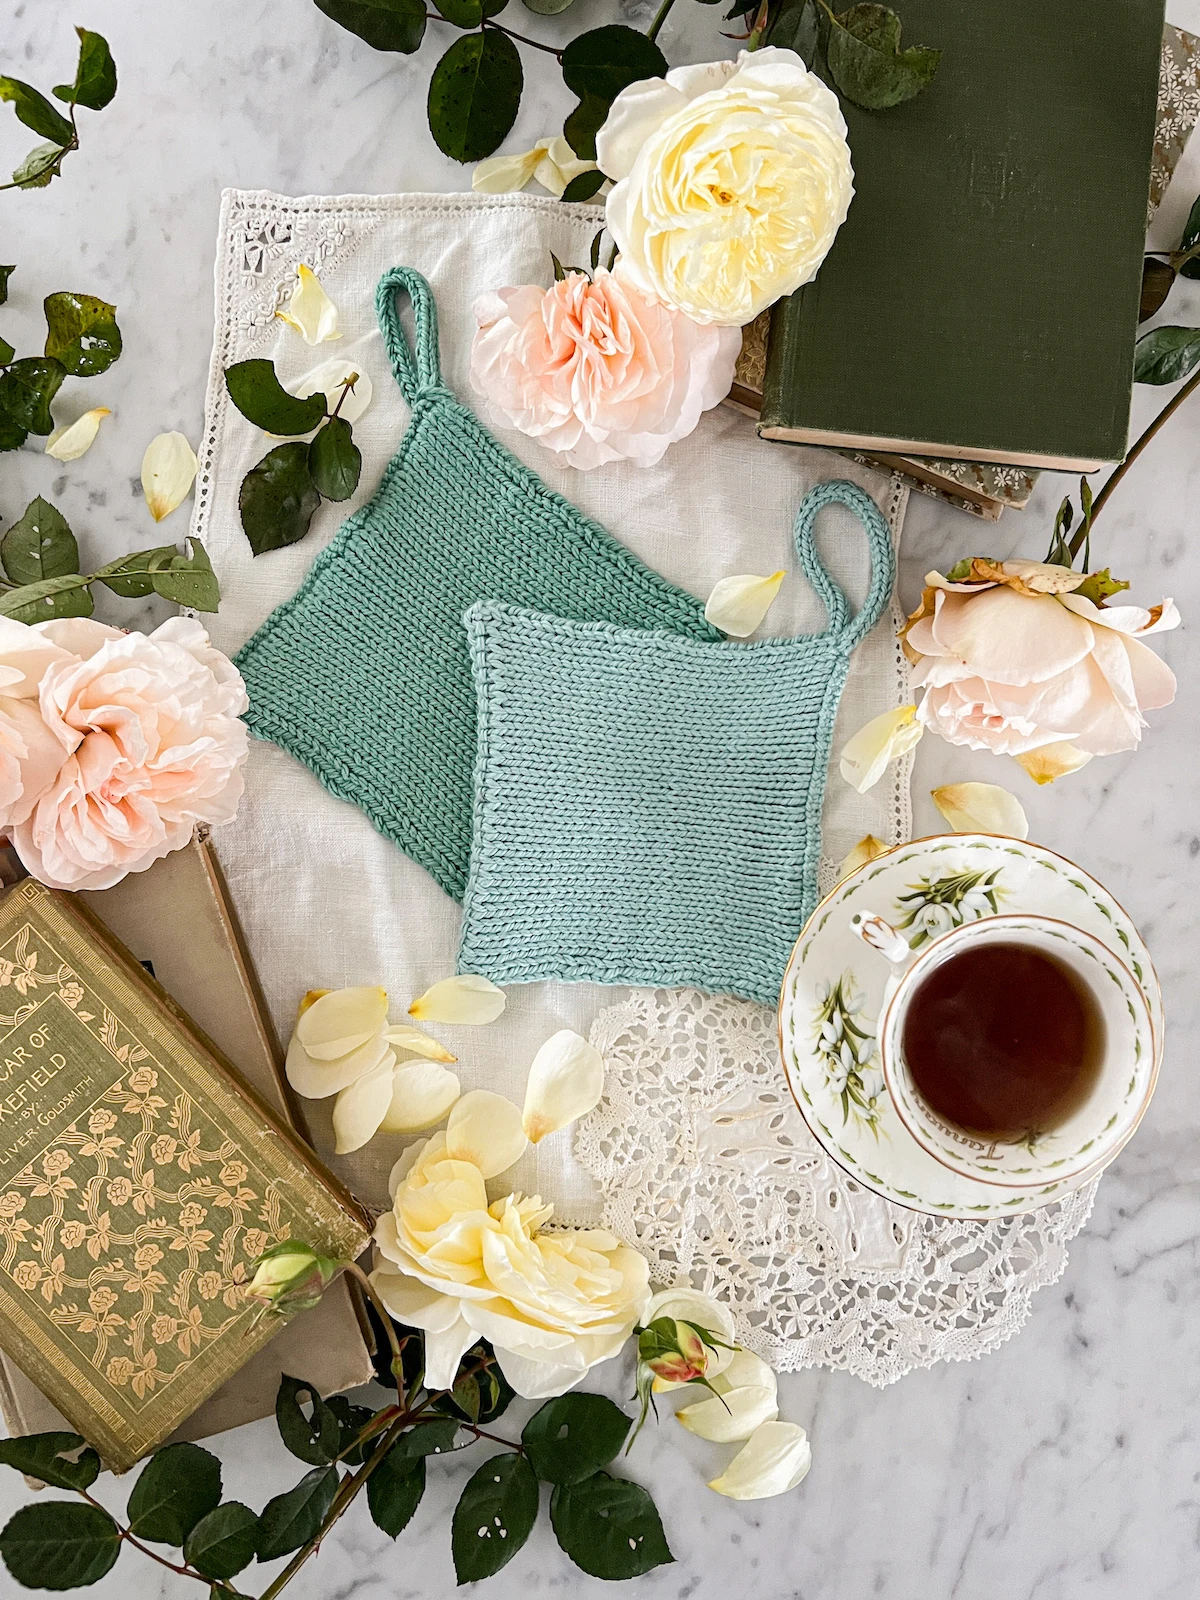
Some surfaces absorb light, while others reflect it. If you want bright, airy photos, try working with light stone backgrounds, light-colored fabrics in linen or silk, and light, warm woods like bamboo, oak, or pine. If you want dark, moody photos, try using darker stone like slate, wood in a shade of gray or dark brown, and velvet or wool fabrics in darker colors.
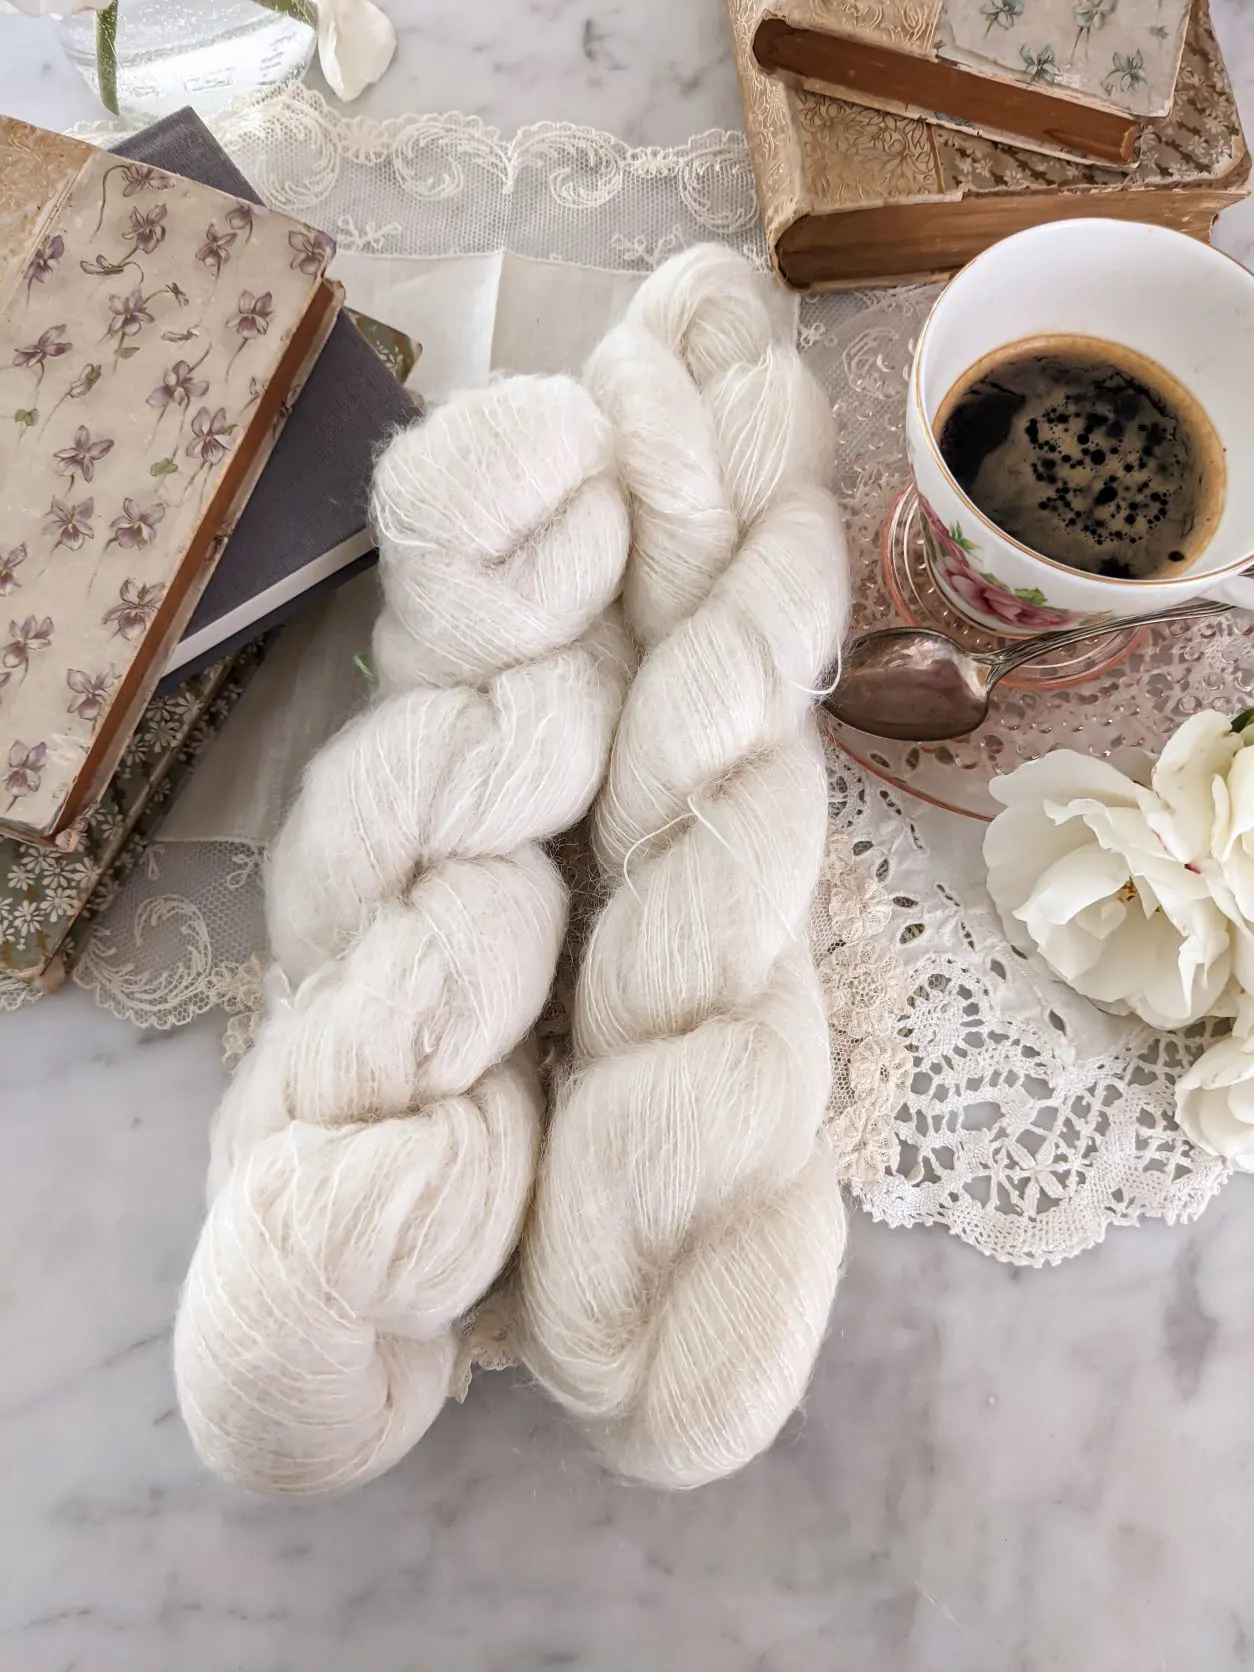
I shoot on the marble island in my kitchen, which takes in light, gently disperses it, and reflects it back out again. It’s probably one of my best knitting photography tools.
If you’re looking for a similar effect but don’t want to renovate your kitchen to do it (totally understand, that’s a bit much), you can pick up a marble cheese board like this one. (That’s an affiliate link, which means if you choose to buy something through those links, I’ll receive a small commission at no extra cost to you. I will always identify affiliate links for you. Thanks for supporting my work!) The peel-and-stick faux-marble backgrounds will give you the patterning and texture, but they won’t reflect the light the same way.
Other knitting photography resources
Over the years, I’ve collected photography articles online that teach me new techniques or solve problems I’ve been having. This post from Dan Richards is an old favorite for helping me think through lighting issues in my photos. You can also learn more about golden hour and why it’s a great time for shooting photos (though beware, if you’re trying to perfectly capture the color of your yarn, golden hour can make that trickier because of the strong yellow tint to the light).
I’ll also be bringing back my popular craft photography workshops later this year as a pre-recorded online class. You can sign up for the waiting list if you’d like to know as soon as registration is available.
I hope this has been helpful to you! To take advantage of these tips, spend some time over the next few days really looking at the light in different places in your home at different times of day. Think about which lighting conditions seem to match the types of photos you want to take. With a little attention to the lighting in your home, you can dramatically improve your knitting photography. I’d love to see what you come up with, so please do get in touch if you’ve found this useful!
Let’s stay connected!
Join my newsletter for 30% off all new releases, regular updates with helpful tips and tricks, first crack at registration for upcoming workshops, exclusive discounts, and more.
Join the A Bee In The Bonnet Facebook Group to participate in knitalongs and other fun community events
Come hang out with me on the A Bee In The Bonnet TikTok
Follow along on the A Bee In The Bonnet Instagram
Get inspired via the A Bee In The Bonnet Pinterest