In my last post in the better knitting photography series, we talked about ways to create interesting photos that are laid out on a flat background. Today, we’re going to talk about photographing your knits in a vertical space, including photographs where we are using a human as a model. There are some special considerations when there is a person involved in the pictures.
I hadn’t originally planned on doing this post. To be honest, I still feel a bit awkward taking picture of myself. I know I’ve got a long way to go before I’m comfortable working as my own model. On top of that, I have a lot more experience photographing my knits on a flat surface.
But I got a couple specific requests from people hoping I would talk about how to take photos in a cramped space and how to find good poses. I figured even a little advice is better than none at all! So here we are. I hope it’s helpful.
But first, a quick note: this post is one in a series of posts about ways to improve your knitting photography. Here are quick links to the other posts in the series.
Now, let’s get to it.
Set Up Your Knitting Photo with a Simple Background
The most important thing is to make sure that you are taking your photographs in a space that is free of visual distractions. If that’s not possible, take some time to minimize the sources for things that could distract from the main focus of your picture.
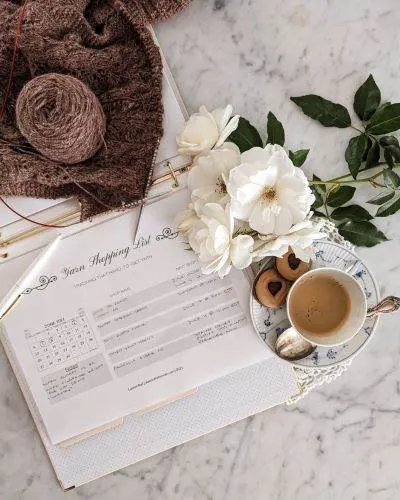
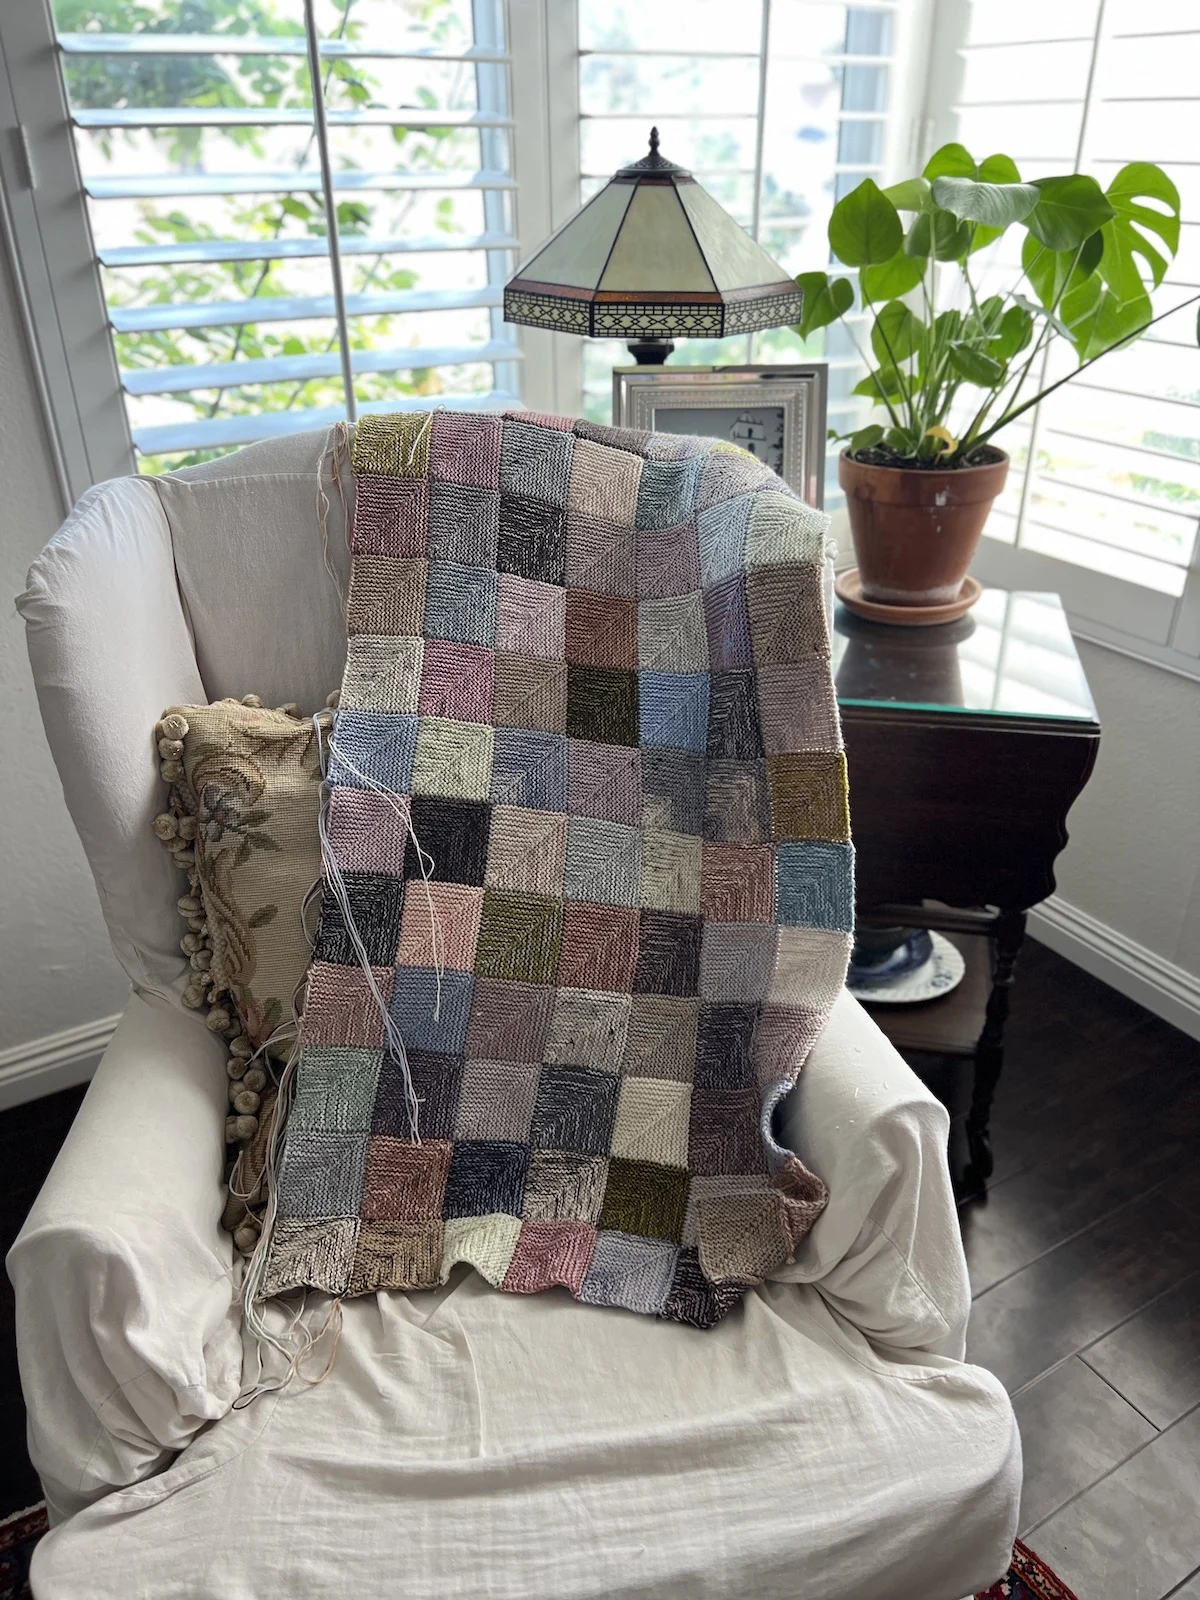
I like to take photographs in my front room. That space does have some things happening in the background, but they’re not overwhelming. This space is big enough that I can have a few accessories in the photos without those accessories dominating or making it feel cluttered.
If you are taking pictures in a smaller space, here are three options you can try.
Remove Distractions
Try to remove pictures from walls or shift throw pillows until you have minimized the potentially distracting things in your space. This will help keep the focus on your knit item.
Hang a Sheet
Hanging up a sheet helps reduce visual distractions. It can even add a little bit of interest if, for example, you drape the sheet in a way that causes the fabric to wrinkle like the folds of a toga. You see draping used really effectively in Victorian photo studios.
Use Portrait Mode
If you are using a DSLR, it will automatically adjust depth of field. If you are photographing with your phone, though, you’ll need to put your phone’s camera in the right setting. Using that portrait mode will help blur the background. That blurred background will help keep things behind your photograph from being too distracting. Here’s how to do that on an iPhone and here’s how to do that on an Android phone. (A reminder: I shoot 99.9% of my photos using my Pixel 4a, which isn’t even the fancy Pixel. You don’t need top-of-the-line gear to take good photos!)
Pay Attention to the Directional Flow of Light when Photographing Your Knits

If you are taking upright photographs indoors, it’s really important to pay attention to where your light is. I’m going to lay out the cardinal rule here for you, in bold, so you can’t miss it:
Do not, do not, do not take pictures with windows in the background.
Having your pictures backlit by a window will make it extremely hard to take a good photograph. Depending on the time of day and your yarn, you may not be able to see the stitches at all. You might end up with color distortion. The window in the background will create weird flares and make it hard to see the actual focus of your photograph.
Instead, take your photographs with the windows to the side or directly facing the focal point of your photograph. Take a look at the photo in this section, which is an example of my setup in my front room. You’ll notice that the spot where I take all of my photographs on my dressmaker’s form is a windowless corner of the room. The light filters into the room from the windows on the other side.
Consider: Are You Photographing Your Knits Sitting or Standing?
If you’re using a human for a model, especially if your knit item is a garment, consider whether you want to take your photos while sitting or standing. I think sitting photos are important because they’re helpful visual aids for knitters who use wheelchairs or otherwise spend a lot of time in a seated position.
As a result, I take photographs both sitting and standing. It’s important, though, to understand how those different positions affect the body and the way that knitwear hangs on it. Take a look at these two pictures of my Geniality Sweater. In the standing photo, the sweater just hangs on my body without anything affecting the flow of it. When sitting, though, the flow of the garment changes.

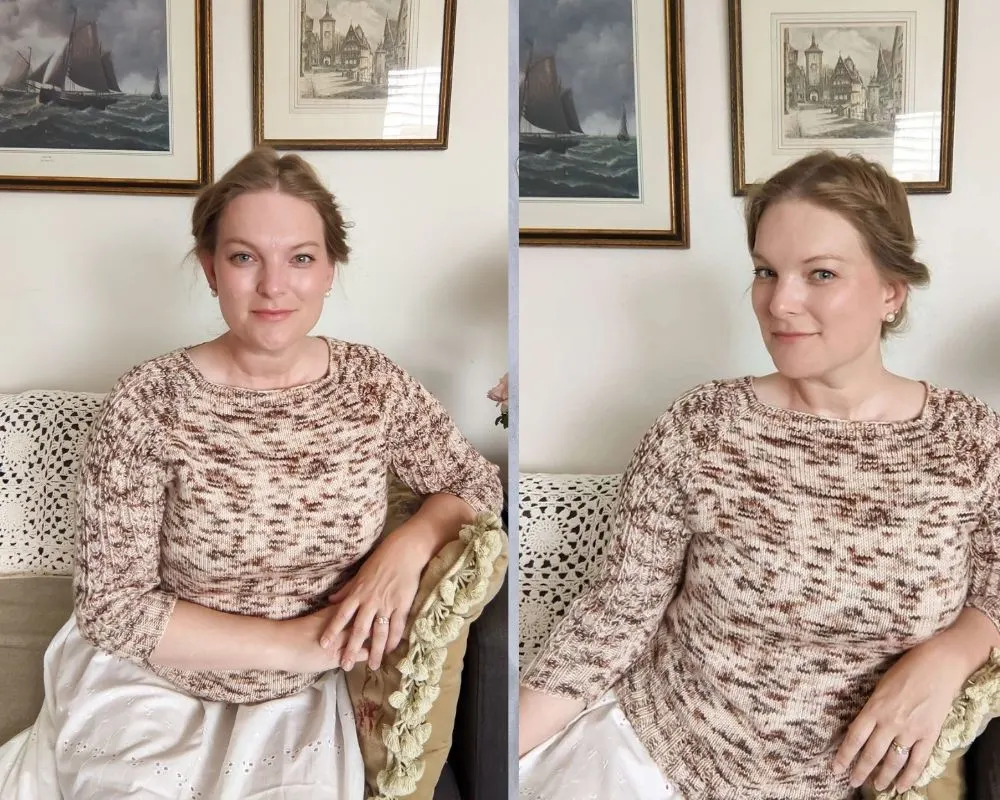
Here’s a helpful trick for sitting photos. A lot of furniture causes the body to fold in on itself a little bit, which makes your shoulders round forward and slouch, and your torso slump downward. Many people find this position less comfortable, and it shows in their facial expressions. That’s certainly the case for me. I feel more closed off and less confident when I am not in my usual posture. To counteract the effects of my furniture, then, I sometimes sit on a small pile of books.
Take a look at the difference between the two photographs below. The second picture, the one where my posture is much straighter, is the one where I brought in some old casebooks from law school to counterbalance the fact that my sofa slopes inward (and people told me I’d never use those things after school ended!). Moving my right arm out to the side also made for a more open, relaxed pose. It’s no surprise to me that the visibly less-comfortable photo was from earlier in the photo session.
Save Sources for Pose Inspiration
One issue several people mentioned that they struggled with is coming up with poses for their pictures. I’ll be honest: I’m not exactly great at this, myself. Like most of us, I feel incredibly awkward in front of a camera, and it’s particularly difficult taking pictures of yourself with your camera set on self timer mode.
When I need to take pictures of myself for various reasons, I end up taking about 40 to 50 duds for every 5 to 10 usable pictures. It’s just a frustrating process, and there’s not much to do about it. You’re going to feel silly at first. There’s no getting around that. But the more you practice, the better it will feel.
And you can get inspiration for poses that will help you feel a little more comfortable. I have three main sources of inspiration.
Other Instagrammers
I like to see what fashion and lifestyle accounts are doing, especially those with a more dreamy aesthetic. Two of my favorites are Onyi Moss and Katie Cung. Both of them have even done tutorials for their followers about how to pose more comfortably and naturally in photos and videos.
Portraiture
I love 19th-century painted portraits, especially those by Franz Xaver Winterhalter, which are languid and graceful but still feel achievable. In fact, one of his portraits of Princess Leonilla of Sayn-Wittgenstein-Sayn was a source of inspiration for that lounging picture of the Geniality Sweater. (Side note: if you’re ever at the Getty Museum in Los Angeles, be sure to visit that portrait. It’s absolutely massive. I make sure to stop by and say hi every time I’m there, which has been quite a lot over the last 18 years).
Classical Statuary
Finally, I also like to draw inspiration from classical statuary. There is a movement visible in many of those statues that helps keep them from feeling forced and rigid. That’s a sensation you want to avoid in your pictures of yourself, too, as much as possible, especially when photographing your knits. Again, this is something I still struggle with myself, so I’m writing this to remind myself as much as anything! To keep yourself from feeling really stiff, try not settling into your pose until just the moment before the picture is snapped. For those of you, who, like me are taking your pictures using the self-timer mode on your camera, it often has a handy little countdown that will let you know how long you have.
Pay Attention to Camera Angle
The camera is a tricky tool. Despite what a lot of people think, you can’t just point it at something and capture a perfect recreation of what that thing looked like. Lenses distort shapes, and this is especially true when photographing a person.
If you find that your camera is making parts of your body look different from how they usually appear, try fiddling with where your camera is positioned. Lower it, raise it, turn it to the side, and experiment with how perpendicular it is to the floor. All of these will affect how the camera captures your image.
I use a small tripod now to hold my phone, but I didn’t always have that. Stacks of books and boxes, bookshelves, kitchen counters, a mantel—they’ve all done duty as phone stands. See what works best for you and which angle you prefer. Once you find a good set-up, make note of it so you can recreate it.
Coming up next, we’ll be covering how to frame your photos effectively. Then, we’ll talk about how to edit them to achieve the look you want. After that, it’ll be your turn to test out what you’ve learned! Stay tuned.
Let’s stay connected!
Join my newsletter for 30% off all new releases, regular updates with helpful tips and tricks, first crack at registration for upcoming workshops, exclusive discounts, and more.
Join the A Bee In The Bonnet Facebook Group to participate in knitalongs and other fun community events
Come hang out with me on the A Bee In The Bonnet TikTok
Follow along on the A Bee In The Bonnet Instagram
Get inspired via the A Bee In The Bonnet Pinterest