We are finally here at the last stop on our better knitting photography adventure! For today’s post, we’re going to talk about photo editing, which free apps I recommend, and specific ways you can edit your knitting photos to improve your photographs.
First things first: when it comes to editing apps, I am a Lightroom loyalist. Lightroom for Mobile is the free, lightweight version of the desktop app, and it’s remarkably powerful. It is, however, a little tricky to learn, so I didn’t start out using Lightroom.
The first photo editing app I used was Snapseed. Snapseed is also a free photo editing app on your phone, and it’s pretty robust. I still use it regularly for quick cropping and rotating. I also love it for the free healing function when I want to, say, erase a wall outlet that’s visible in the middle of the photo and creating a distraction. Click here to find it on Google Play, and click here to find it in the Apple Store.
The Instagram app has some pretty decent native editing tools, too. I don’t use it much because it’s hard to create consistency when you can’t see your other photos while editing. The brightening and structure tools, though, are great for last-minute tweaks before I post.
But first, a quick note: this post is one in a series of posts about ways to improve your knitting photography. Here are quick links to the other posts in the series.
Now, let’s get to it.
Use Rotation/Cropping to Edit Your Knitting Photos for Better Framing
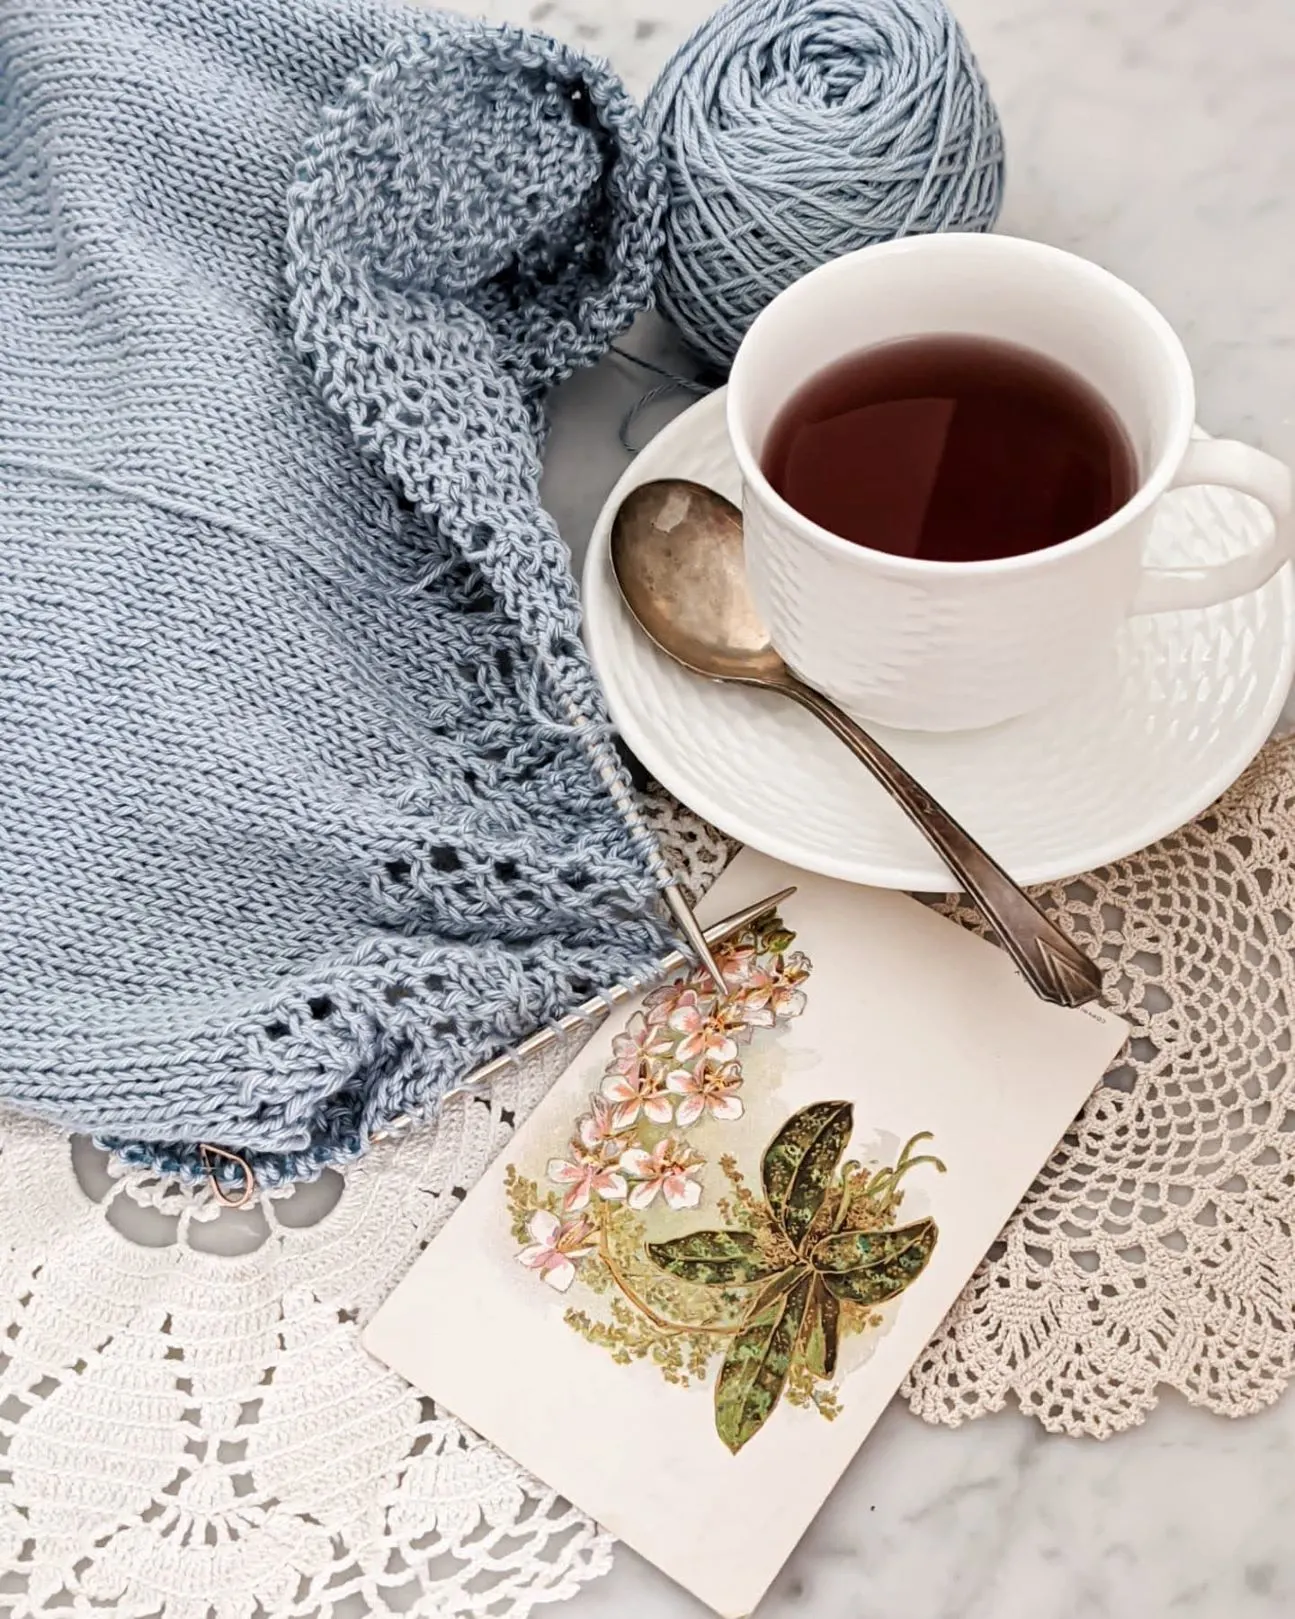
Remember how I yakked your ear off about framing your photo well? Yeah, well, it turns out you can also fix a lot of framing problems using the cropping and rotation features in photo editing apps. While I generally think it’s a better idea to get the best photo you can before editing, sometimes, we have to work with what we have.
Take a look at the pictures below. On the left, you can see the original framing. I had it backed out way too far. The knitting looks like a tiny dot of stuff in the middle of a sea of unconnected things. If you look at the second photo, though, you’ll see I’ve cropped it more closely. This helps restore the focal point by taking up enough space that the knitting has visual impact.

Remember, the focus of your picture isn’t just about where the lens is pointed. It’s also about how much space the focal point takes up in your photo.
The same thing can be done when you have rotation issues. If your picture is a little crooked, use your photo editing app to straighten it out. Snapseed has a helpful auto-straighten tool that I like a lot. I’m not a big fan of the straightening function in Lightroom. It’s a little too sensitive to finger movements and therefore hard to get the picture exactly right.
If you have trouble getting your camera perfectly parallel to the wall and perpendicular to the floor, try the app called SKRWT. It helps fix distortions well and can restore crooked lines.
Again, the fixes you can do in editing apps are pretty good, it’s best to get a picture as you can.
Adjust Brightness for Clearer Details
Let’s go way back to our earlier post about working with difficult light. Remember, there are tricks you can do before snapping your photo to improve the lighting of your picture. If, however, you’ve got a photo that is still just not quite right, photo editing apps can make a big difference.
I use the brightening function in Lightroom on pretty much every photo I take. It’s hard to get a photo that is bright enough without washing out the details, so I tend to shoot them dark and then brighten when I’m editing. That way, I can control the brightening process a little better and make sure that I don’t lose details in the highlights. Try playing around with the brightening function in your app to find your preferred spot.
It’s important to remember that different screens have different brightness levels. For example, I edit all of my photos on my Pixel 4a. I’ve discovered that the Pixel has a brighter, cooler display then many of my friends’ iPhones, so I know that, while I am getting an edit I love on my phone, it may not look the same on other phones. There’s not really much you can do about that. It’s just something we all deal with.
Play With Contrast
Controlling the contrast in your photo is it really important way to make sure you don’t lose details as you edit your knitting photos. It’s also a great way to make sure your shadows aren’t too dark and the highlights aren’t too bright. Take a look at the three photos below. The photo in the middle has the contrast unchanged, the photo on the left has the contrast increased, and the photo on the right has the contrast decreased. You can see the difference in intensity between each photo.
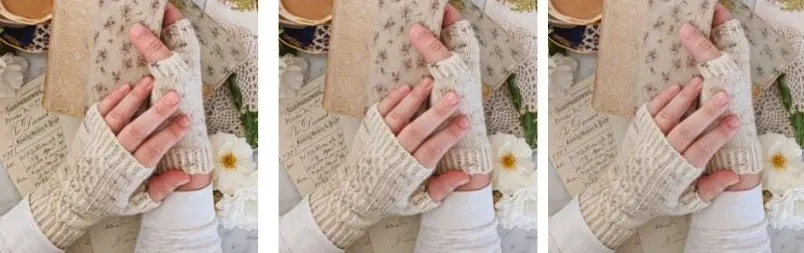
When I first started using Instagram almost a decade ago now, I used to turn down the contrast on all my photos. Now, I tend to increase it just a little bit. I find that slightly higher contrast helps make the detail in my knits a little clearer.
Edit Your Knitting Photos to Increase Clarity/Detail/Structure
Of course, if you’re really trying to show off the texture of your yarn, you’re going to need to learn how to improve the clarity, detail, and structure in your photo. Different photo apps call this feature by different names.
In Snapseed, you’re going to want to look for the structure function. It’s called the same thing if you are editing in the native Instagram app. If you’re editing in Lightroom, though, you’ll want to look for the setting called Effects. That’s actually a group of functions that you can toggle to improve the visible detail in your picture.
This is one area where I see a lot of knitters’ photos fall flat. The lighting is beautiful, the composition is lovely, but I can’t actually tell what’s going on with the yarn. When you improve the clarity and structure of a picture, it makes the fibers in the yarn pop. That way, people can actually see the stitches, the halo, the plies, etc.
Adjust Saturation, Tint, and Warmth to Modify Colors
Playing with the saturation in your photo is another great way to develop your own visual style. I tend to prefer slightly desaturated images, which goes with my generally soft aesthetic. You may enjoy increasing the saturation in your photo, which will make the colors look even more vivid and bright than they did in the original image. Try sliding the saturation button back and forth to see which settings you prefer while you edit your knitting photos.
The tint function affects whether your image skews slightly green or slightly pink. Greener images feel cooler, while pinker images feel warmer. It’ll also affect how all the colors play together in your photo, so check to see whether it distorts things too badly.
Warmth is one of my favorite adjustments. All of my photos are tweaked just a tiny bit so that they’re slightly warmer than the original photo. I think it adds a softness that I enjoy. Light comes in lots of colors, but if you can’t get the light you want while taking your picture, you can achieve a similar effect through editing.
Use Selective Color Enhancement/Reduction to Improve Color Accuracy
This is a function that I think is only available in the Lightroom app, but I use it extensively. I really don’t like the way a lot of greens look after they’ve been brightened and clarified (they’re, uh, aggressively vibrant), so I go in and selectively desaturate them. If the greens are skewing yellow, I also desaturate the yellows in the image.
This is also helpful when I am knitting projects for my little one. She prefers bright, vivid colors, which I’m happy to make for her, but I don’t particularly enjoy taking pictures of them. This way, I can take the picture, set it up like I would for any other project, and then desaturate the really bright shades in the image. That helps it blend into my feed a little better.
Edit Your Knitting Photos Using Presets, but Use Them Sparingly
I’ll be honest: I’m not a huge fan of presets on their own. I think a lot of people believe they can take picture, slap the preset on it, and be good to go. That’s not how it works.
I use presets all the time, but I use them thoughtfully. Depending on what the starting image looks like, my preset might not brighten the image enough, or it might brighten it too much. You can’t use presets uncritically. You need to apply it, and then you need to compare the edited image to the other images you’re going to be using with it. Are they consistent? Are they cohesive? If not, you’re still going to need to make some manual changes.
The other reason I’m not a huge fan of presets is that it creates a kind of monotony across accounts. When everyone uses the same preset and applies it without any further modification, everybody’s photos start to look the same. One of the things I love about Instagram is seeing a huge variety in photography and editing styles. Presets undermine that.
That being said, presets do serve a function. If you know that your camera tends to shoot images in a certain way, and you always edit them to at least a certain degree afterward, it’s helpful to have a preset to get you to a good starting point. With that in mind, I’ve created a couple subtle presets that I think might be helpful for those who are getting started with photo editing and need a little boost before they’re ready to fly on their own. There are two free Lightroom mobile presets below that you can use to achieve different effects in your photos.

You can download the Cool Winter preset by clicking this link. The Warm Summer preset is available at this link. Once you’ve got the preset you’d like to use, be sure to check out this blog post about how to install Lightroom Mobile presets.
And that’s it for this series on better knitting photography! You can find all the earlier installments by clicking here. I hope these posts have been helpful for you, and if there’s anything you’d like me to cover in future posts, please drop a note in the comments. I love hearing from you!
Let’s stay connected!
Join my newsletter for 30% off all new releases, regular updates with helpful tips and tricks, first crack at registration for upcoming workshops, exclusive discounts, and more.
Join the A Bee In The Bonnet Facebook Group to participate in knitalongs and other fun community events
Come hang out with me on the A Bee In The Bonnet TikTok
Follow along on the A Bee In The Bonnet Instagram
Get inspired via the A Bee In The Bonnet Pinterest


A lot of great tips! I loved this blog post series!