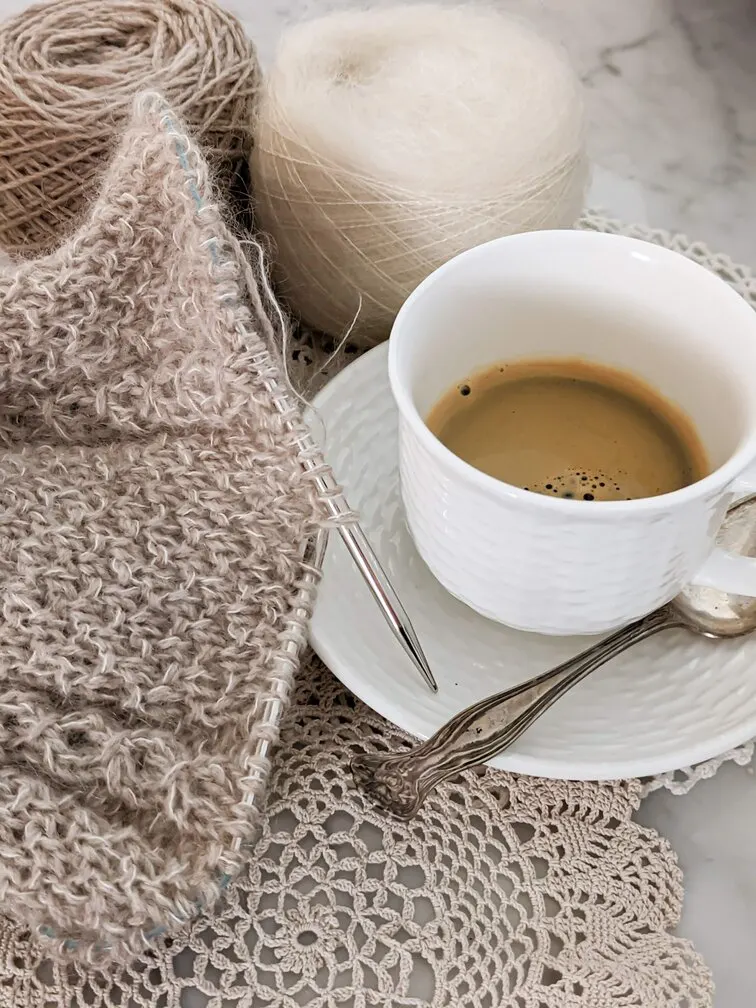
The linen stitch is a simple and straightforward way to add texture and stability to your knitting projects. Unlike stockinette stitch, linen stitch does not curl in on itself and does not stretch much. This makes it ideal for projects that should be somewhat stiff, like certain bags, washcloths, cowls, and more. It’s also one of my favorite stitches for adding a little bit of visual interest to a project.
In this blog post, we’re going to explore how to knit the linen stitch in a couple different ways, along with lots of tips and tricks for knitting the linen stitch in your own projects.
Understanding the Linen Stitch
The linen stitch is knit very similarly to stockinette stitch. The key difference is it uses alternating slipped stitches to create a visual texture. Depending on whether you’re knitting your linen stitch knitting pattern flat or in the round, you may end up changing whether you’re knitting or purling on each row and whether you’re holding your working yarn in front of your work or behind your work. We’ll cover more on that point in a moment.
Regardless of whether you’re knitting flat or in the round, this stitch pattern will use a two-row repeat or two-round repeat. That makes it easy to memorize.
On the front side of your knitting, these alternating slipped stitches create a woven effect. It looks similar to a piece of linen fabric (hence the name). The fabric isn’t woven at all, though. It’s just a clever optical illusion. On the wrong side of the work, linen stitch creates a pattern that looks very similar to moss stitch.
Let’s take a look at how, exactly, to knit the linen stitch pattern and achieve a woven texture without breaking out the loom.

How to Knit the Linen Stitch Flat
To knit the linen stitch flat, you’ll want to start by casting on an even number of stitches.
Row 1: *K1, slip 1 purlwise with yarn in front; repeat from * until 2 stitches remain, k2.
Row 2: *P1, slip 1 purlwise with yarn in back; repeat from * until 2 stitches remain, p2.
In this scenario, odd-numbered rows are the right-side rows, and even numbered rows are the wrong-side rows. You’ll quickly see, as you work this two-row repeat, which side is which. The right side of the work will have a smooth, woven appearance, while the wrong side will have a bumpy texture.
The linen stitch can also be worked across an odd number of stitches. As for me? I prefer the ease of an even numbered cast-on. It’s easier to know what stitch you should work at any given point.
Whether you work your linen stitch across an even number of stitches or an odd number of stitches, the trick is to remember that in each row, you’re slipping the stitches that were worked on the previous row and working the stitches that were slipped on the previous row. In other words, if a stitch was slipped on the last row, you’ll knit or purl it on the row you’re working. If a stitch was knit or purled on the last row, you’ll slip it on the row you’re working.

How to Knit the Linen Stitch in the Round
Knitting the linen stitch in the round is even easier than knitting it flat. To start, cast on an even number of stitches using your preferred needles for knitting in the round (I prefer circular needles) and join for knitting in the round, being careful not to twist.
Round 1: *K1, slip 1 purlwise with yarn in front; repeat from * to end of round.
Round 2: *Slip 1 purlwise with yarn in front, k1; repeat from * to end of round.
When you knit the linen stitch in the round, you don’t have to worry about whether you have the back of the work or the front of the work facing you. That also means you won’t have to use purl stitches or worry about whether you need to hold your yarn in front of your work or behind your work when slipping stitches. You’ll always be slipping purlwise with yarn held in front.

Tips and Tricks for Using the Linen Stitch
The linen stitch is a relatively straightforward knitting stitch pattern, but it does have some quirks that are good to understand before you use it.
1. Durability. Because of all the slipped stitches, the linen stitch creates a knit fabric that is very sturdy and wears well under heavy use. The woven-like fabric is a great choice for items that need to be a little tougher.
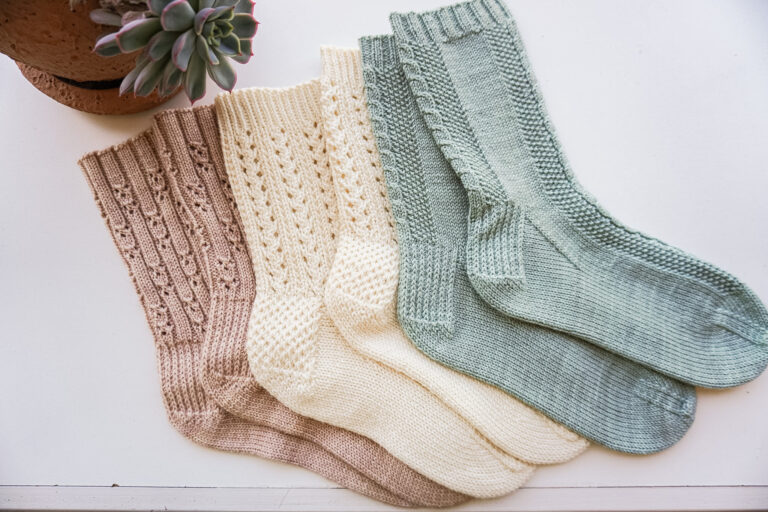
2. Lack of stretchiness. The slipped stitches that make this pattern durable also contribute to a lack of stretch. As a result, the linen stitch is not well suited to things like socks or close-fitting garments. When knit with smaller needles, the linen stitch will create a nice, dense fabric, that moves much like a very thick woven fabric. It can have beautiful drape if knit with larger needles, though, so can be a good choice for looser-fitting garments.
3. Thickness. The slipped stitches also help make this texture thicker than other knit fabrics, which can make it an excellent choice for things like pot holders. If you choose to use this stitch for items meant to insulate from heat, though, be sure to double up the fabric and avoid using a larger needle than is necessary. This will prevent your skin or furniture from coming into contact with a hot pot through holes in the fabric.
4. Seed stitch. This stitch pattern looks similar to seed stitch, but the two stitch patterns actually function very differently. Seed stitch is an extremely squishy and stretchy pattern because it is worked using a combination of knit and purl stitches with no slipped stitches. Linen stitch is much less stretchy, though it has a similar squish factor.

5. Slipping purlwise. When working the linen stitch, you should always slip stitches purl-wise. When you slip purl wise, it means insert your working needle into your stitch as if you’re going to purl it, but instead of purling the stitch, you just move it from one needle to the other.
6. Gauge. Because of the slipped stitches used in this stitch pattern, it’s easy for the woven-like texture to end up looking gappy and uneven. That’s because each slipped stitch occupies the vertical space that would normally be taken up by two stitches. To counteract this issue, I like to go down a needle size or two from what is commonly recommended for the yarn weight I’m using. For example, if I’m using a worsted weight yarn, I like to go down to a US size 6 (4 mm) needle instead of the commonly used US 8 (5 mm) needle.
7. Alternating colors. Using DPNs or circular needles and doing a color change for each row, you can work this stitch pattern in such a way that the carried yarn contrasts with the stitch slipped behind it. This is a great way to make a colorful linen stitch with a different look.

Reasons You’ll Love Knitting the Linen Stitch
The linen stitch is a relaxing and meditative stitch pattern that doesn’t require a lot of thought. That makes it great for tv knitting, vacation knitting, and other scenarios where you want to keep stitching but don’t want to have to think too much.
The linen stitch also doesn’t roll in on itself. Unlike stockinette, which has a tendency to curl up along the edges, projects knit using the linen stitch will sit flat without you having to tug them into shape.
Finally, this is a great stitch pattern for beginner knitters. If you’ve mastered garter stitch and stockinette stitch, and now you want to branch out into something new, the linen stitch is a great place to do exactly that.
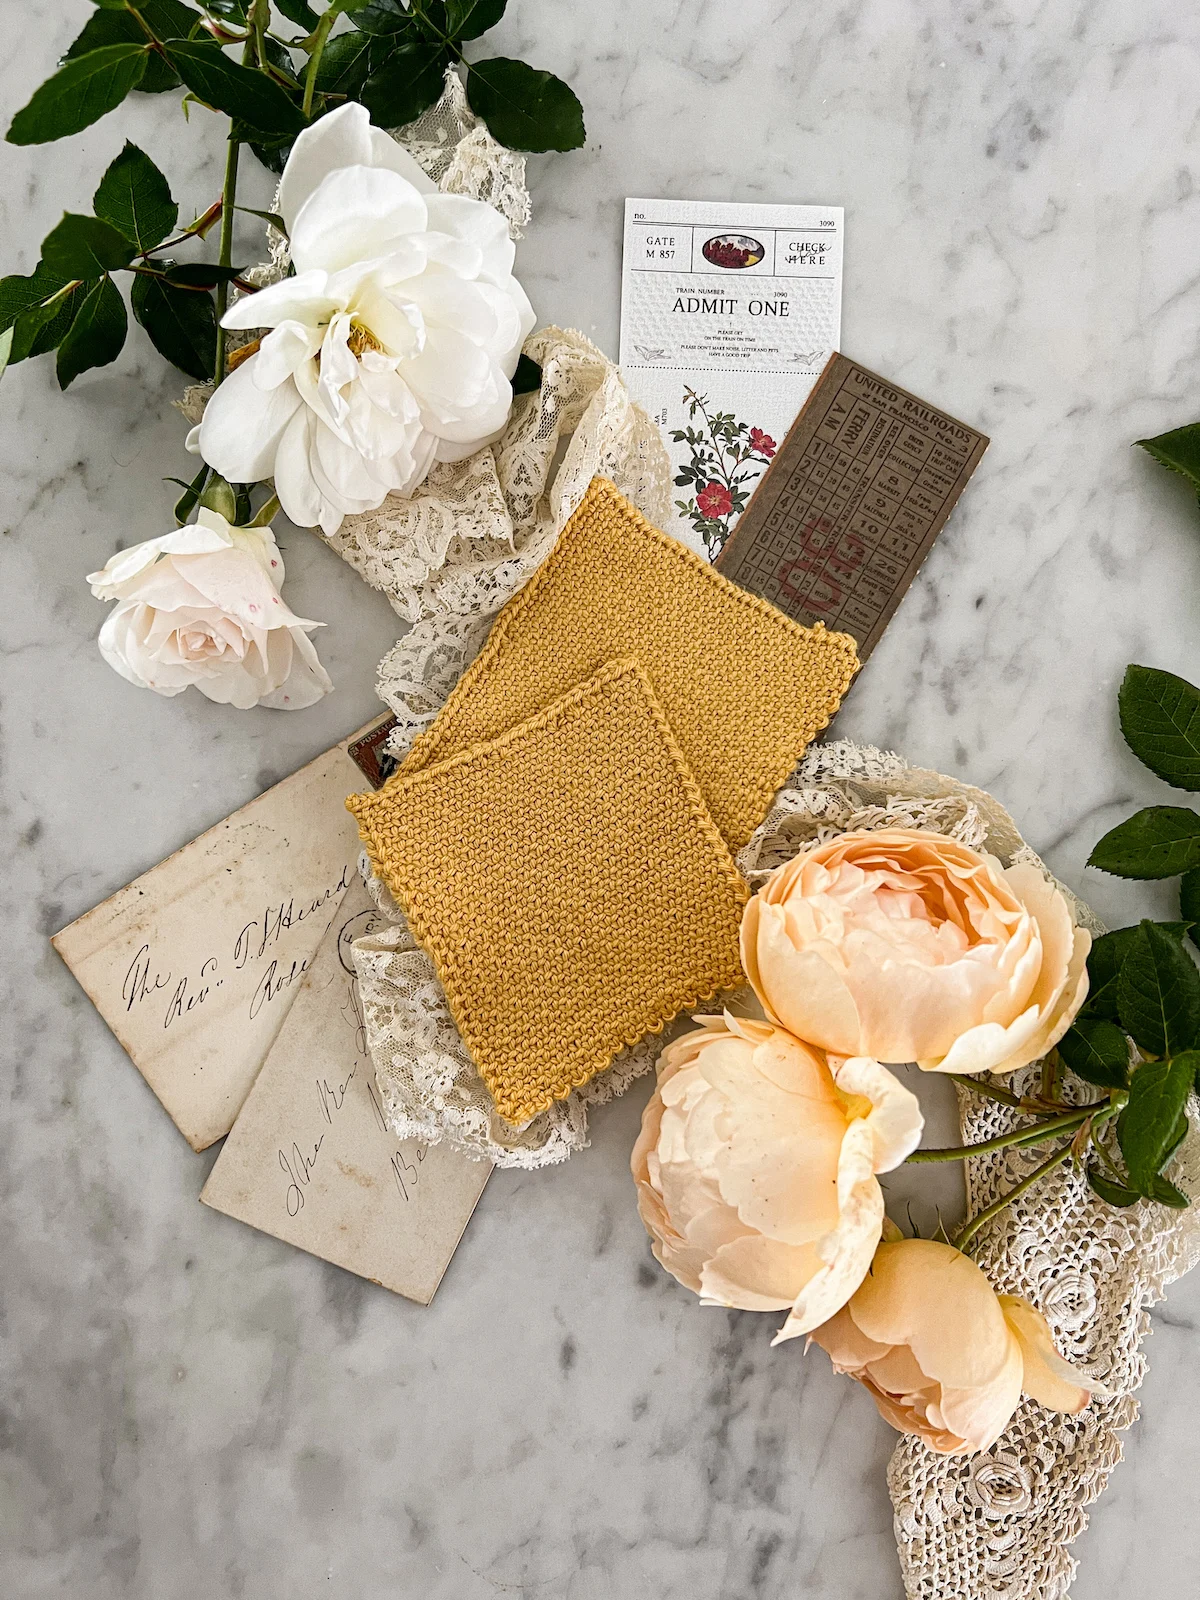
P.S. – If you’re curious about these swatches, I knit them using Amano Inti Yarn that I had leftover from a design I did for them last summer. It’s a DK-weight yarn made from 100% pima cotton, and I think it has gorgeous stitch definition.
Let’s stay connected!
Join my newsletter for 30% off all new releases, regular updates with helpful tips and tricks, first crack at registration for upcoming workshops, exclusive discounts, and more.
Join the A Bee In The Bonnet Facebook Group to participate in knitalongs and other fun community events
Come hang out with me on the A Bee In The Bonnet TikTok
Follow along on the A Bee In The Bonnet Instagram
Get inspired via the A Bee In The Bonnet Pinterest