Today, we’re exploring a technical issue that has puzzled a lot of knitters: how to get a tidy edge on knitting projects. There are several solutions, but one commonly suggested option is to slip a stitch at the beginning of each row. This slip stitch knitting edge creates a crisp trim, and depending on your project, it might be just what you need.

Today, we’re going to look at the benefits and drawbacks of the slip stitch knitting edge, dispel a myth or two, and talk about when it might be a good fit for your project. Let’s go!
Benefits and Drawbacks of the Slip Stitch Knitting Edge
When you create an edging for your knit project that uses slipped stitches, it makes a very crisp, smooth trim for your knitting. It also, however, has some drawbacks. Let’s take a look at the helpful and challenging aspects of working with this kind of edging.
Benefit: very tidy edges
First, of course, is the obvious benefit: slipping a stitch at the beginning of your row can make it look really, really nice.
A lot of knitters love the way the column of slipped stitches on the side of their knitting looks like a column of stockinette stitch. If you struggle with tension at the edges of your knitting, and you’re wondering how to knit neat edges in garter stitch or other stitch patterns, this can help alleviate some of that.
It also helps prevent some of the stitch twisting that naturally happens when you work the same stitch at both the beginning and the end of each row.
Drawback: a slipped stitch can cause distortion
Because you are using one stitch to cover the height of two rows, sometimes a selvedge created by slipping stitches can lead to a bit of shrinkage or stretching along the side of the knit project. That’s because you are asking one stitch to fill double the vertical space it would normally occupy.

While distortion can be managed using a combination of intentionally adjusting gauge, stretching the stitch a bit when you slip it, and blocking the project when it’s done, newer knitters and those with very tight stitches might find that slipping a stitch at the beginning of each row can lead to some puckering or leaning in your work.
Benefit: easy to pick up stitches along edge
If you are picking up stitches along the edge of a project, having this column of slipped stitches makes that part of the process very easy. You don’t have to count as carefully and won’t lose track of where you are as easily as you might when picking up along a garter edge.
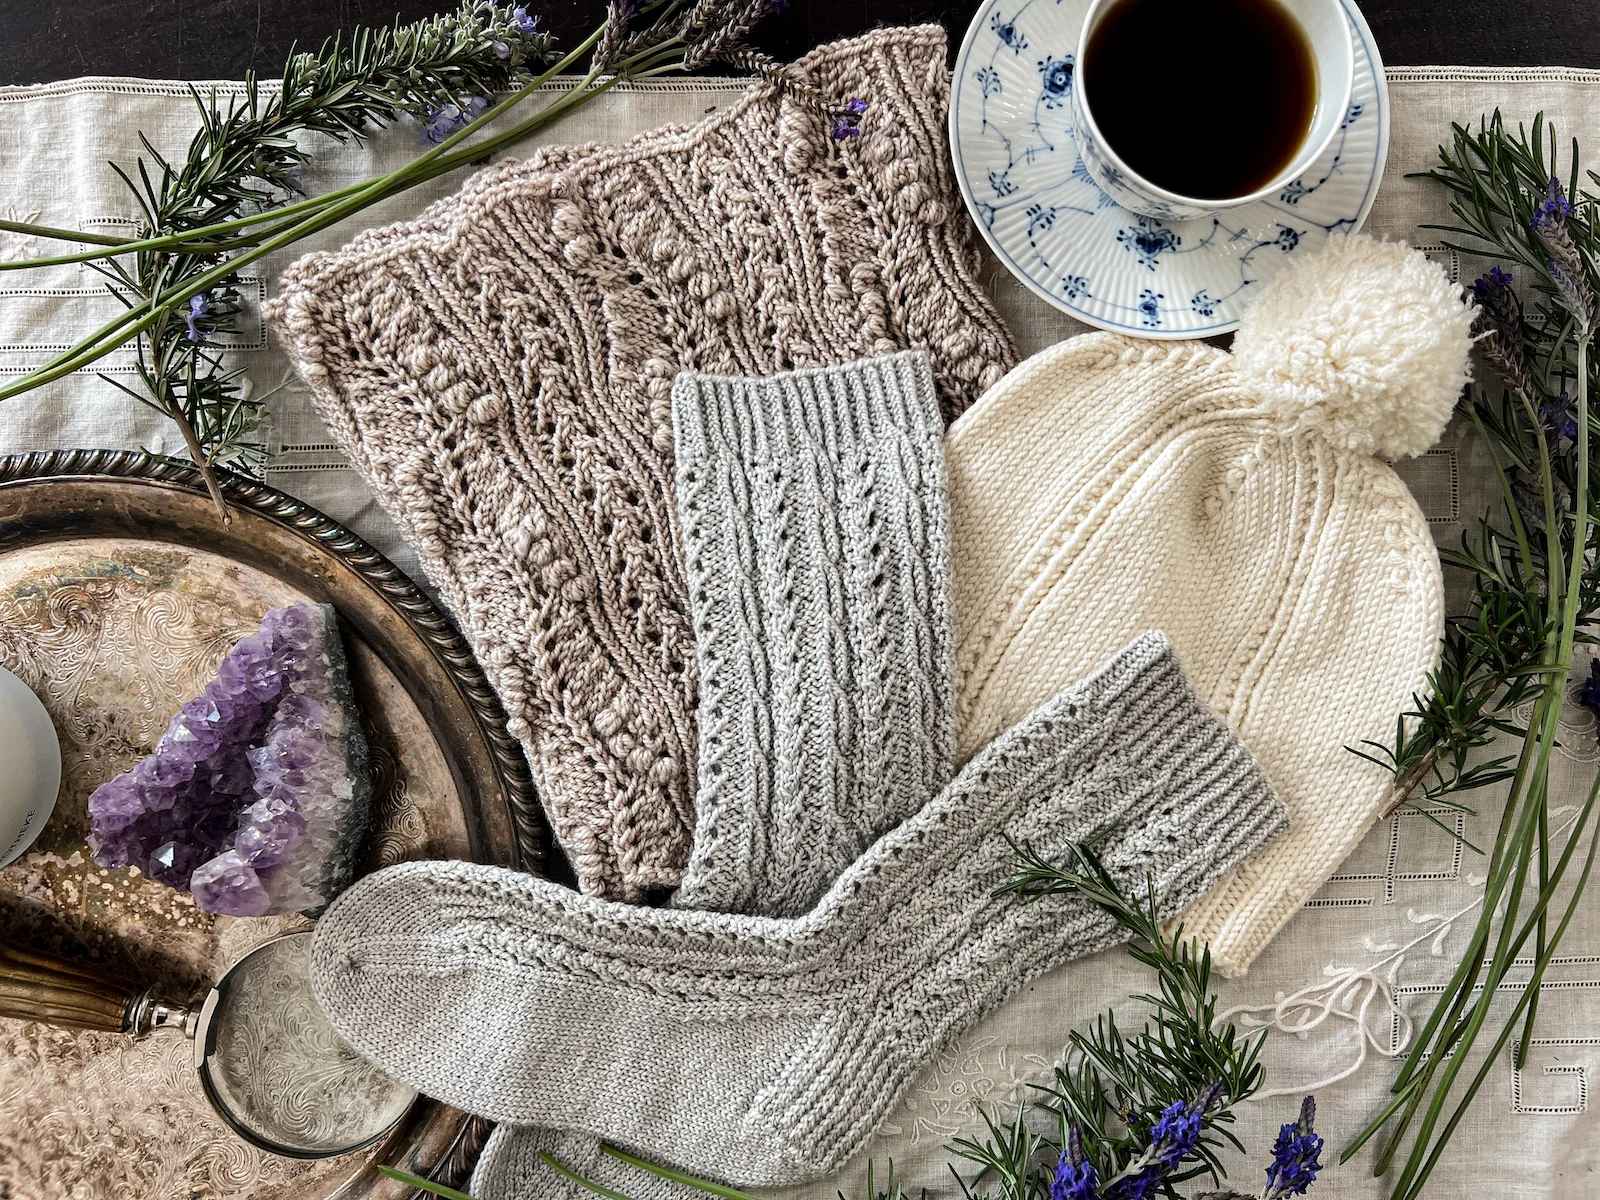
This is one of the reasons I love the slipped stitch along the edge of the heel flap on a sock.
Drawback: imperfect ratio for picking up stitches
Of course, picking up stitches along a slip stitch knitting edge isn’t fool-proof.
See, knit stitches are not perfectly square. Most tend to be a little wider than they are tall. This means that if you pick up along the edge of a knit piece and pick up the same number of stitches as rows, you’re going to end up with some puckering.
Most knitting guides recommend picking up in a ratio of 2 stitches for every 3 rows or 3 stitches for every 4 rows, depending on your gauge.
That’s why, in most situations, it’s not a good idea to use a slipped stitch edge to calculate how many stitches to pick up. The slipped stitch edge will leave you picking up 1 stitch for every 2 rows, which is not enough stitches.
Drawback: gets in the way of seaming
If you’re knitting a garment in multiple pieces that will need to be seamed, you won’t want to slip the first stitch of each row. That’s because seaming is done using the bar between the first and second stitch of each row. Slipping the first stitch of each row means you’ll only have half as many bars as you need. That will result in bigger stitches and a weaker seam.
Using a Slip Stitch Knitting Edge with Different Textures
The slipped stitch edge also looks very different depending on the stitch(es) you’re using for the body of your work. Take a look at these three swatches. One is in garter, one is in seed stitch, and one is in stockinette. I’ve slipped the first stitch of each row on one side, and have knit the edges the way I usually would on the other side.
First, let’s look at the slip stitch knitting edge on each swatch. Take a look below.

As you can see, each of these swatches looks slightly different with the slip stitch edging. On the stockinette swatch, it almost blends in completely. On the garter swatch, it’s a very sharp edge, while on the seed stitch swatch, it’s a little softer.
Now let’s look at what those swatches look like with their regular edging, that is, without a slipped stitch at the beginning of each row.

The garter stitch and seed stitch swatches both still sit pretty flat, while the stockinette swatch is already starting to curl under itself.
These swatches show that slipping a stitch at the beginning of each row of knitting does have a visible effect. Whether that visible effect is what you’re looking for, though, might be a different question. This may or may not be the best solution for how to knit neat edges in garter stitch, stockinette stitch, or other stitch patterns.
Myth: The Slip Stitch Knitting Edge Keeps Your Edge from Curling
When I first started knitting, I learned the hard way that stockinette stitch tends to curl in upon itself.
Because I had very little in the way of in-person teaching, I turned to my old friend, Google. I searched for techniques to keep my knitting from curling, and I found a blog post that recommended slipping a stitch at the beginning of each row.
I tried it, and I have to tell you, it did nothing.
That’s because while it can tighten up the very edge of your knitting a tiny bit, slipping a stitch does nothing to affect the other stitches inside the piece of knitting. In the end, your stockinette project is still going to roll in on itself, whether you slip the first stitch in each row or not.
Personal Aesthetic Preferences Matter
Of course, there is room for personal aesthetic preferences here, too.
I’ve seen a lot of articles and blog posts describe a regular garter stitch edge as ugly, lumpy, or weird looking. I don’t think that’s true at all! In fact, I really like the look of a regular garter stitch edge. I actually prefer it to a slip stitch edge.
To me, the slipped stitches look big and out of proportion to the rest of the work. For myself in my own work, pretty much the only time I slip a stitch at the beginning of a row is when I’m working a sock heel.

Different Ways to Slip Stitches for Your Edging
There are lots of different ways to slip a stitch at the beginning of a row. Depending on the look you’re going for, you might want to slip the stitch purlwise or knitwise.
You should also consider whether you want to slip it with the yarn in front or with the yarn in back. When working in garter stitch, using a slip one with yarn in front at the beginning of a row will help it blend in better. When working in stockinette stitch, using a slip one with yarn in front at the beginning of a row will create a column of bumps at the edge of your knitting.
All of these will create slightly different visual effects, and the best way to figure out which one you like is to test them out! Grab some yarn you don’t plan to use for a project in the future or some leftovers from another project, knit up a swatch, and try different techniques along the edge.
Which one looks best to you? That’s the one you want to choose.
Because as I’ve said here before, knitting is a personal journey, and there are lots of different ways to achieve the same or a similar result. While sometimes there really is a best practice or a technique that is more suited for a purpose than others, in most situations, there’s a lot of leeway to do what you think looks good.
So how about you? Are you a stitch slipper, or do you skip it?
Let’s stay connected!
Join my newsletter for 30% off all new releases, regular updates with helpful tips and tricks, first crack at registration for upcoming workshops, exclusive discounts, and more.
I’m on YouTube now and would love to have you join me there for regular project updates, technique tips, chats about goings-on in the knitting world, and more.
Prefer to read without ads? Join my Patreon, which starts at just $1 a month!
Join the A Bee In The Bonnet Facebook Group to participate in knitalongs and other fun community events
Come hang out with me on the A Bee In The Bonnet TikTok
Follow along on the A Bee In The Bonnet Instagram
Get inspired via the A Bee In The Bonnet Pinterest


It doesn’t always matter, but a drawback of a slipped stitch edge (for me) is that it has little stretch. That’s not always a bad thing, but it depends on what you’re making.
A very good point. Sometimes you want that added stability on the edge, but sometimes you need a little more give.
I’ve never felt I needed to slip a stitch and now after reading your very informative article, I’m glad I don’t. I think the regular edge looks so much neater. Just my own personal opinion.
Thank you for this info, have signed up for more tips !
I’m glad it was helpful for you! There’s definitely an element of personal taste here, but I like the regular garter edge, too.