Over the years, I’ve seen many knitters confused by the concept of blocking. They think that it requires lots of wires and pins and special mats, or that blocking is only stretching out the finished knit. While blocking does sometimes involve those things, that’s not actually what blocking is.

Blocking is the process of wetting or steaming a finished knit piece to set its final shape. During the knitting process, stitches can become kind of lumpy and misshapen. Finished knits often look like a scrunched-up wad of fiber. This problem is most common with lace knitting, but you will see it in cable knits, colorwork, and even simple stockinette projects, too. Blocking helps make your finished knit look polished.
This post will cover why blocking is important, different blocking methods, the tools you might need while blocking, and best practices for ensuring that your finished project looks its best.
Why Blocking Matters
Blocking is an important part of the knitting process for five key reasons.
First, blocking improves stitch definition. It helps open up lace stitches, adds definition to cables, and smoothes out stockinette stitch.
Second, blocking can help achieve the correct measurements. Nearly all fibers change a little bit when they interact with water or steam. Because water and steam are the two methods most frequently used to clean our knits after wearing them, it’s important to make sure that the knits will fit after we wash them. When you knit a garment, for example, you will block your swatch to make sure your finished gauge is the correct gauge. Then, when you finish knitting your sweater, you will block it the same way you blocked your gauge swatch. In this way, even though your initial finished garment might look too small or have odd proportions, after blocking, it will have the measurements you want it to have.
Third, blocking your finished knits improves the fabric’s drape and texture. Wool is a great example of this. Wool fibers interact with water by blooming and relaxing. This softens the yarn and adds a little bit of a halo. Silk, on the other hand, becomes even smoother and more drapey when introduced to water.
Fourth, blocking your finished knits can help flatten curled edges on stockinette stitch. Those curled edges are often caused by differences in tension between your knit stitches and your purl stitches. When you block your finished project, that can help even out the tension, which will help your project lay flat.
And finally, blocking makes it easier to seam the pieces of your project. A flat, smooth project makes it easier to match up where the stitches belong. It also makes it easier to make sure your two pieces are the desired dimensions.

Four Most Common Types of Blocking
In this post, we are going to cover the four most common types of blocking: wet blocking, steam blocking, spray blocking, and killing acrylic (not technically blocking but usually gets lumped in with it – more on that in a bit). Let’s take a look at the differences between them, their benefits and drawbacks, and when you might want to choose each method.
1. Wet Blocking
The first type of blocking is usually known as wet blocking. This is the most common method used for blocking finished projects.
Wet blocking involves soaking your finished item in water. After a soak, you’ll squeeze out the excess water and lay your finished project flat to dry. I very strongly recommend using lukewarm to cold water to do your blocking. Do not use hot water, as that can damage the fibers of your finished project and even cause some felting. For the same reason, do not agitate your knitted piece once it’s in the water.
This method is great for durable animal fibers and many plant fibers. I use it almost exclusively for my wool and alpaca projects, as well as all of my linen and silk projects.
This blocking method is the most aggressive water-based blocking method, which means you will see the most significant difference between your unblocked project and your blocked project. If you were using a really tough fiber, like a scratchy wool or a pure linen, wet blocking can make a huge difference in how that fiber feels in the finished project.
However, this method also requires the most drying time. You are completely soaking your finished knit. This means your project is going to need a good amount of time to dry. If you live where it is very damp or cold, you may find that your wet-blocked knits take a very long time to dry out. To speed up the process, be sure to squeeze out as much excess water as possible by rolling up your finished knit into a towel. Then, step on that towel to press out to moisture. Do not wring the knit by twisting it.
2. Steam Blocking
The next method is steam blocking. This is a method where you shape your project and/or pin it into place first. Then, you expose your finished project to steam rather than straight water. The heat and moisture still cause the fibers to relax a bit, but it is not as significant an amount of moisture as with wet blocking, and so the effect on the fibers in your project will be less dramatic.
Most knitters who use this method do so by holding a steam iron or a garment steamer close to the fabric without coming into contact with the fabric itself. You can also try placing your finished project in a steamy bathroom while you take a very hot shower.
This method is best for more delicate fibers, like cashmere and some silks. It would also be effective for a mohair trim where you don’t want to lose the fluffiness of the mohair. I learned the hard way that wet blocking mohair, especially mohair blended with a high amount of silk, significantly increases the drape of the fabric but loses a lot of volume.
Steam blocking is great for doing more subtle blocking. I have seen some knitters who specialize in cable knits recommend steam blocking because it preserves the plumpness of the stitches a little better than wet blocking does. In general, if you do not want to significantly alter the characteristics of your finished knit, steam blocking may be a better approach than wet blocking.
You should know, though, that steam blocking is not terribly effective on bulkier yarns. That’s because the steam has trouble penetrating all the way through the yarn. It is best suited to finer knits. Additionally, if you steam block your project and never wet block it, you need to be thoughtful about how you clean that project in the future. If it is a project that gets heavily soiled, and you decide to wash it, washing it will likely alter the dimensions and/or characteristics of that project pretty significantly.
I generally use steam blocking for projects I know are unlikely to get heavily soiled so won’t need to be washed. I might also use it for a project that has already been wet blocked and just needs a quick refreshing.
3. Spray Blocking
Our third is a method known as spray blocking. When you spray block your project, you lightly mist it with a spray bottle and lay the project flat to dry. Spray blocking is kind of the midpoint between steam blocking and wet blocking. It has more moisture than steam blocking but less moisture than wet blocking. As a result, I usually recommend this method for projects that need some shaping but not a significant amount of it.
Spray blocking also gives you a lot of control over the amount of moisture that you introduce to your finished project. This means you can put more moisture on some parts and less moisture on others. That can be very helpful for projects, like my Grandmillennial Shawl, where you may want to heavily block some parts of the project and only lightly block the trim.
This method is also popular because it’s one of the quickest and easiest blocking methods. You don’t have to wait for a steamer to heat up, you don’t have to let your finished project dry for hours, and you don’t have to deal with a lot of extra equipment. You just spray and go. Spray blocking also helps avoid the risk of overstretching that happens sometimes with a full wet block.
On the other hand, like steam blocking, this method is less effective for making fiber bloom and for dramatically opening out stitches in more sturdy yarn. If you have knit a project using a heavy wool, for example, spray blocking may not give you the results you seek.

4. Killing Acrylic
Finally, let’s talk about killing acrylic. This is a method that only works for acrylic yarns and other petroleum-based synthetic fibers. It involves the controlled application of heat to your finished project to slightly melt the fibers. Usually this is done by holding a hot iron close to, but not actually touching, the finished project. If you need to shape your project to specific dimensions, pin it into place before you start killing the yarn.
Unlike the other blocking methods, in this case, the water isn’t actually doing anything. If you soak an acrylic item in cool water, it will have little to no effect on the fibers. What is happening here is the interaction between heat and synthetic fibers. Acrylic and nylon are essentially plastics, and so when you expose them to heat, they will melt. This is, incidentally, why I do not recommend these yarns for making hot pads and potholders.
The benefit of killing your acrylic yarn is that it will create a softer fabric with better drape. If you are knitting a lace project using acrylic yarn, for example, you will want to kill that project so that the lace stitches open out.
However, you must be careful when killing acrylic. You cannot undo the process. If you are too aggressive or you kill your acrylic with the wrong dimensions, that’s it. There’s no going back. Similarly, if you apply too much heat, you can melt the fibers and make them crunchy. I learned this when an acrylic blanket I had crocheted went through the dryer on the sanitize setting. That was way too hot for the fibers, and now we have a slightly crunchy blanket.
Common Tools for Blocking Your Knitting
You can block most projects just by soaking and laying them flat in the desired shape. Sometimes, though, there are some tools that can be helpful for blocking your finished projects. Here’s a quick overview of those tools, with links to the products I use myself. Some of the links in this section are affiliate links, which means if you choose to buy something through those links, I’ll receive a small commission at no extra cost to you. I will always identify affiliate links for you. Thanks for supporting my work!
- Blocking mats (affiliate link) are interlocking pieces of foam that can be set out on a table, the floor, or another flat surface for blocking your project. They are helpful if you need to pin your project to a particular dimension. If you don’t have access to a blocking mat, a yoga mat, folded towel, or even some cardboard can serve as a good blocking surface.
- T-pins and blocking combs (affiliate link) are used for pinning your knit project to its final dimensions. They are also helpful when you are blocking a lace shawl with lots of points along the edging.
- Blocking wires (affiliate link) are used to block long, straight edges. I like them for blocking my shawls to make sure I don’t get unwanted curves or distortions along the edges and instead have nice, straight lines.
- A tape measure (affiliate link) is helpful for ensuring that you have blocked your finished piece to the right size. If dimensions, don’t matter that much, you don’t need a measuring tape, but it is especially important to get the dimensions right if you are planning to sew together the pieces of a garment. The sewn edges need to match.
- A spray bottle can help if you are doing spray blocking. Otherwise, it can be tricky to control the flow of water!
- A dry towel can be very helpful when doing wet blocking. It helps you squeeze out excess water before shaping and drying. You don’t need any sort of special towel to do this. A random towel from your linen cupboard is just fine. Just make sure it’s a clean towel.
- Wool wash is not something you usually need to use. If your project got shoved into your purse a lot while you were working on it, though (guilty as charged), you might want to use a little to freshen up your project.

Blocking Different Types of Projects
Let’s go into a little more detail here to make sure you don’t run into unexpected problems while blocking. Here are four types of projects that frequently require a little extra attention.
Blocking Lace
As discussed above, lace blocking is one scenario where you really can’t be too aggressive. Stretch that project out and pin it in place real good. Lace tends to shrink back into place just a little bit after you unpin it, so you want to really make sure you’ve opened those stitches out as much as possible.
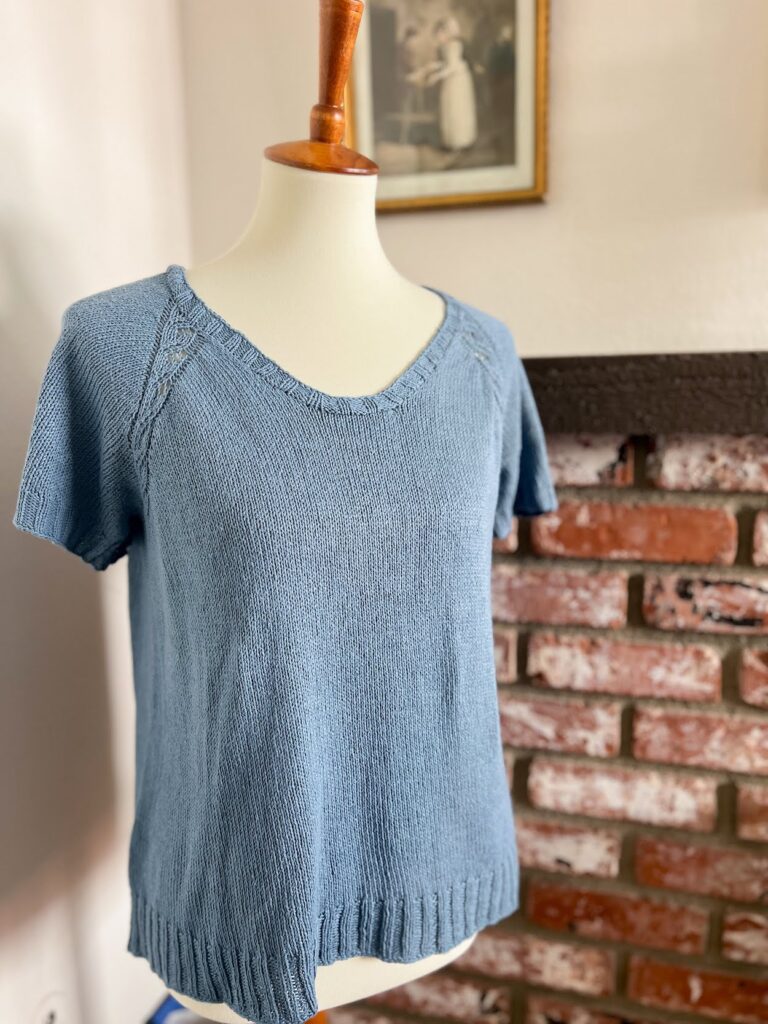
Blocking Sweaters
Sweaters are some of the largest items you are going to be blocking. They take up the most space while drying and have the most weight while wet. When you block your sweaters, be careful not to let the sweater stretch out too much under the weight of its own wet fabric. Give it lots of support with your hands.
Because garments are large, it is extra important to make sure that you have squeezed out excess moisture if you do a wet block. Otherwise, it’s not uncommon for a sweater to take several days to finish drying.
Blocking Hats and Socks
Hats and socks have kind of unusual shapes, and so it can be tricky to block them. While I tend to just lay my hats flat to dry, because I usually knit beanies that fit close to the head, that isn’t a good method for all hat shapes. If you are working on a slouchy hat or a beret, try using a balloon to help the hat hold its shape without strange creasing.
Dedicated sock knitters frequently buy sock blockers to give their socks a particularly crisp finish. I’m a big fan of sock blockers myself, but they’re not necessary. In fact, I have a whole guide for how you can block your socks without using sock blockers.
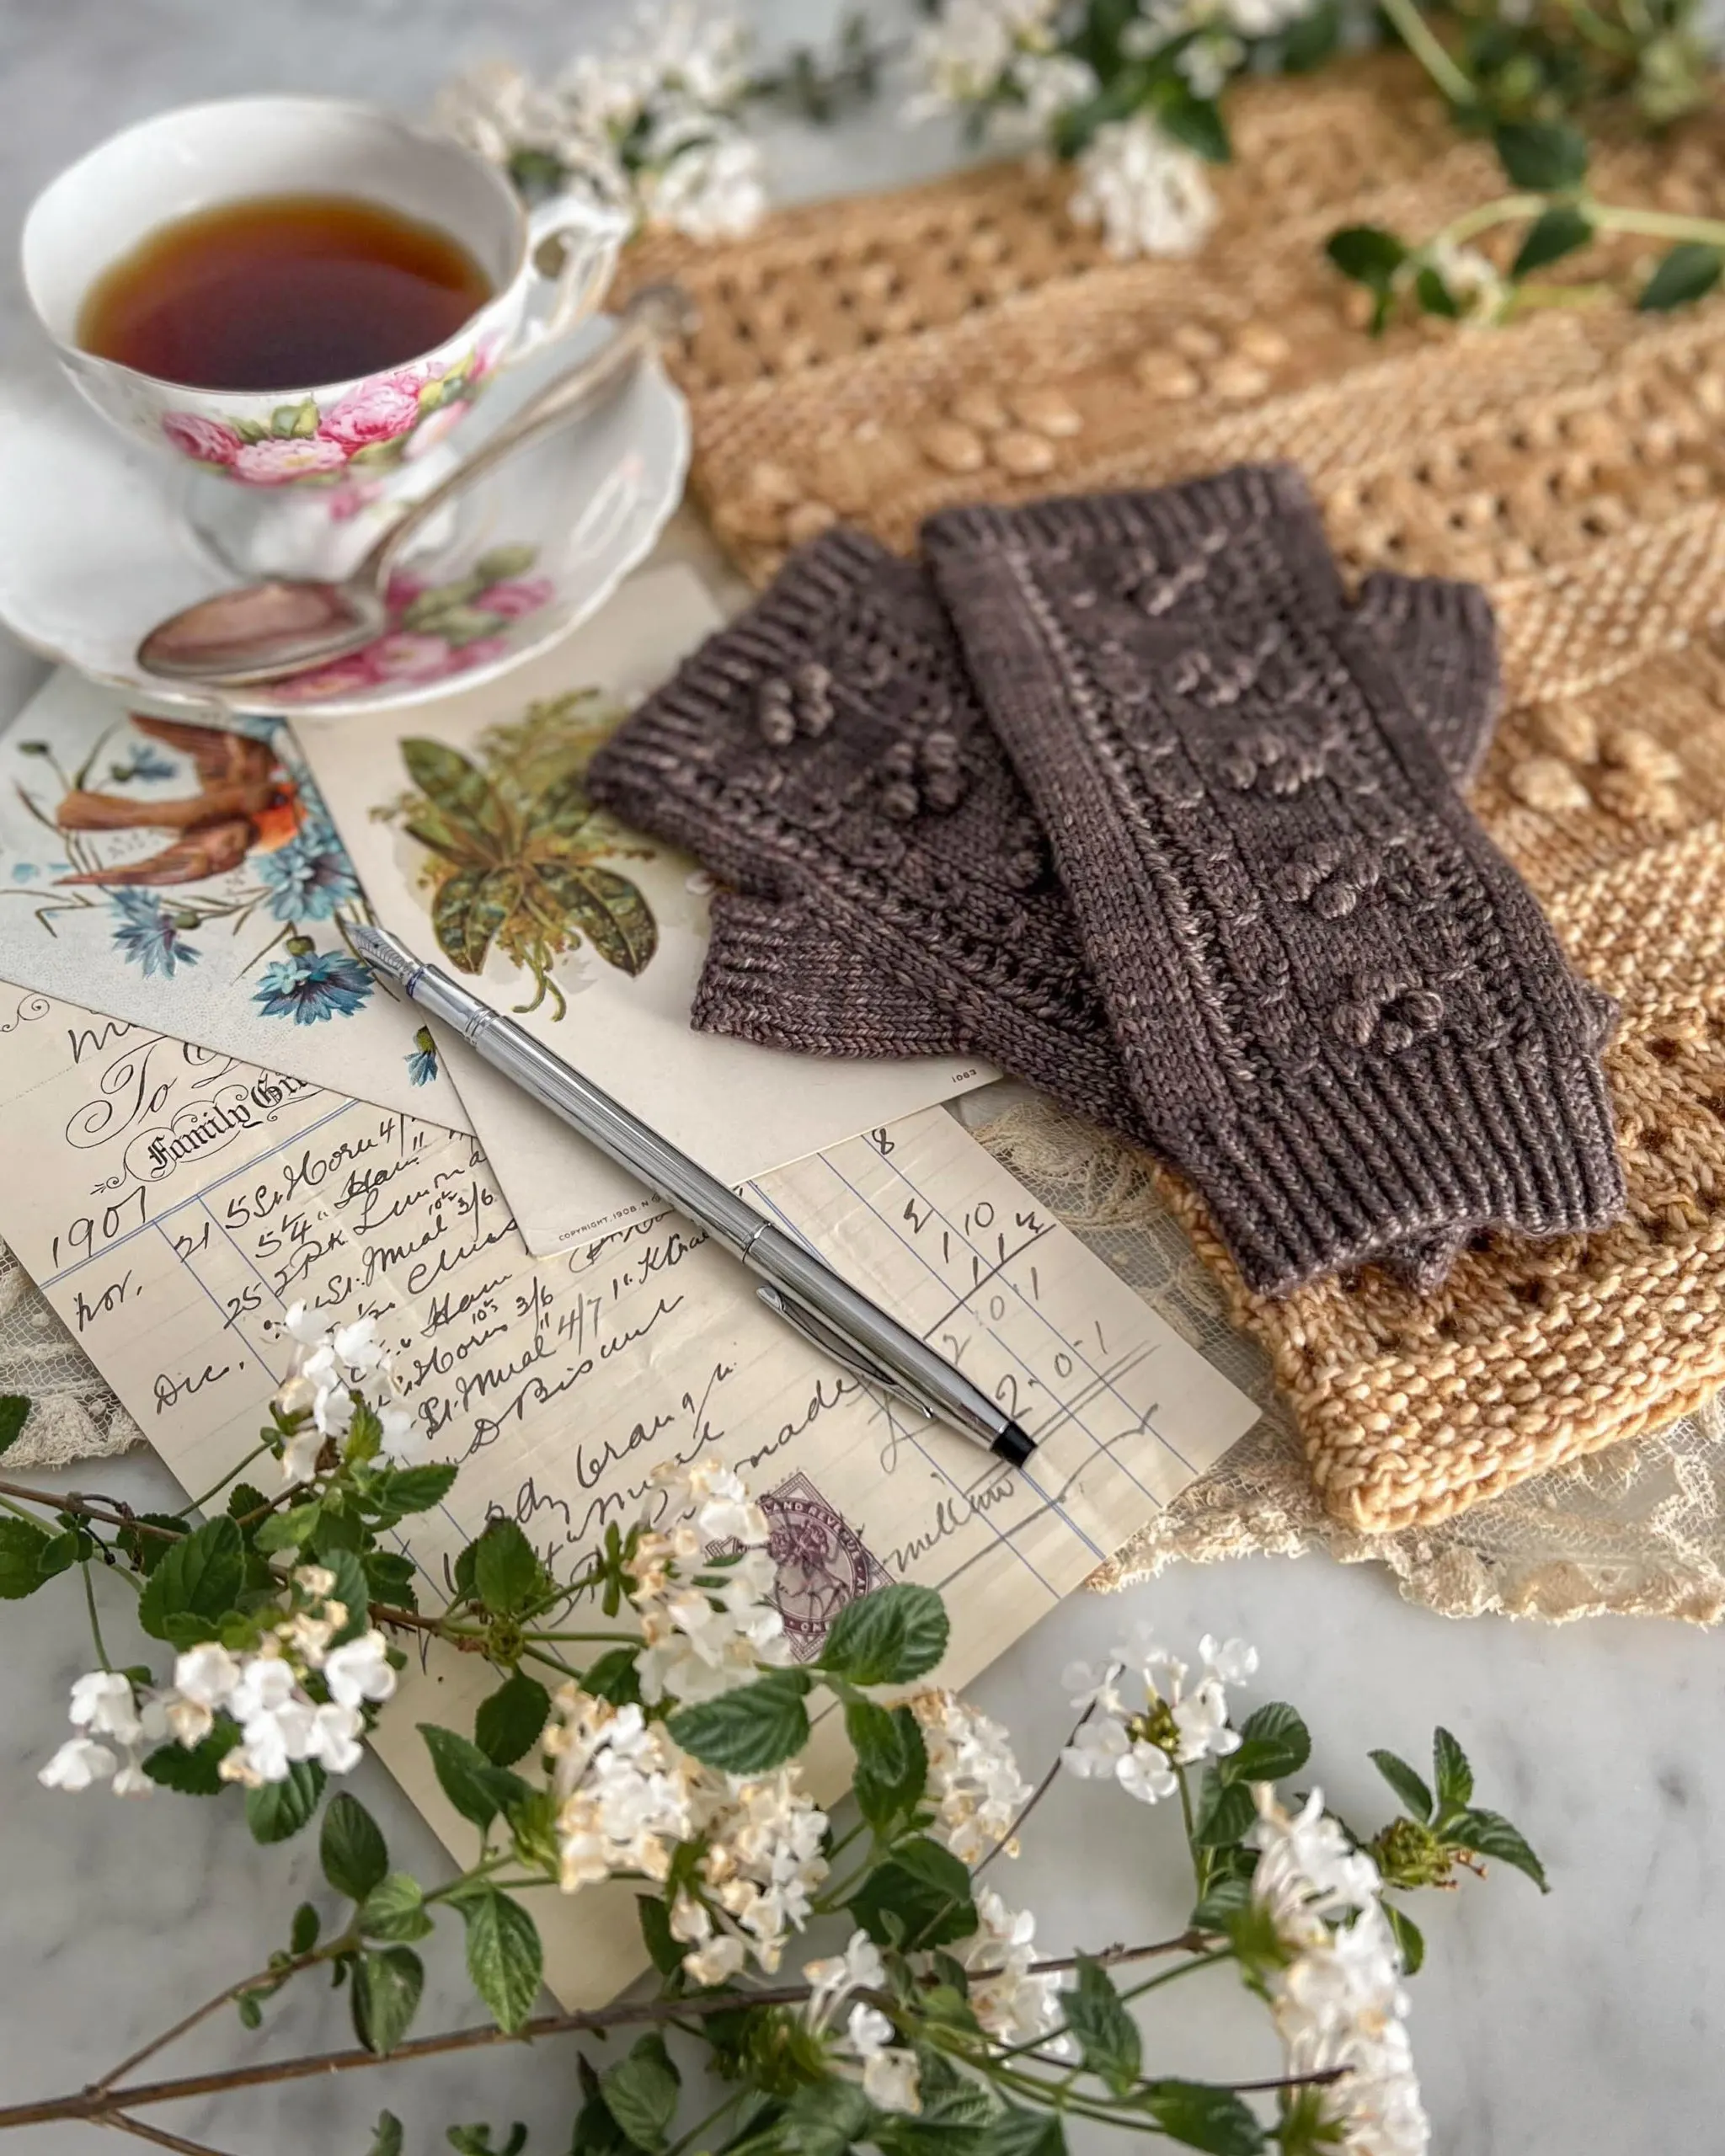
Blocking Cables and Textured Knitting
Finally, remember that highly textured knits might benefit from a less aggressive blocking method. An intense wet block can reduce stitch definition on a cabled project and flatten ribbing. Be judicious when choosing your blocking method.

Common Blocking Mistakes and How to Avoid Them
Finally, let’s wrap this up with a quick peek at some of the most common blocking mistakes and how to avoid them. While blocking usually improves your finished project, there are a few things knitters frequently do that limit the effectiveness of blocking or even cause harm to their finished project.
1. Over-Stretching the Fabric
The most common issue I see with knitters is overstretching their fabric. This comes in part, I think, from the misconception that blocking is about stretching and not about moisture. With the exception of lace, where you do want to be a little bit aggressive, you should not be stretching and tugging your knits too hard when you block them.
Blocking is not the place to fix major issues with gauge or dimensions in your finished project. If you stretch your fabric too aggressively, you will weaken the fibers in the yarn. This will cause your project to wear out more quickly.
2. Not Allowing Enough Drying Time
If you unpin your project or wear your finished garment before it is completely dry, you will not get the full benefits of the blocking process. Lace stitches will close back up, and garments may stretch into odd dimensions. I know you are so excited to wear your finished project, but it is crucial to have just a little more patience for this final step. Let the project dry completely.
3. Ignoring Fiber Content
Finally, pay close attention to the fiber content of the item you are blocking. Some fibers change drastically when they come into contact with water. For example, superwash wool is notorious for stretching out a lot in the wet blocking process.
You need to be aware of this before you even start your knitting project. Check the fiber content on the yarn label and think about how you want to block and care for your finished project. Let that guide how you treat your gauge swatch at the very beginning of the project. If you do not gauge swatch or you do not treat your swatch like you plan to block and care for the finished project, there is a reasonable likelihood that the finished project will not fit you once it is blocked or washed.
Let’s stay connected!
Join my newsletter for 30% off all new releases, regular updates with helpful tips and tricks, first crack at registration for upcoming workshops, exclusive discounts, and more.
I’m on YouTube now and would love to have you join me there for regular project updates, technique tips, chats about goings-on in the knitting world, and more.
Prefer to read without ads? Join my Patreon, which starts at just $1 a month!
Join the A Bee In The Bonnet Facebook Group to participate in knitalongs and other fun community events
Come hang out with me on the A Bee In The Bonnet TikTok
Follow along on the A Bee In The Bonnet Instagram
Get inspired via the A Bee In The Bonnet Pinterest


Hi Lauren,
I am glad you wrote this. I just finished knitting my first pair of socks. They have mistakes but I am learning the construction. I blocked them on the steel blockers I bought from Amazon, and they stretched too much. I re-soaked them and lay them out flat without the blockers, they took and dried much better and wasn’t stretched out. The blockers I got came with three different sizes I picked the middle size for the medium.
I am wondering if the blockers are not correctly sized? Now I don’t understand what blockers to use. Your socks look good on the blockers. The blockers I got are like yours. Now I am afraid to try blockers.
Hi Cindy! Sock blockers can definitely be tricky when it comes to sizing. I actually had to bend mine into a better shape for my feet because the original shape had ankles that were too wide. If you have wire blockers, you can definitely try bending and shaping them a bit, but you could also try going down to a smaller size. I also have a whole blog post on how to block your knit socks without sock blockers, which you can read here: https://www.abeeinthebonnet.com/blog/how-to-block-socks-without-sock-blockers/
Thanks Lauren. I will read it. I am new to all of this. It’s been challenging.
Thank you Lauren, this is very helpful! The photos are gorgeous!
I’m so glad you enjoyed the post and the photos! I love taking pictures of my knits so much.
Hi Lauren,
What a wonderfully written blog post! I’ve tried all those techniques—successfully, thank goodness!—but I had never heard of ‘killing’ acrylic. It just goes to show that even when you’re reasonably experienced, there’s always something new to learn.
I also read Cindy’s comment about sock blockers with interest. I’ve never used them myself; I usually roll my socks in a towel, do the ‘stomping dance,’ and lay them flat to dry. That has always worked well. However, I recently knitted some bulky socks, and now that I’m living in a house that’s quite cold and damp (until I get a wood stove installed!), they simply weren’t drying. In frustration, I grabbed some wire hangers, bent the two corners inward, and—lo and behold—I had sock blockers! Not very pretty, and I have to adjust the width so they don’t distort the socks, but surprisingly effective.
That said, I’ve been thinking about getting proper sock blockers, and I particularly like the wooden ones. Given my current cold, damp conditions, would you recommend sticking with wire blockers instead?
Thank you so much for producing such lovely patterns, writing such informative blog posts, and sharing the most gorgeous, inspiring photos!
That’s a great question! The thing I like about the wire blockers is that they maximize air flow. While many of the wood and plastic blockers do have cutouts in the middle to allow for increased air flow, there definitely isn’t as much air flow as with the wire ones. If you’re worried about blocking in a damp environment, I’d probably go with the wire ones, which have the added bonus of being a bit malleable so you can better shape them to match your feet/ankles.
Hi Lauren! Thank you for this very informative post. I am curious about the white shawl in the photo with the blocking wires- is it one of your patterns? I didn’t see it on your ravelry or Etsy but maybe I missed it. It’s so pretty!
I’m so glad you enjoyed the post! The white shawl will be coming in 2026 as part of a three-shawl mini series. Stay tuned for more soon!
Love this!
Yes to the part about not over-blocking. BUT – those of us who do 2 things at once (some of us) goof, like read 145 for 154 (multiple times) . . and really can be saved by over-blocking! Inches-worth in Alafosslopi (bulky) yarn. =:-o
And yes to the part about things not drying (the above-referenced Alafosslopi coat) – BUT (again) it did help to gently lift the garment and place either towel (if the pins will go through) or smaller washcloths underneath – the mat-side will never dry otherwise. Once I started doing that it was great (despite recommendations from yarn shop – “you mustn’t have toweled enough first” ). No, it is the h.e.a.v.y yarn.
So yes: Blocking. Learning. Rinse and repeat.
Thank you.